Here is ageing of a pumpkin – all done procedurally with renderman shaders.
Tools:
maya, Renderman
Here is ageing of a pumpkin – all done procedurally with renderman shaders.
Tools:
maya, Renderman
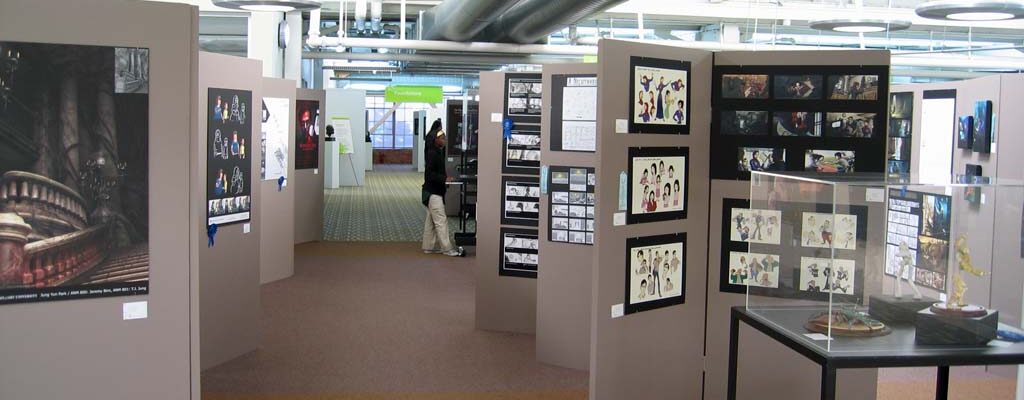
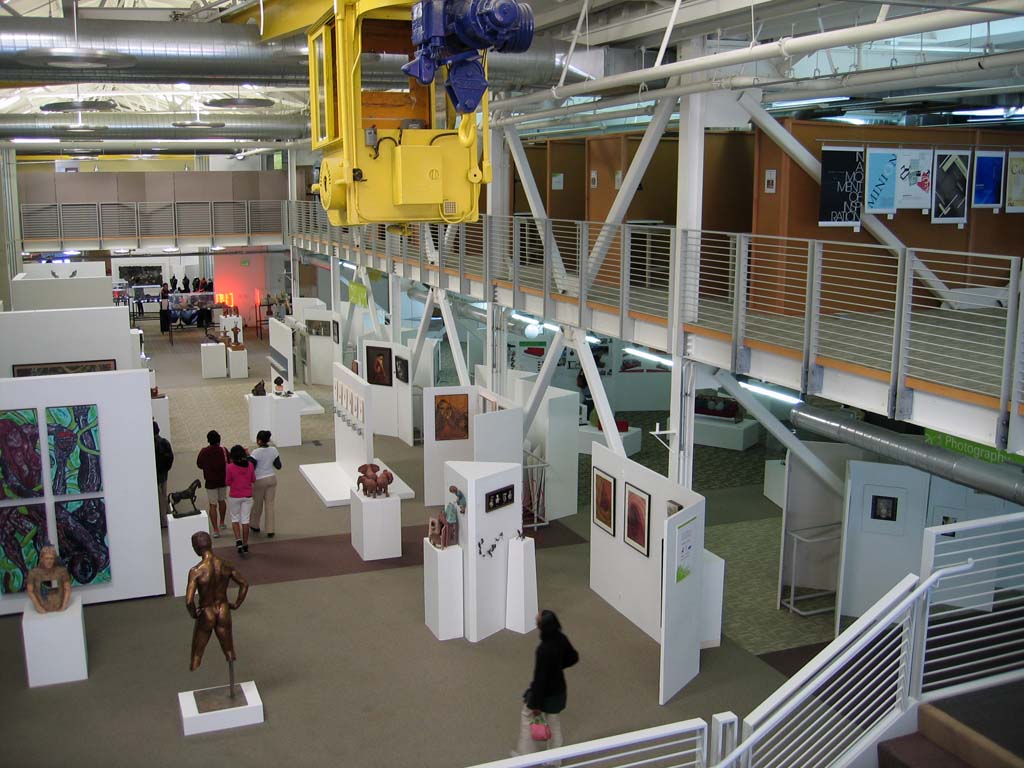
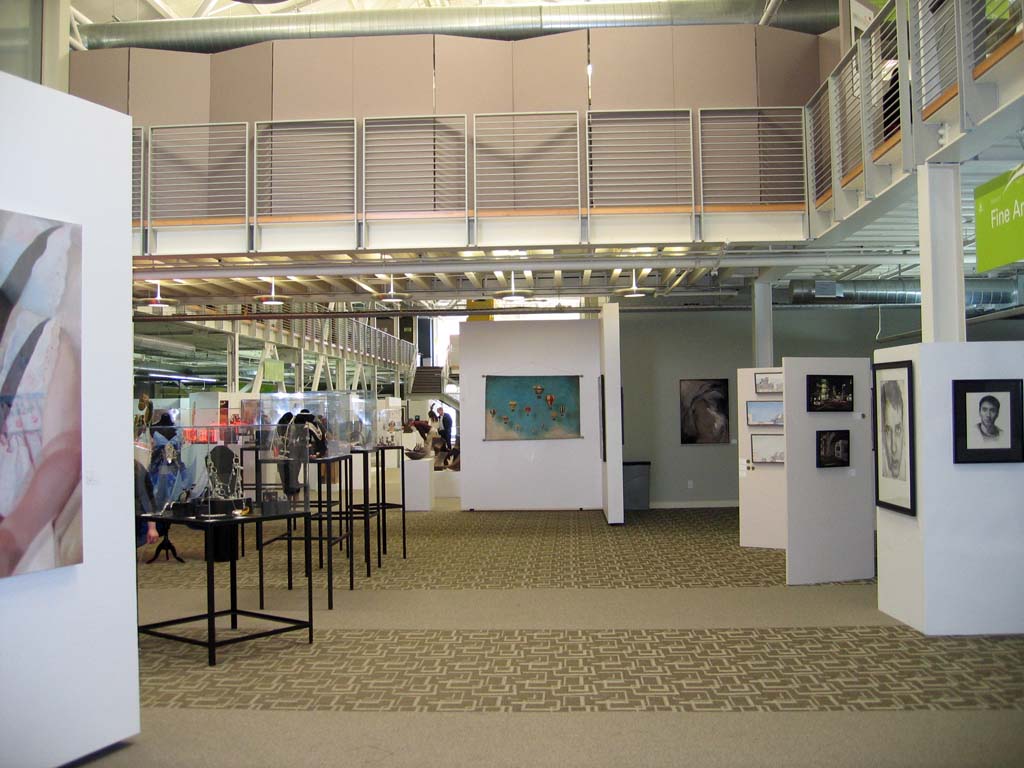
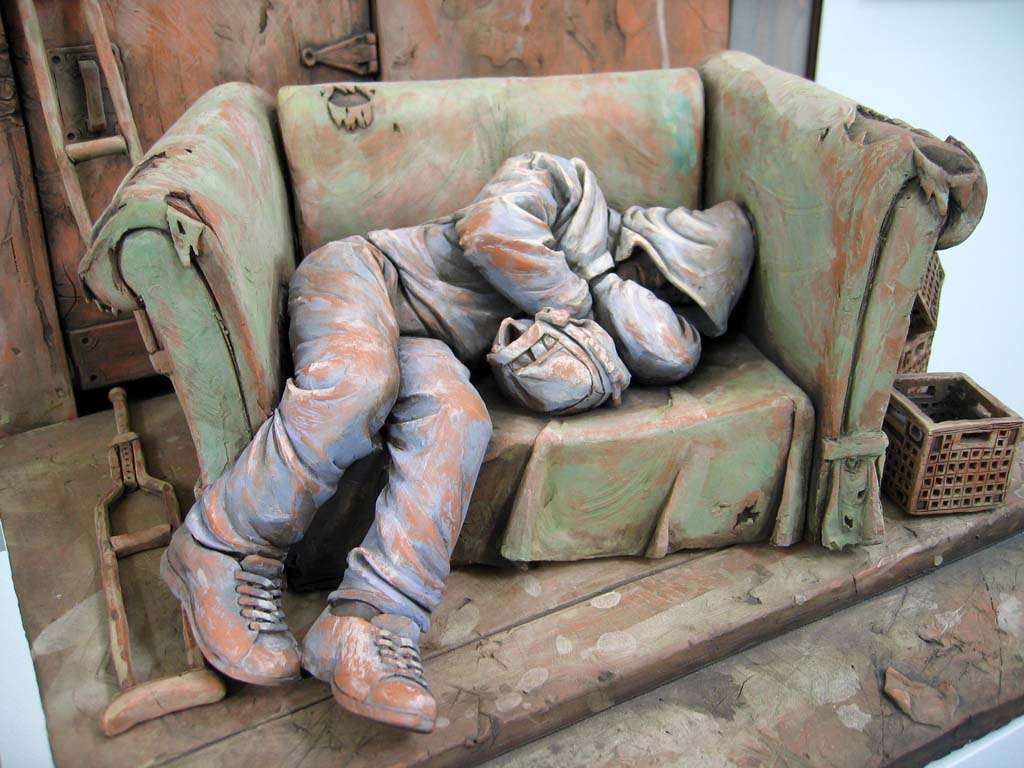
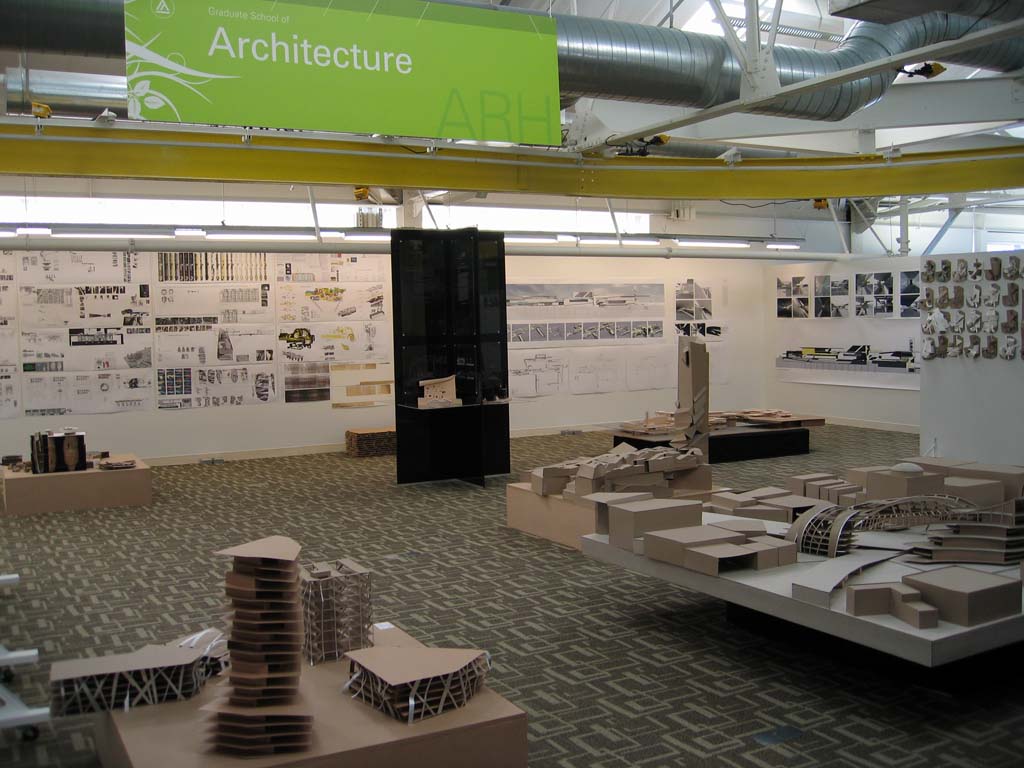
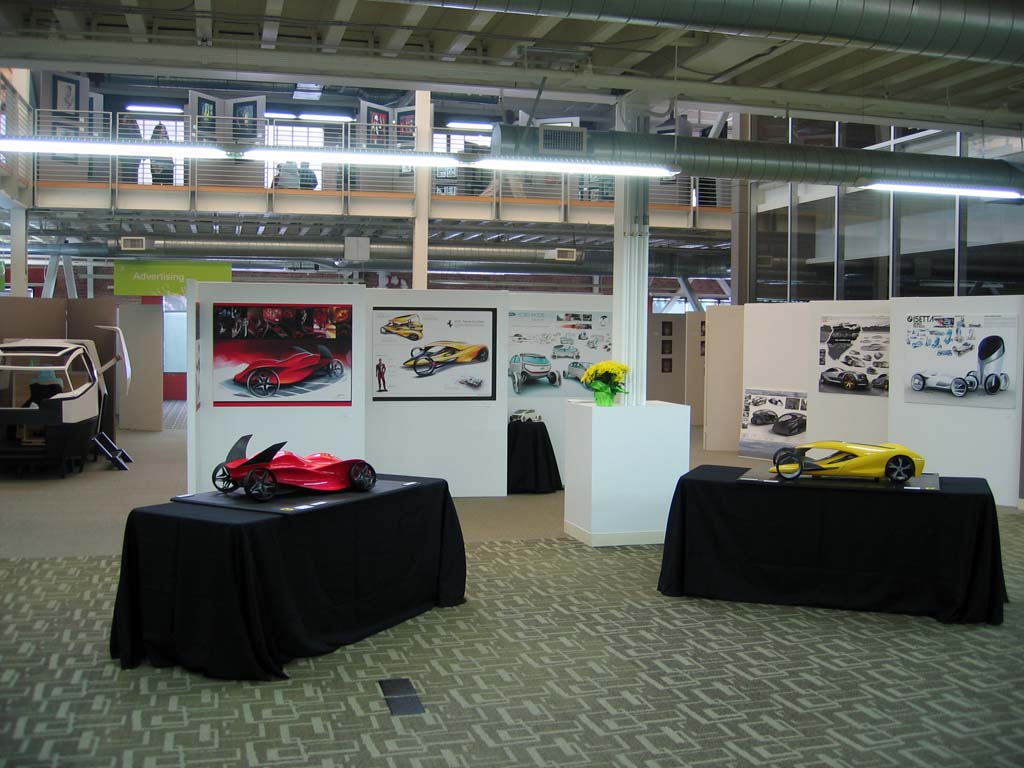
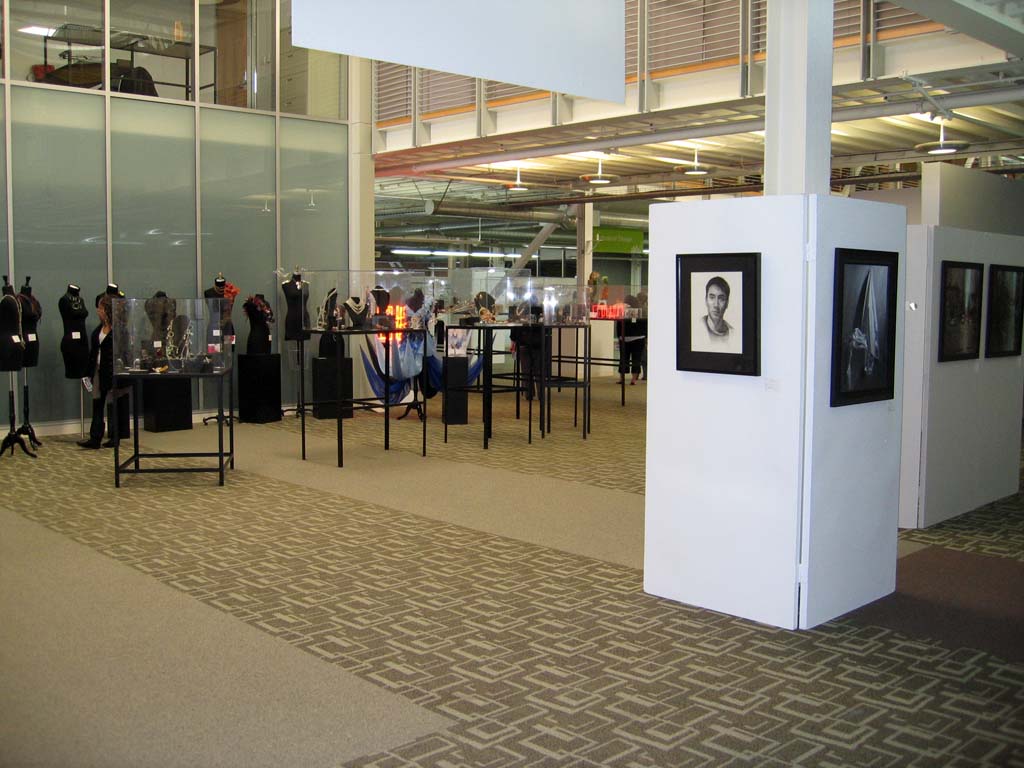
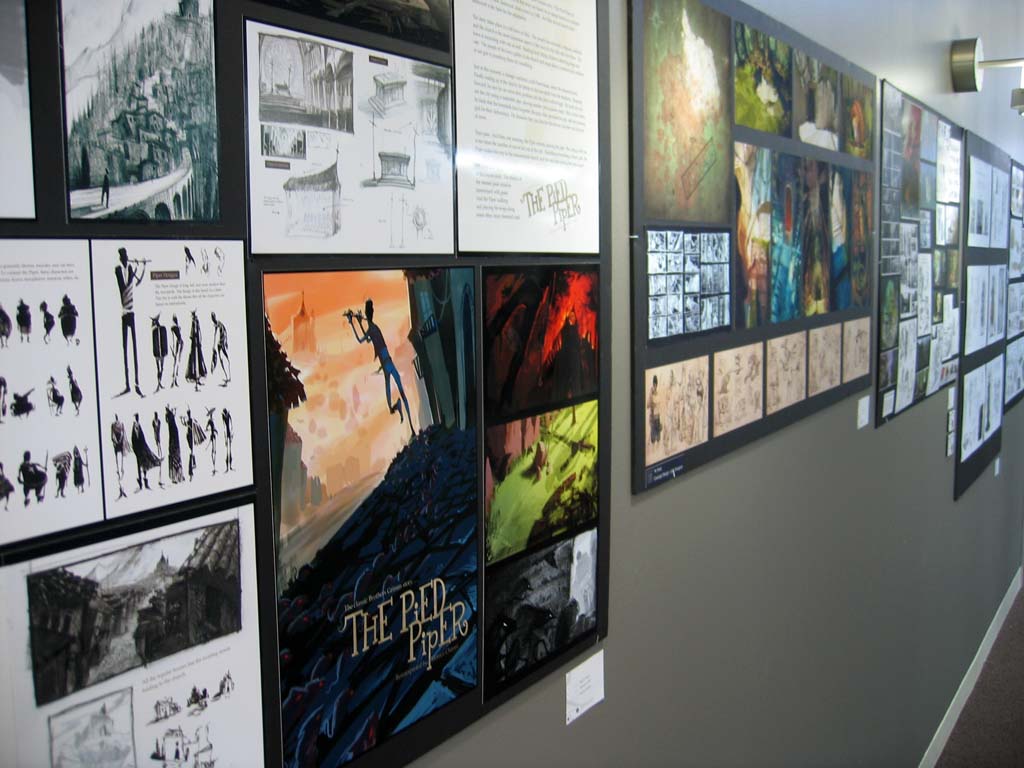
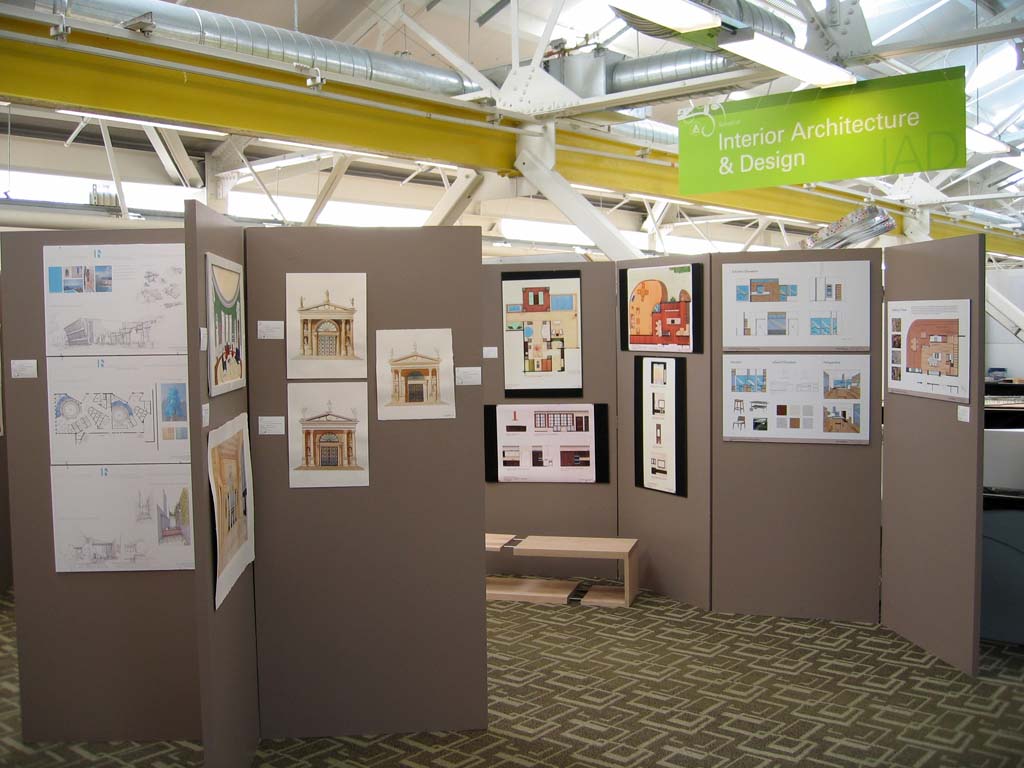
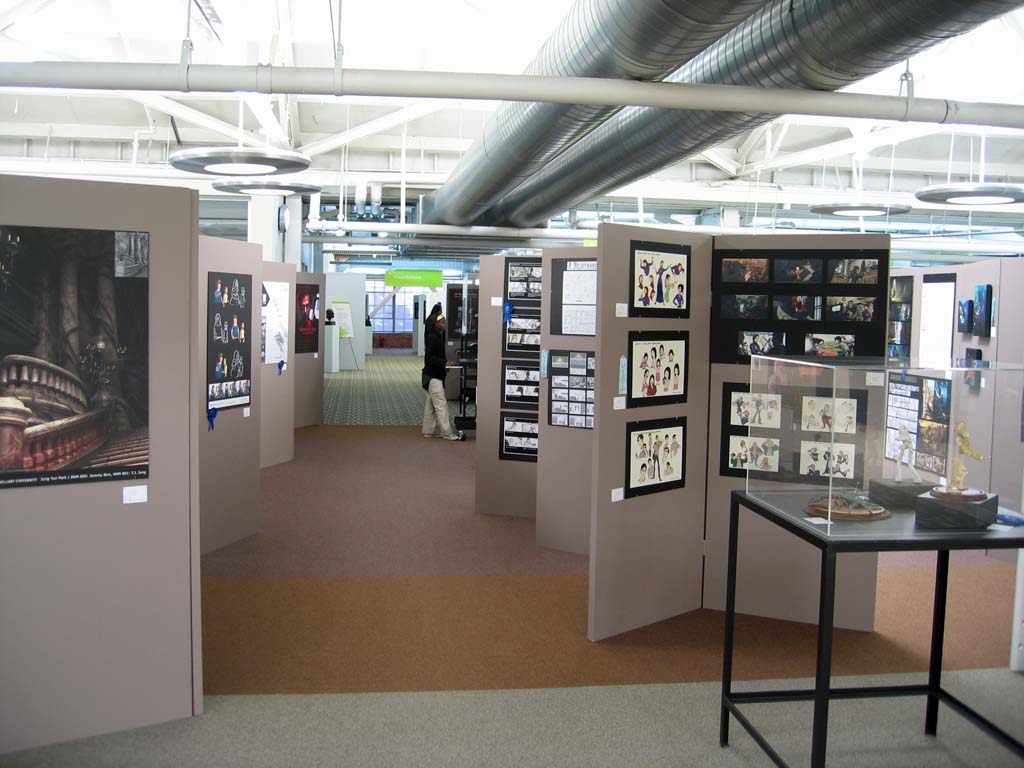
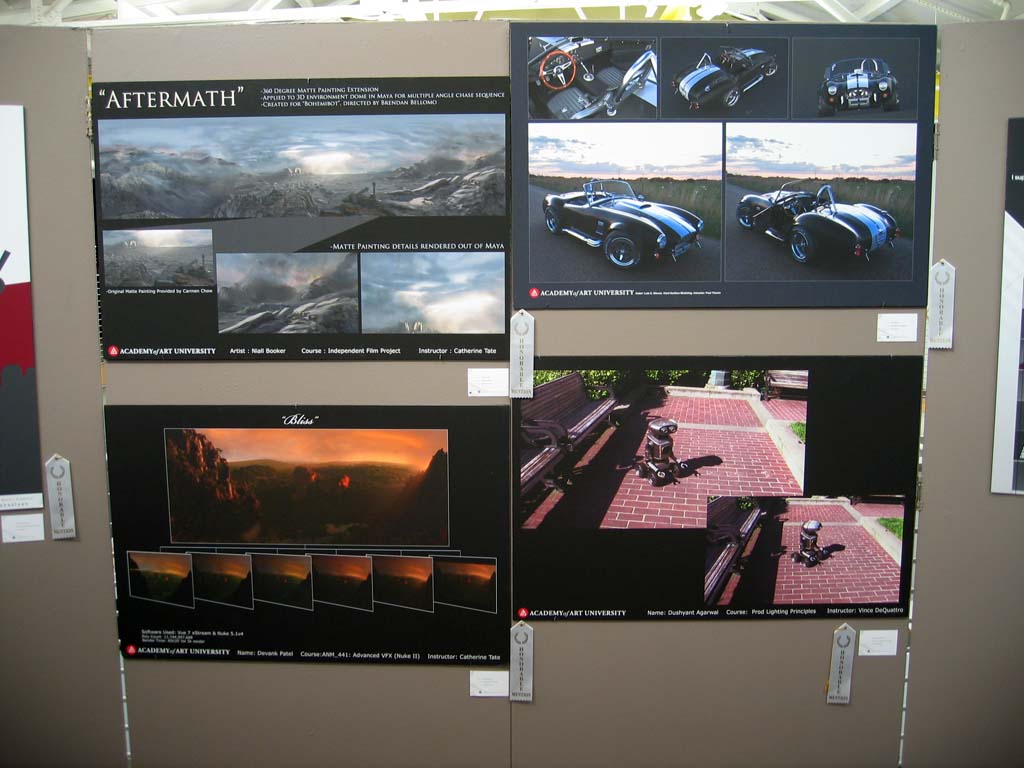
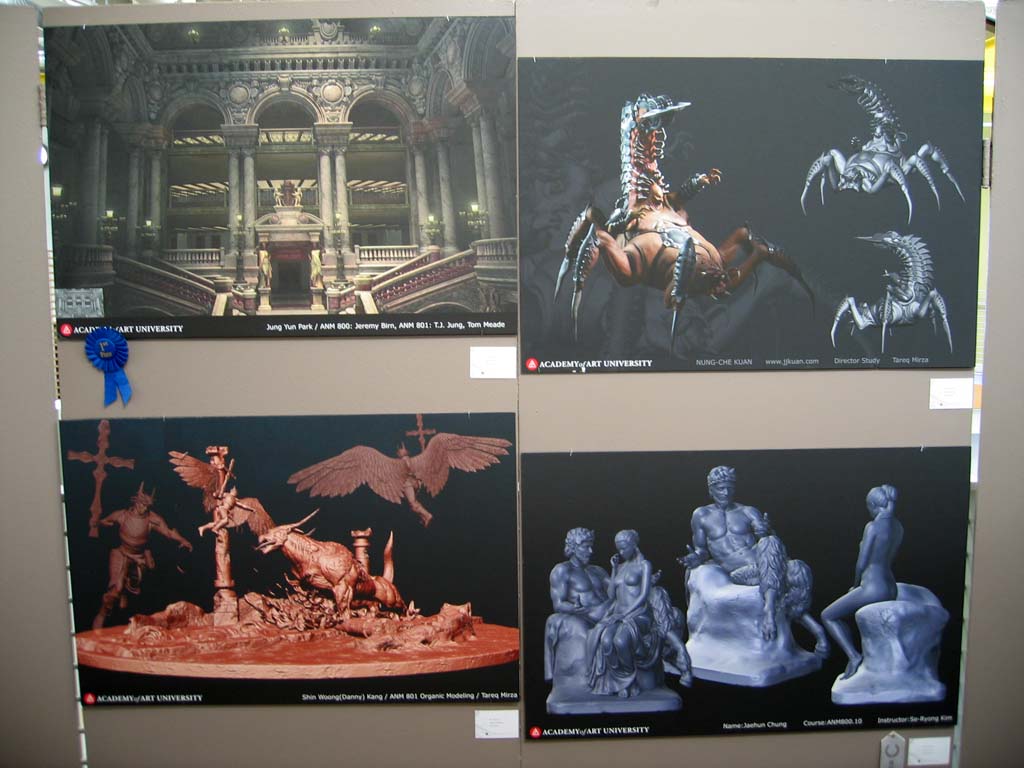
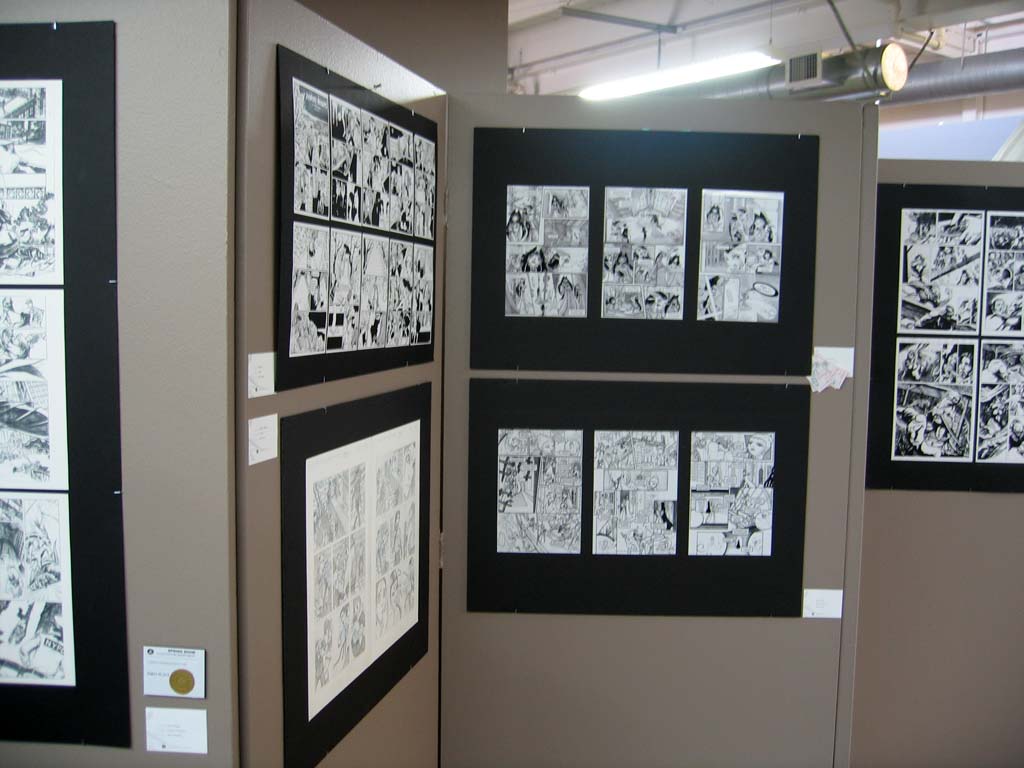
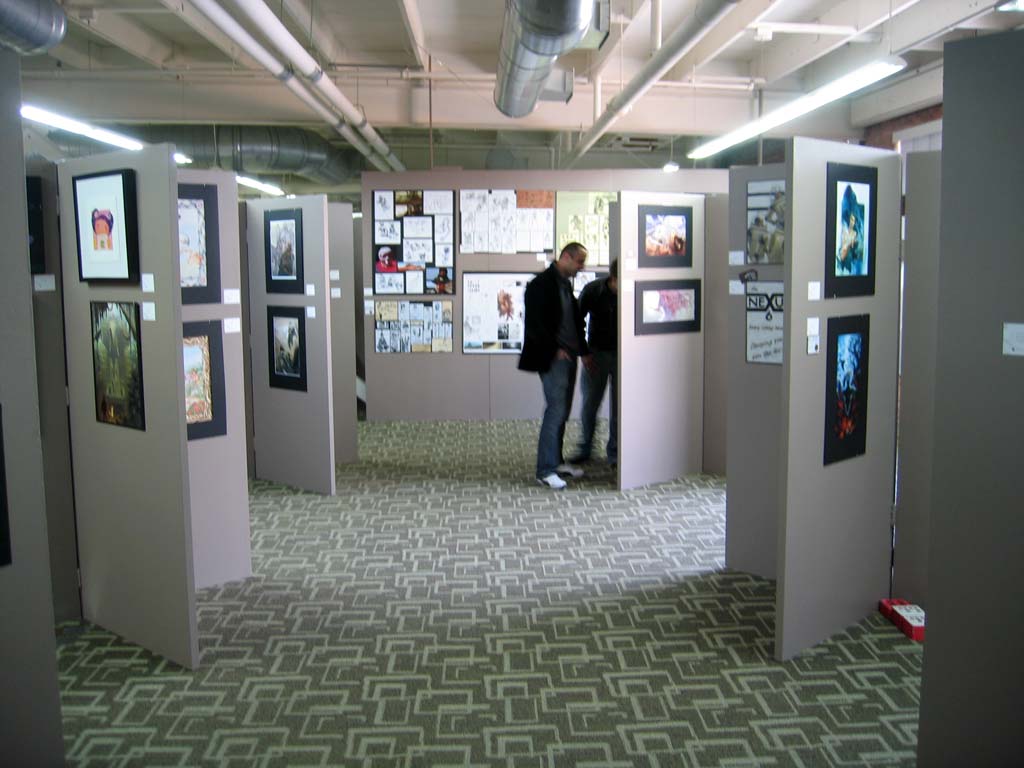
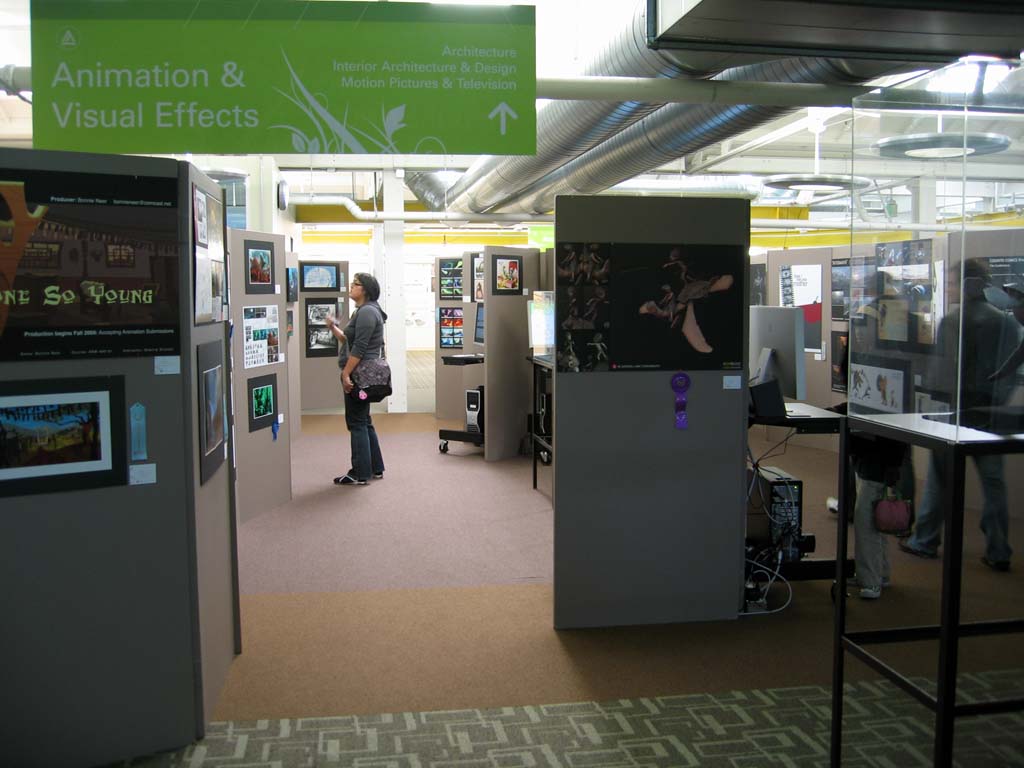
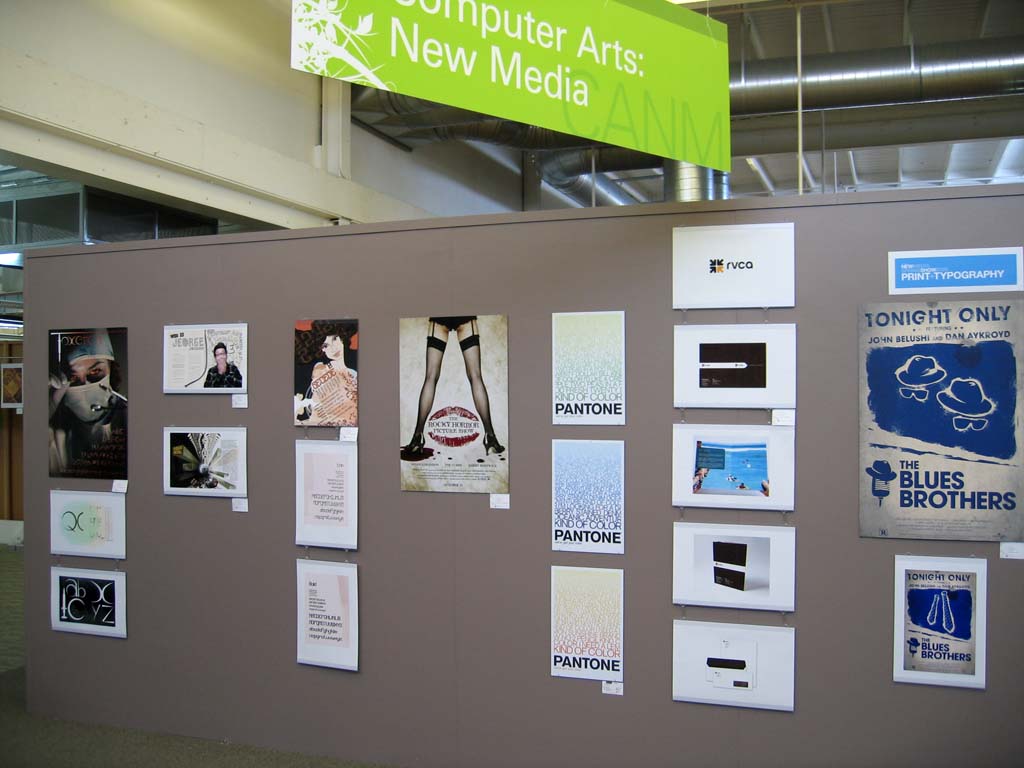
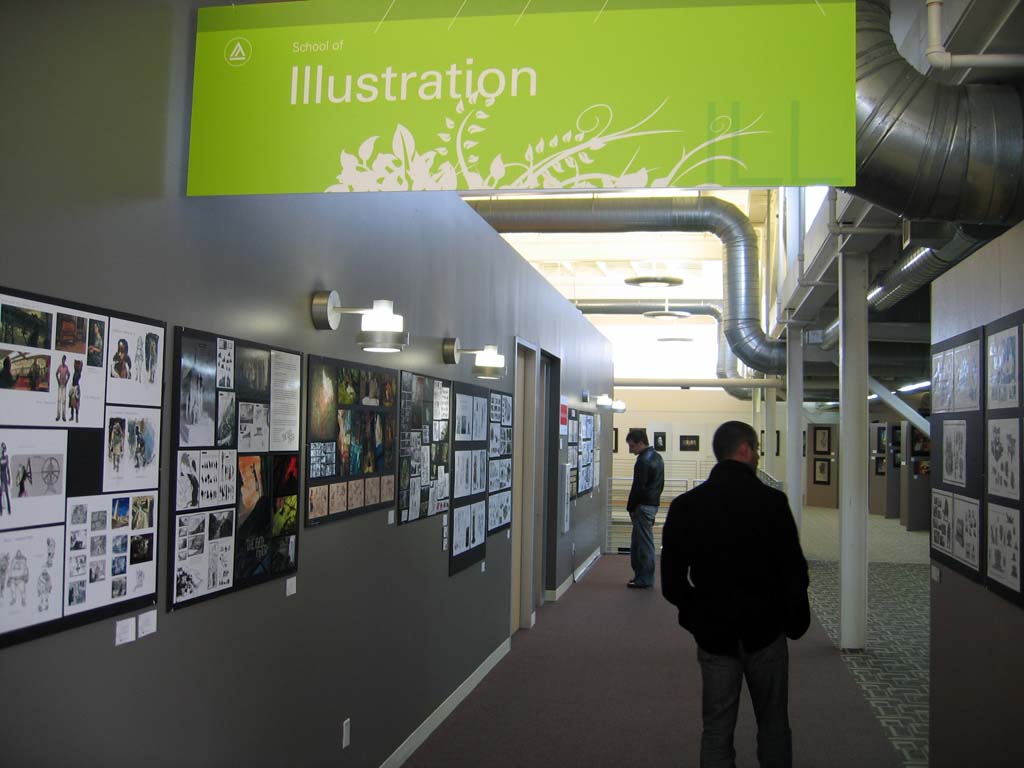
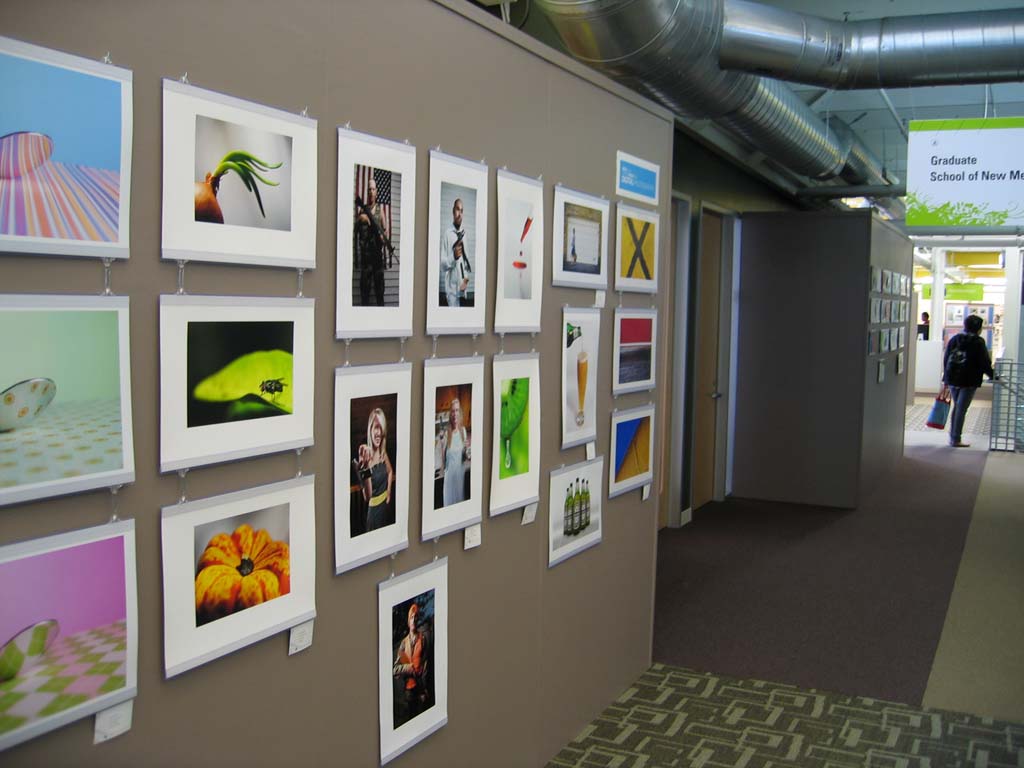
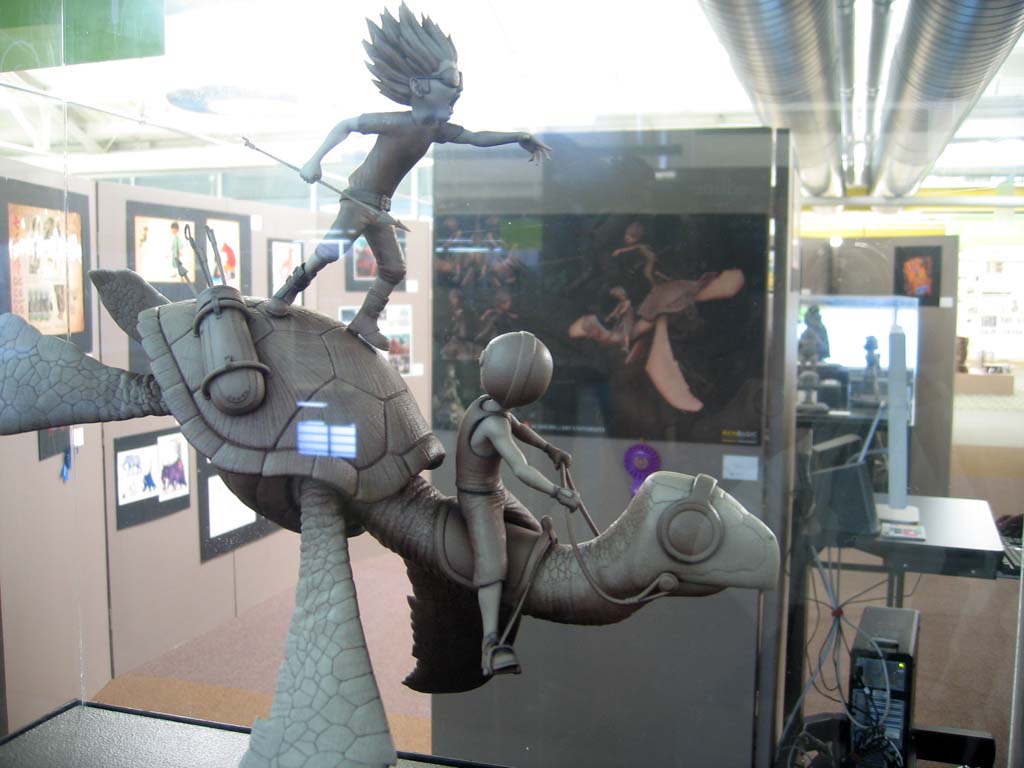
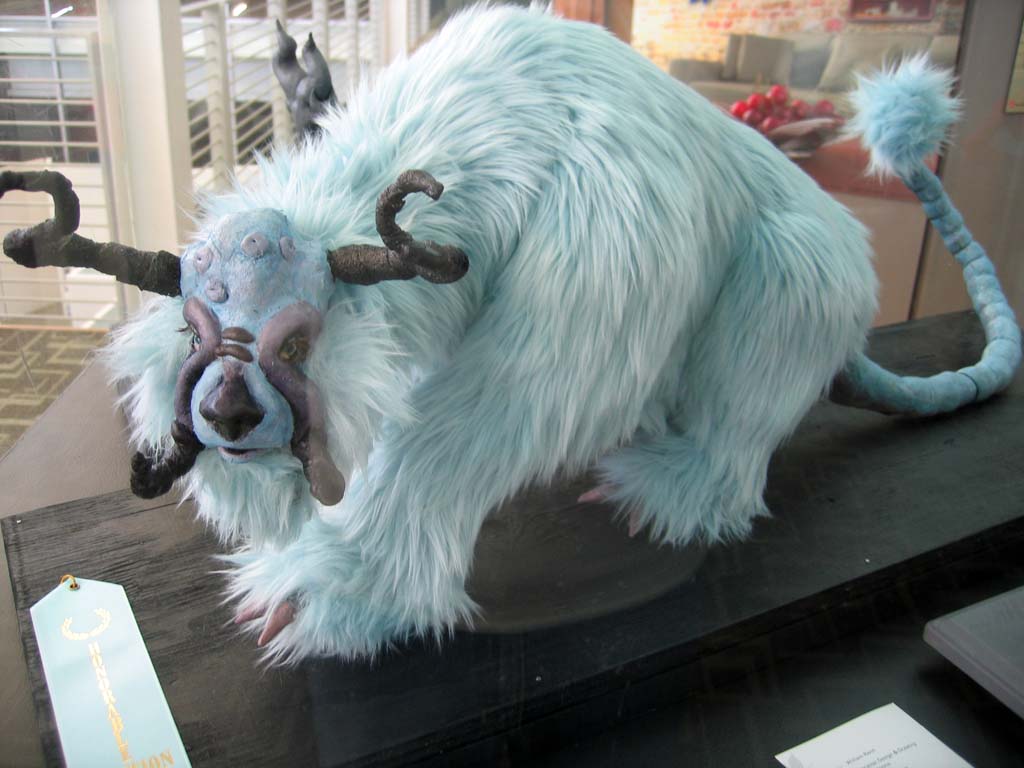
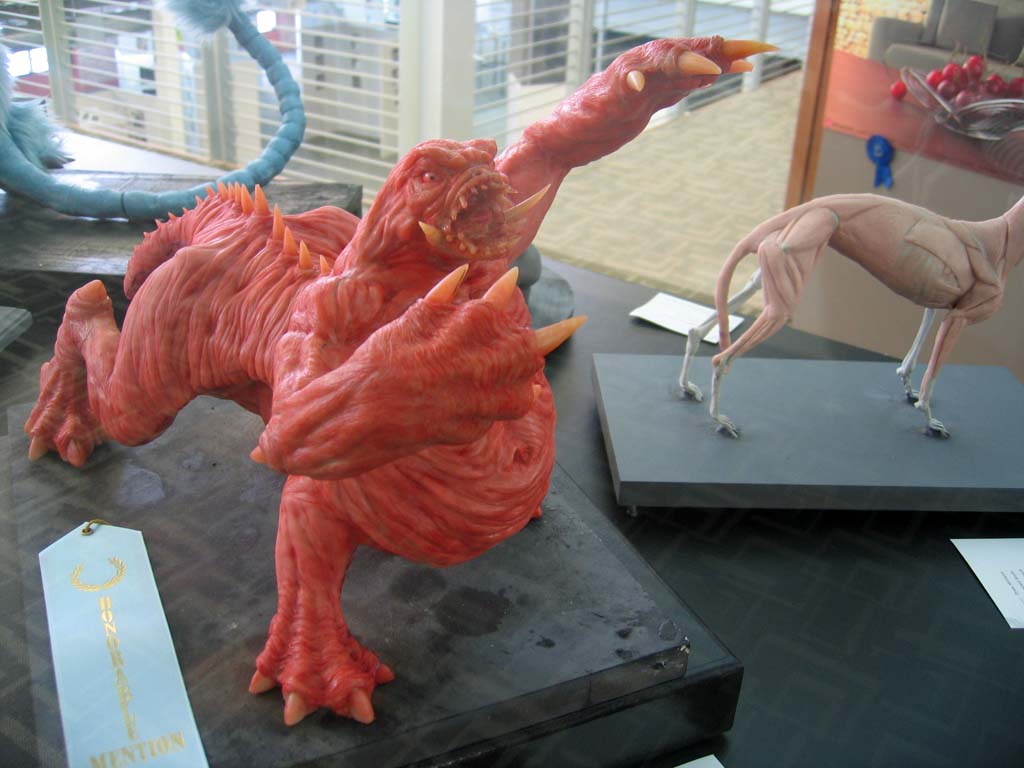
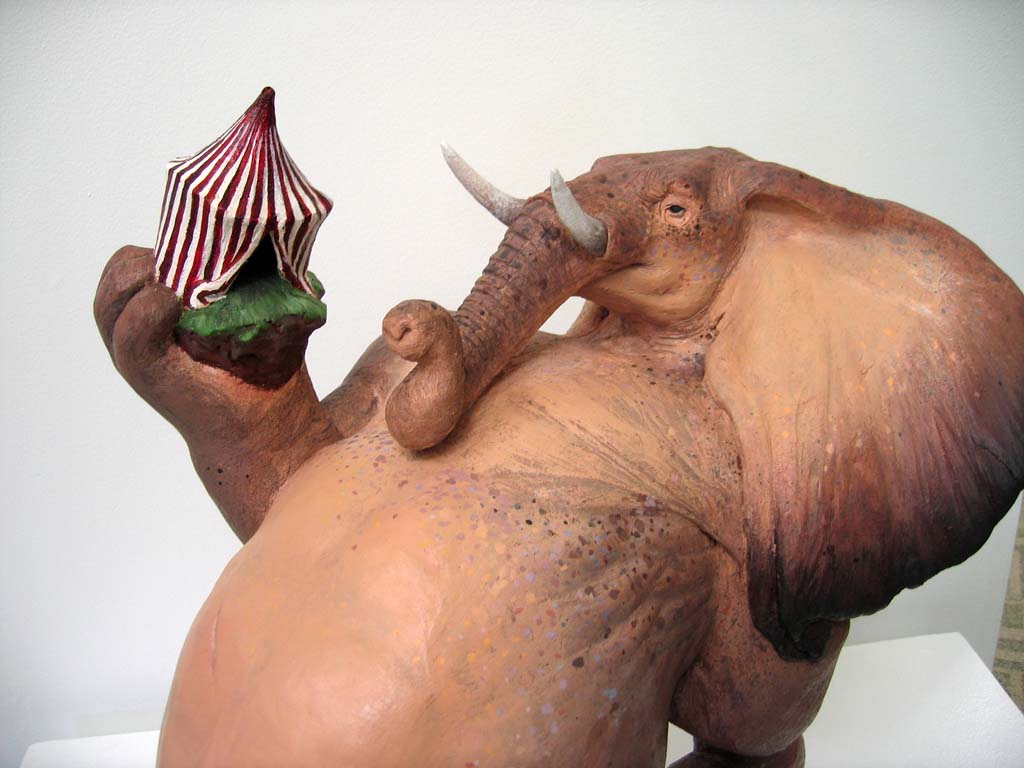
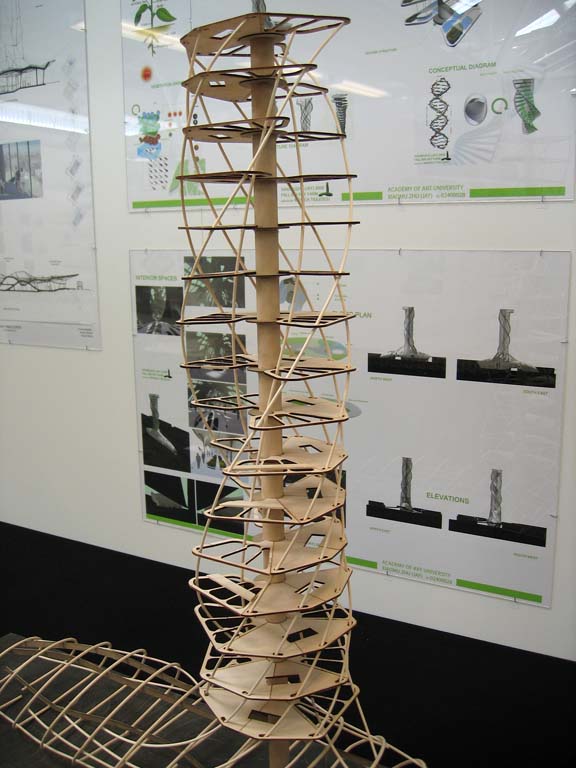
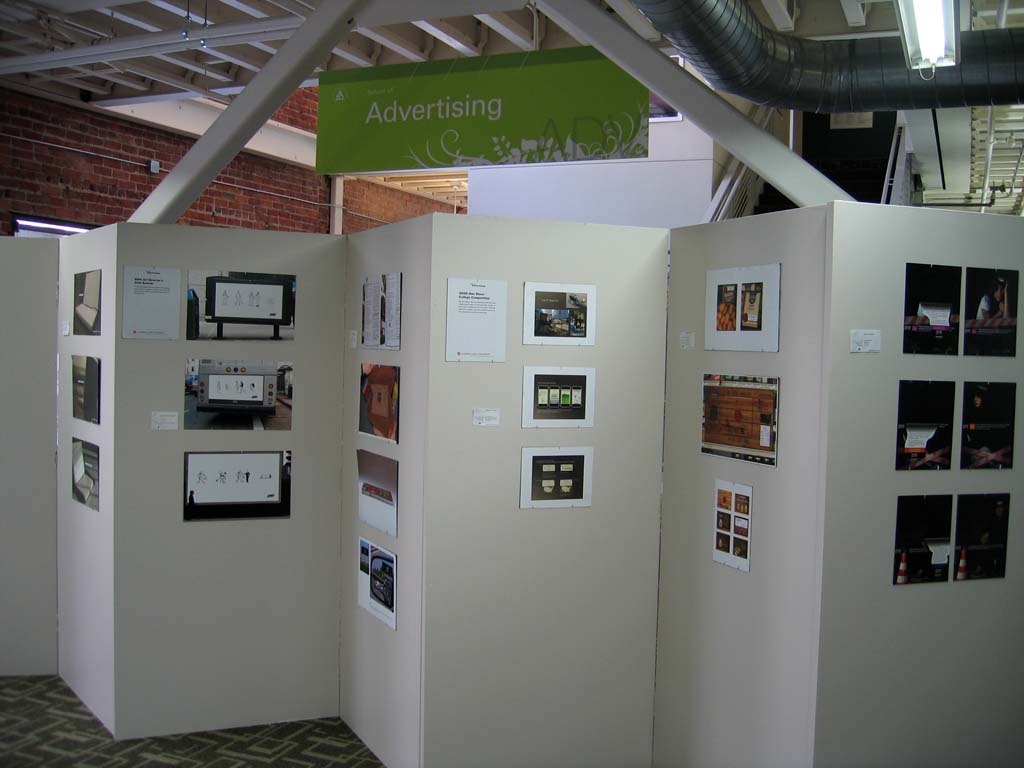
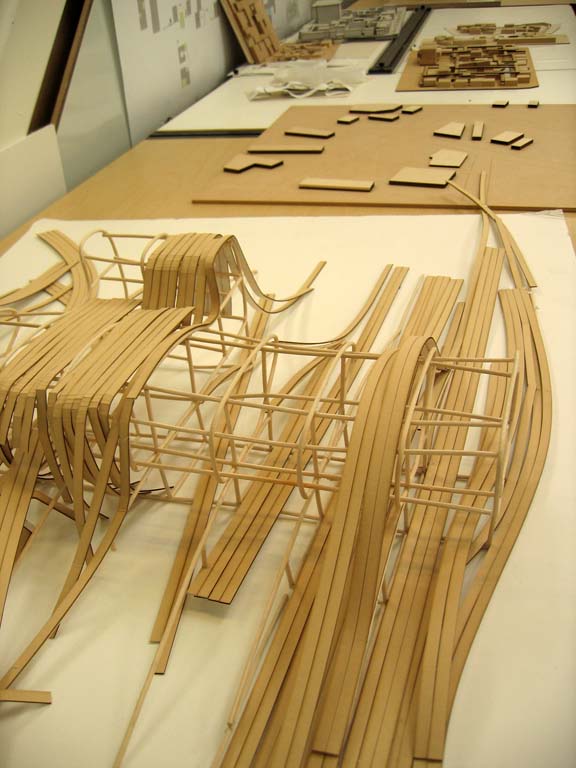
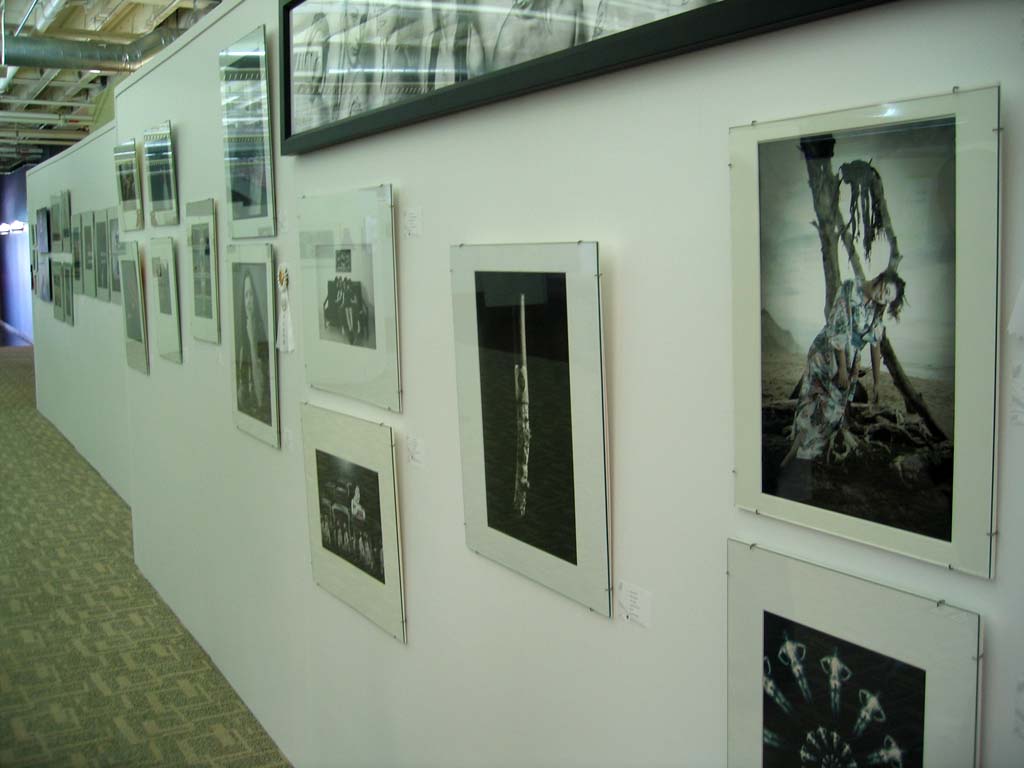
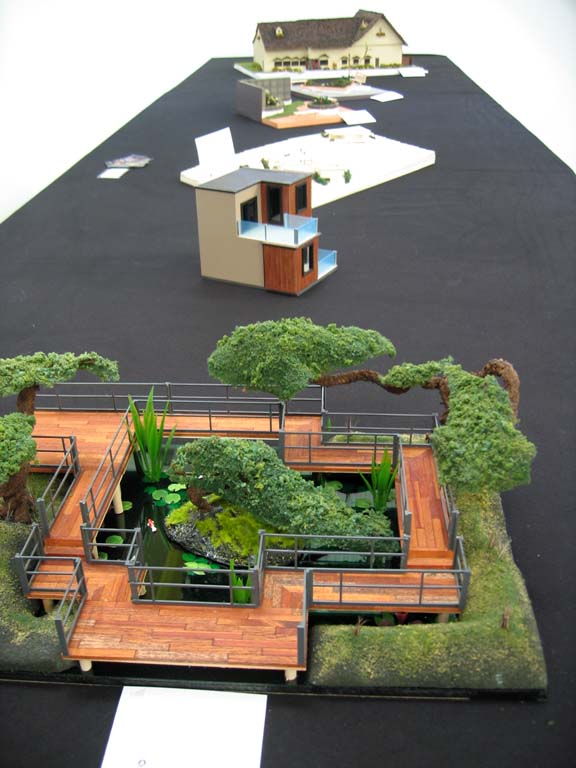
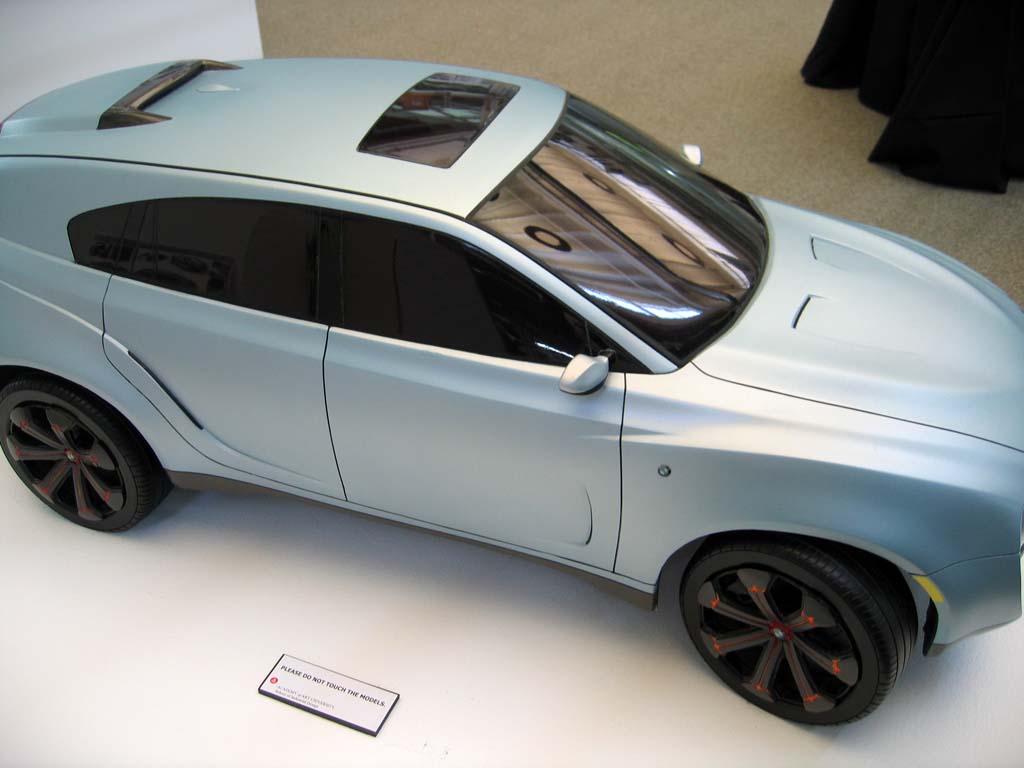
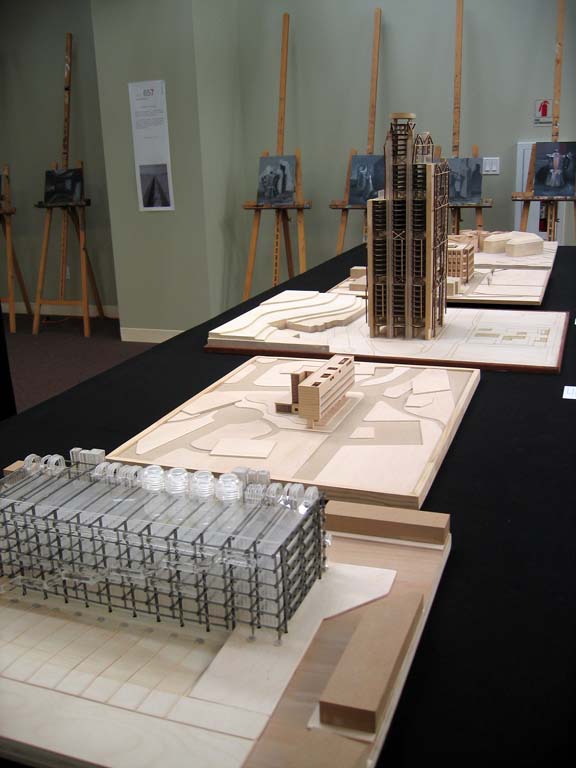
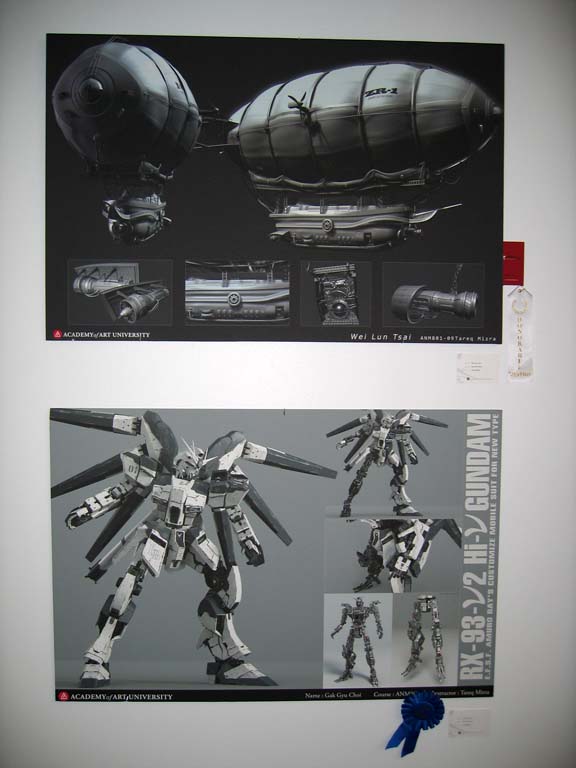
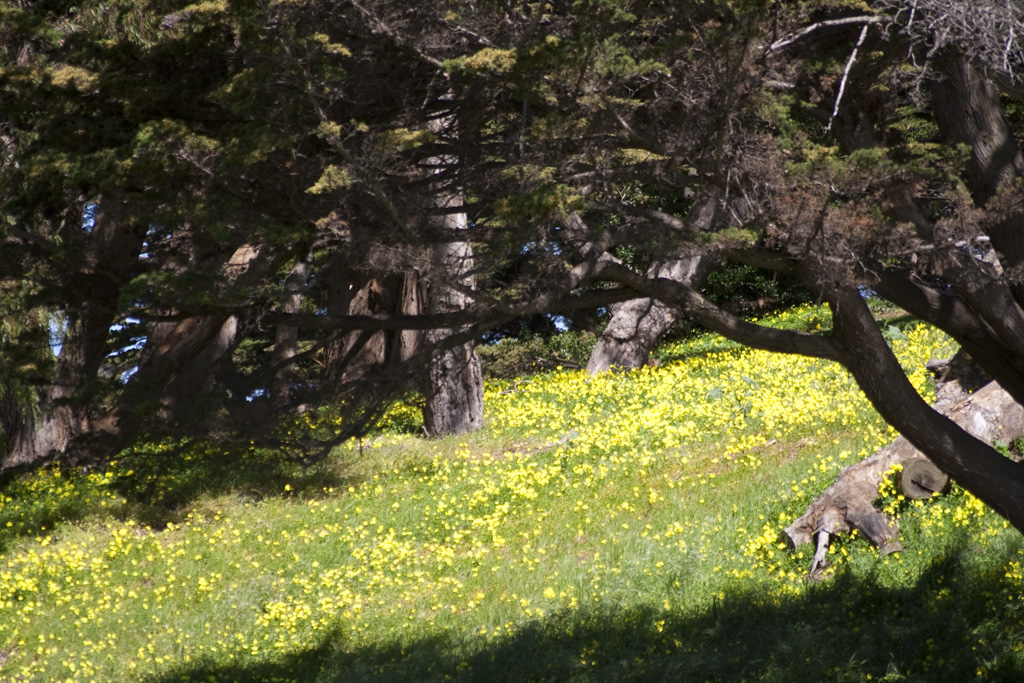
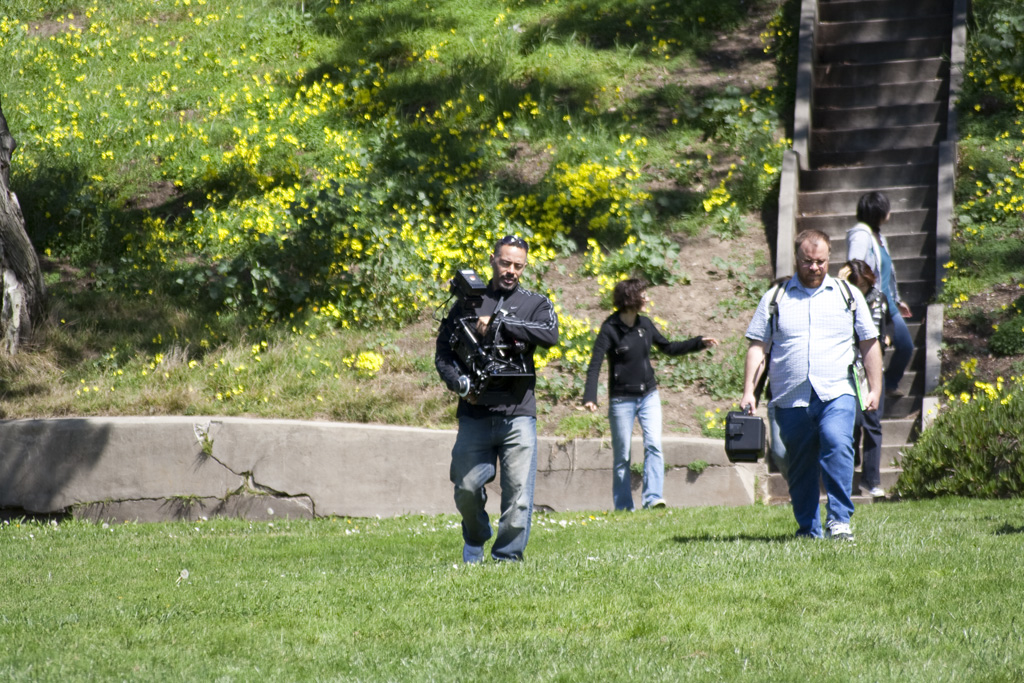
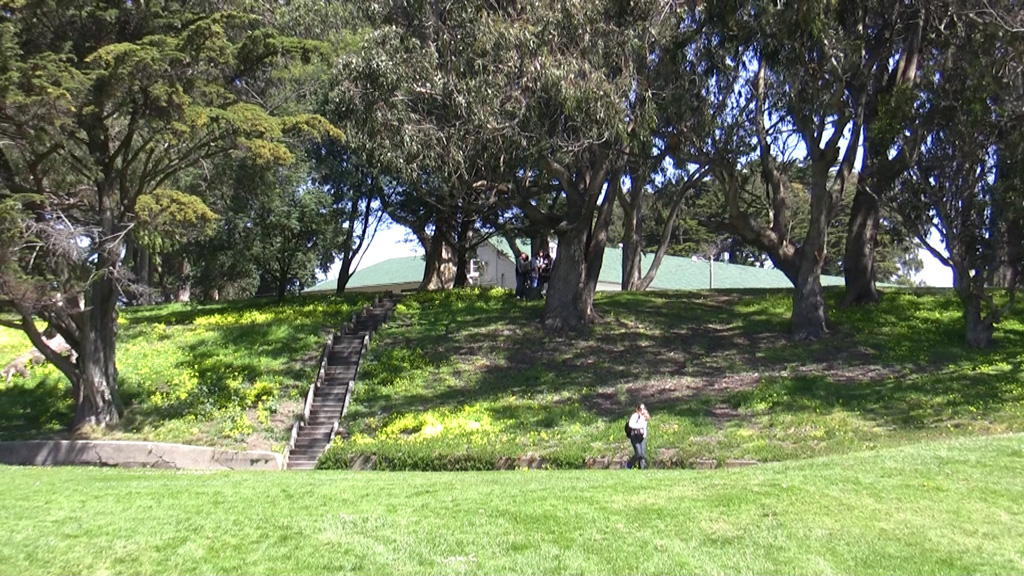
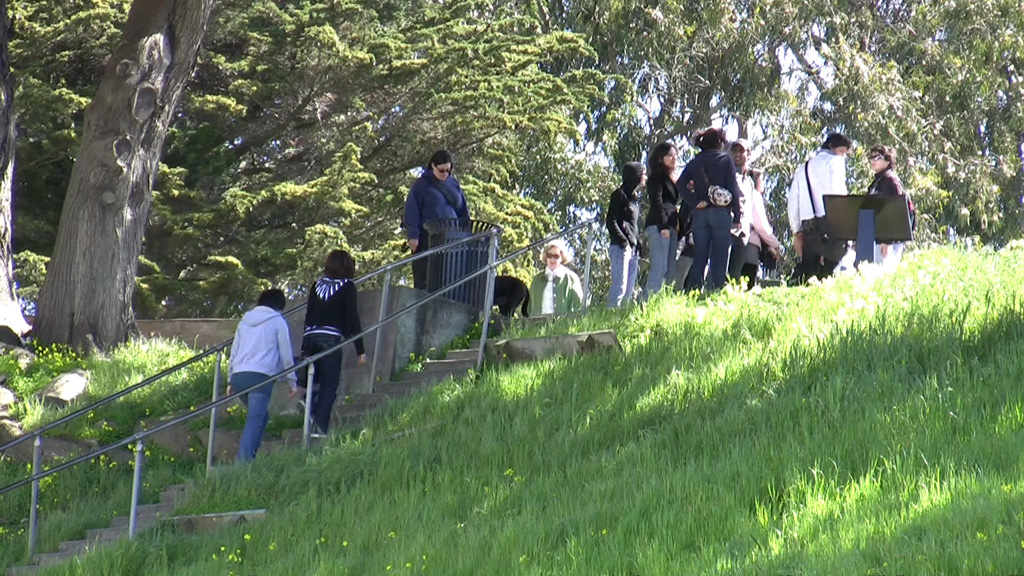
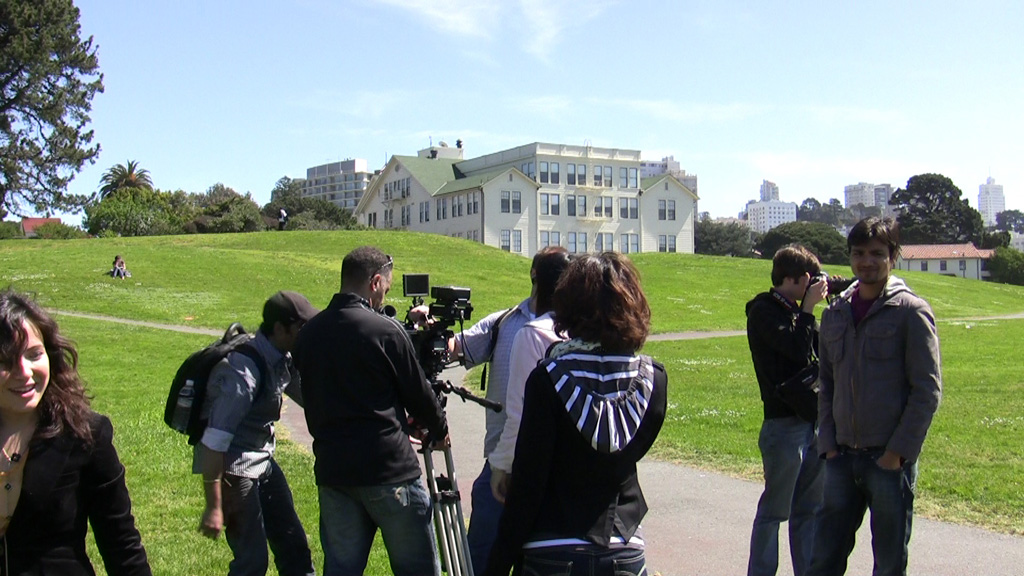
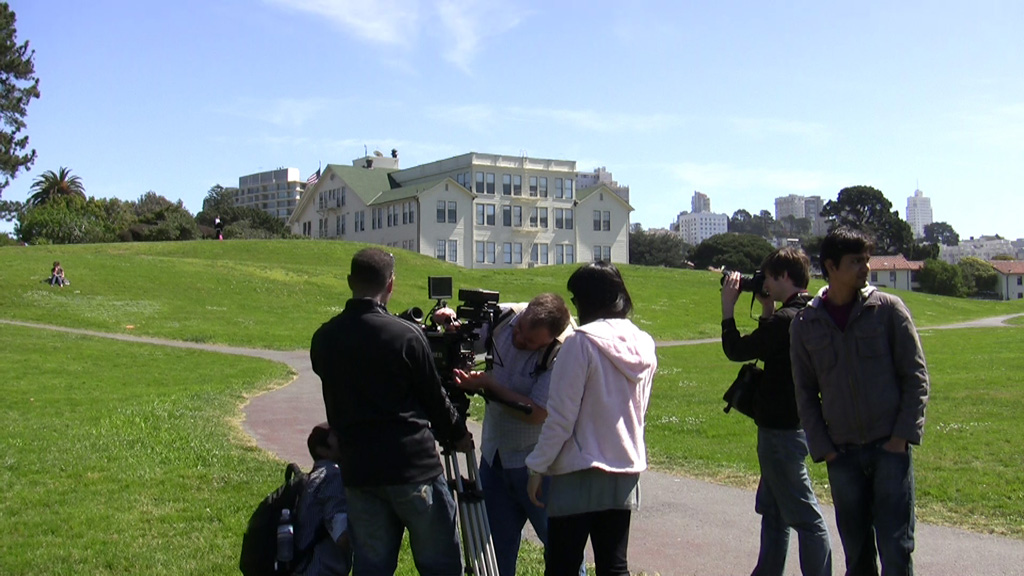
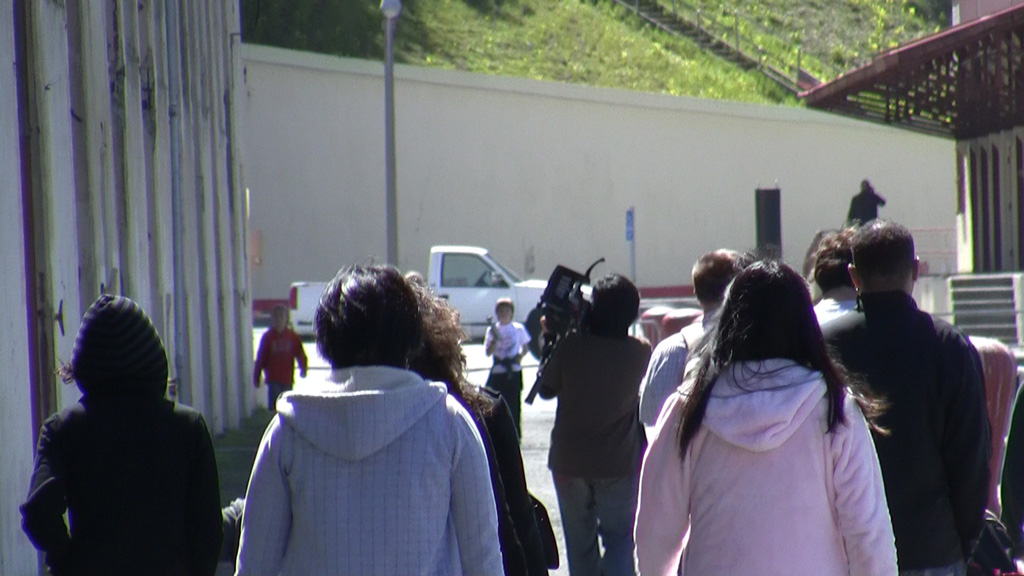
At the end of each spring semester, the Academy of Art has their annual spring show which showcases the best student work. We produced some really great Visual Effects and Animation work this year. If anyone lives in San Francisco, definitely check it out. It’s open house for all, but hurry since the show closes on June 11th, 2009.


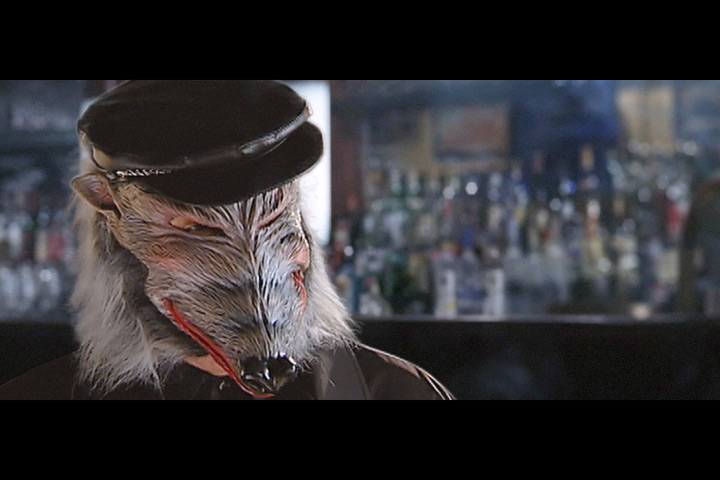
This scene is a recreation of a segment from the first Hulk movie trailer. The simulation was done with Maya with particle expressions and some rigid bodies. The main crack on the house was animated manually, along with some of the pieces inside the house flying out.
Tools Used:
Maya, Nuke
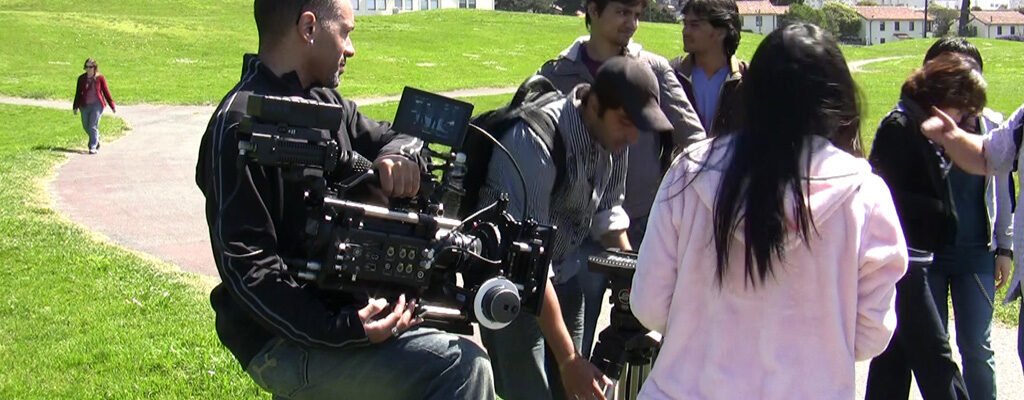
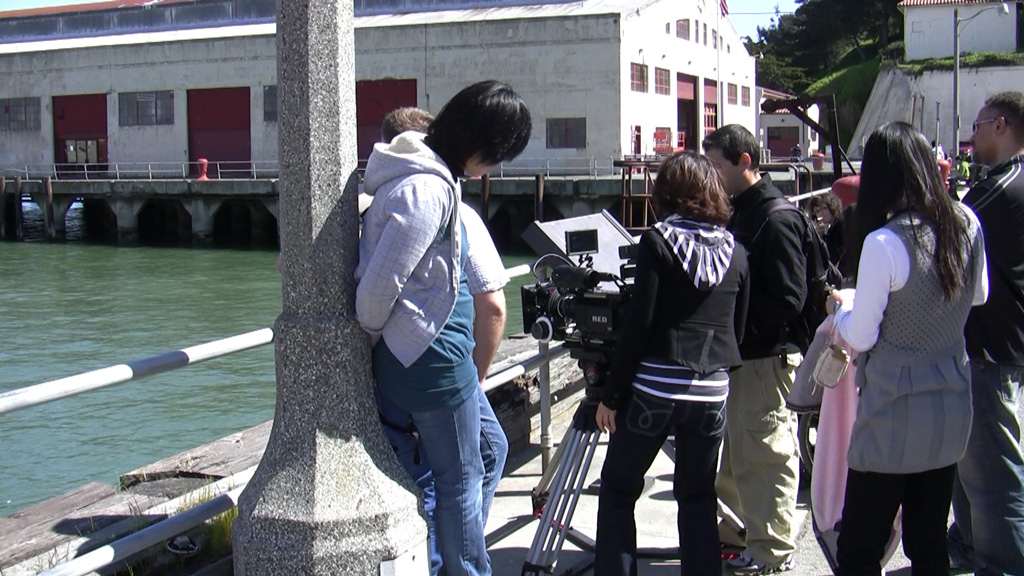
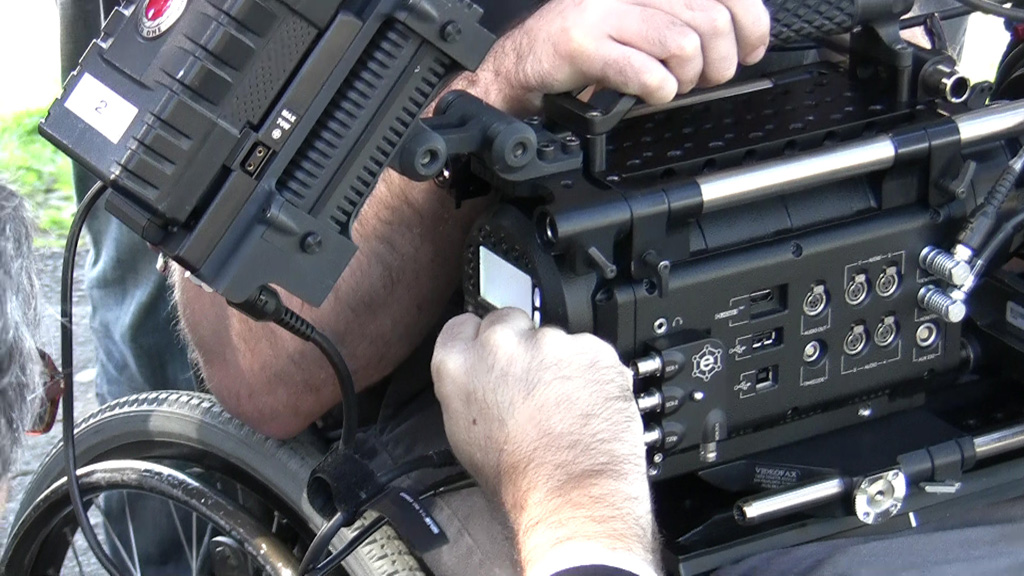
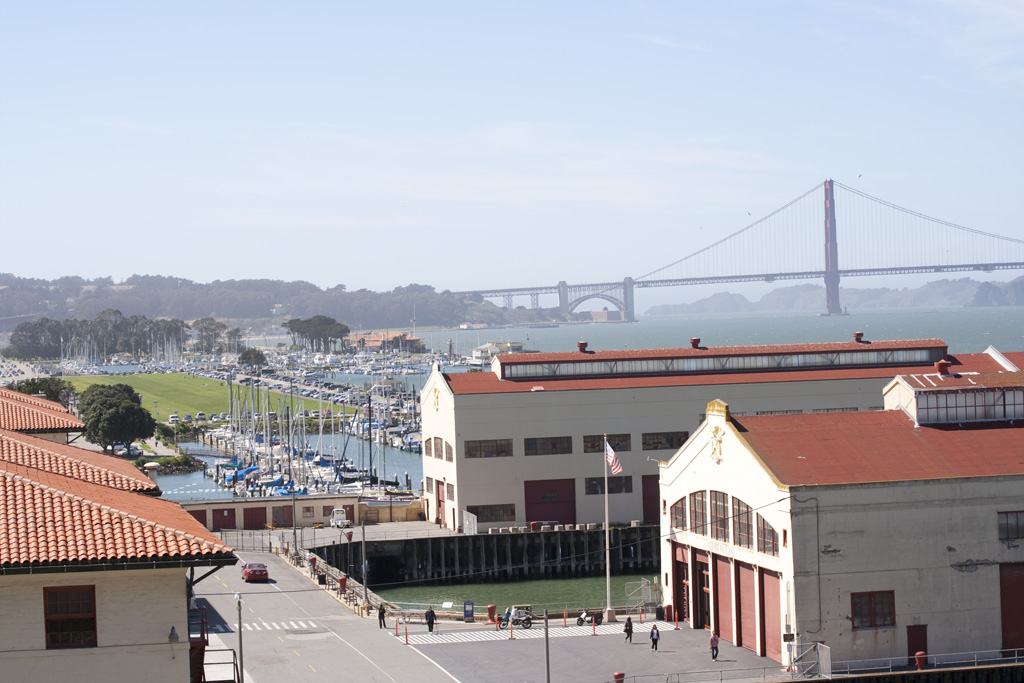
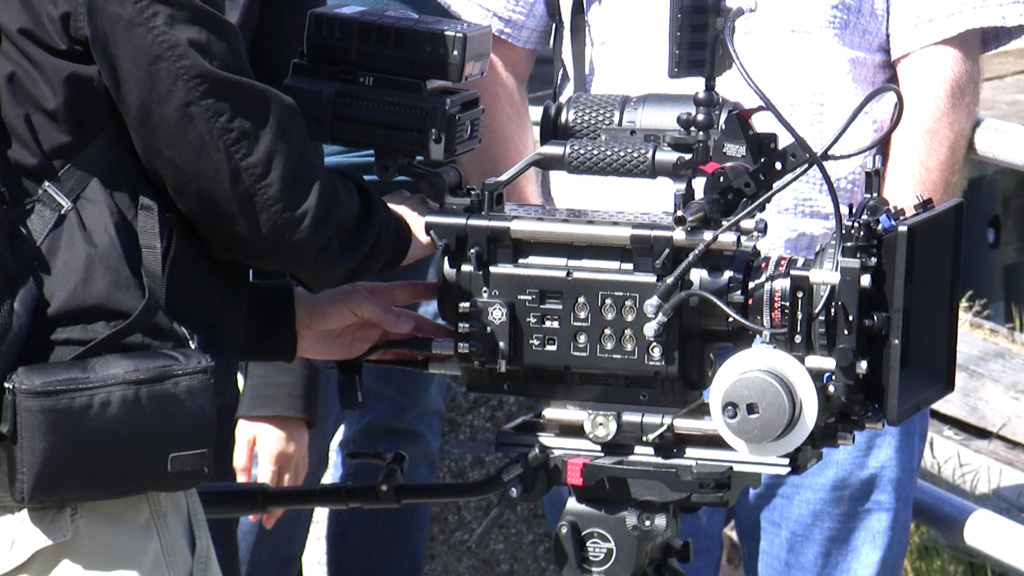
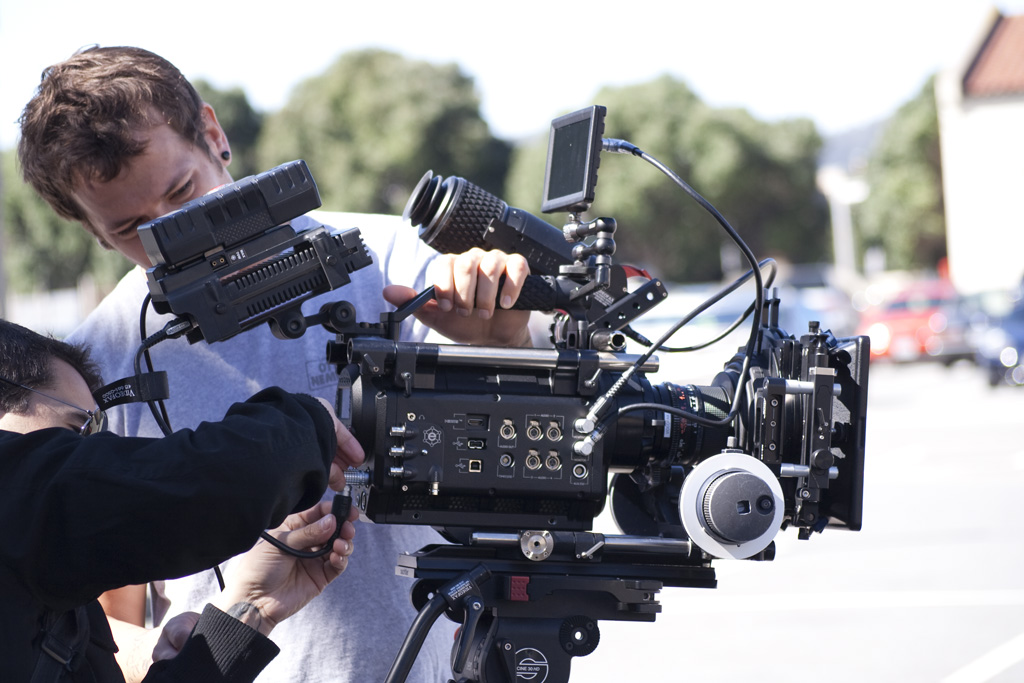
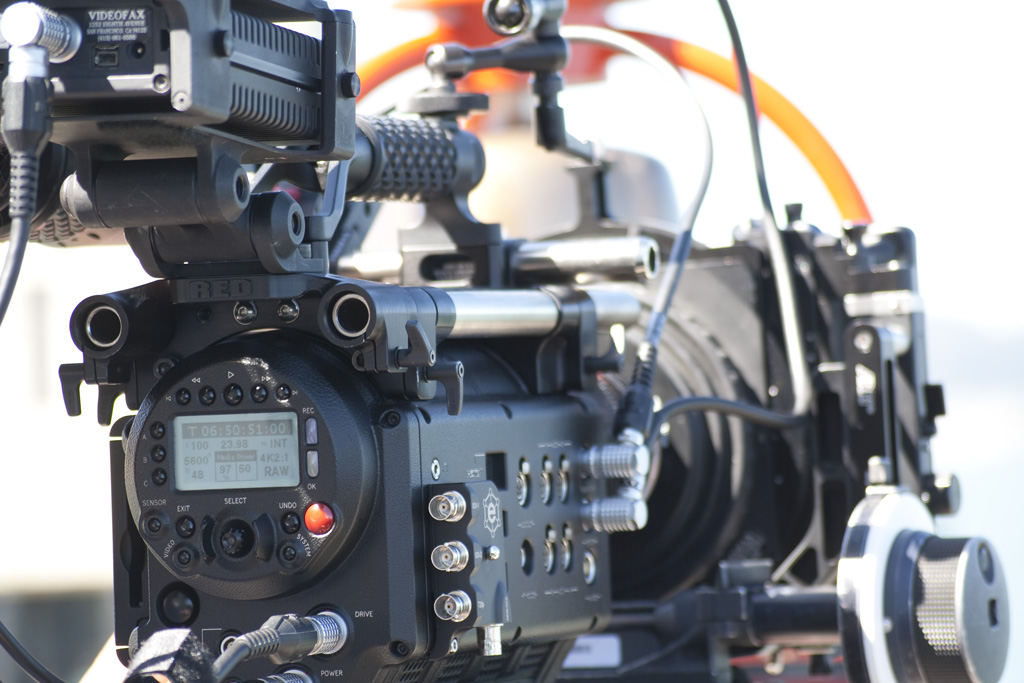
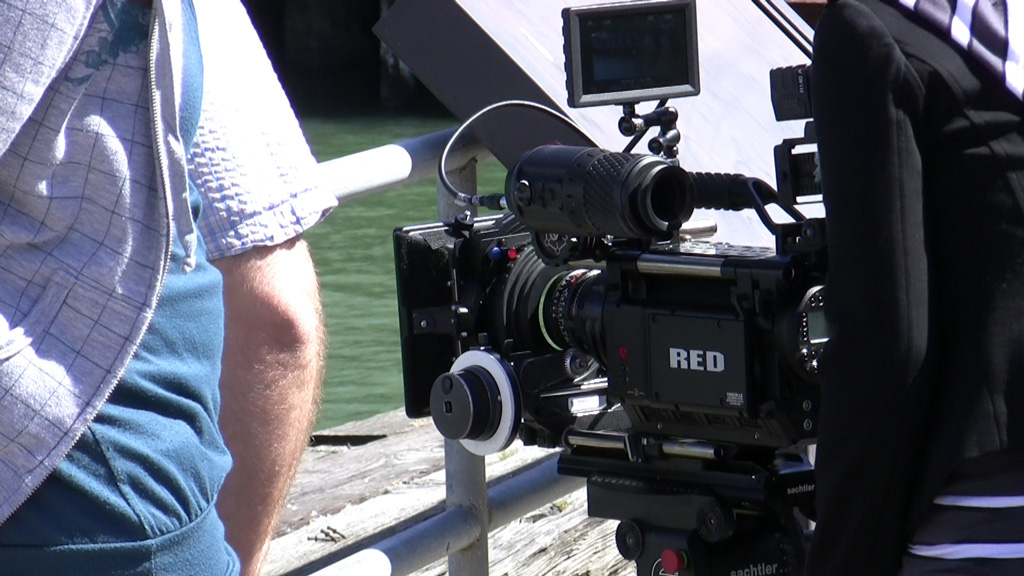
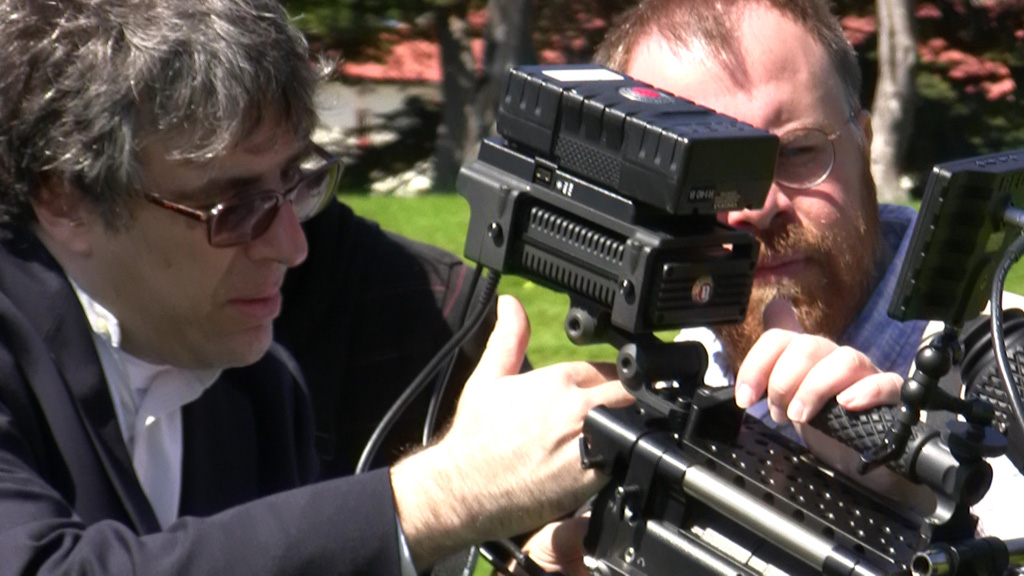
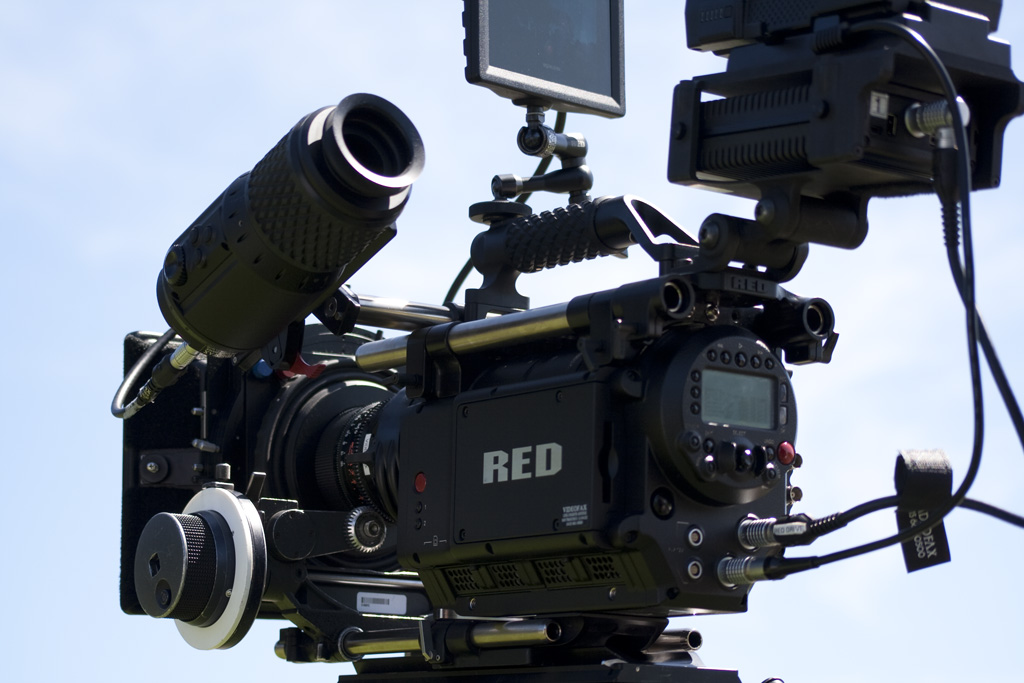
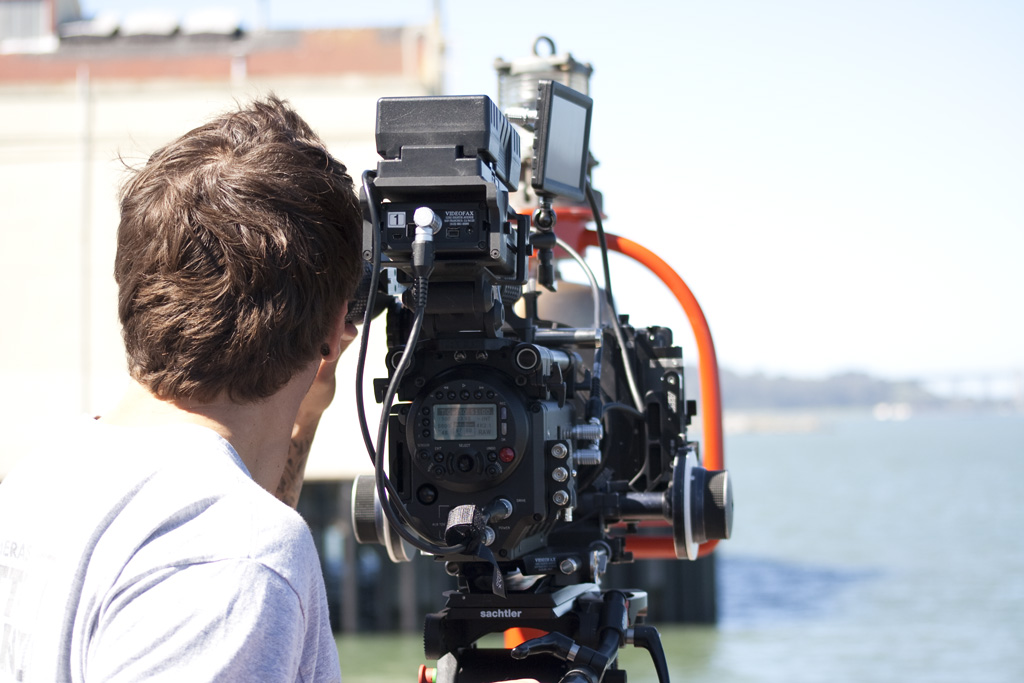
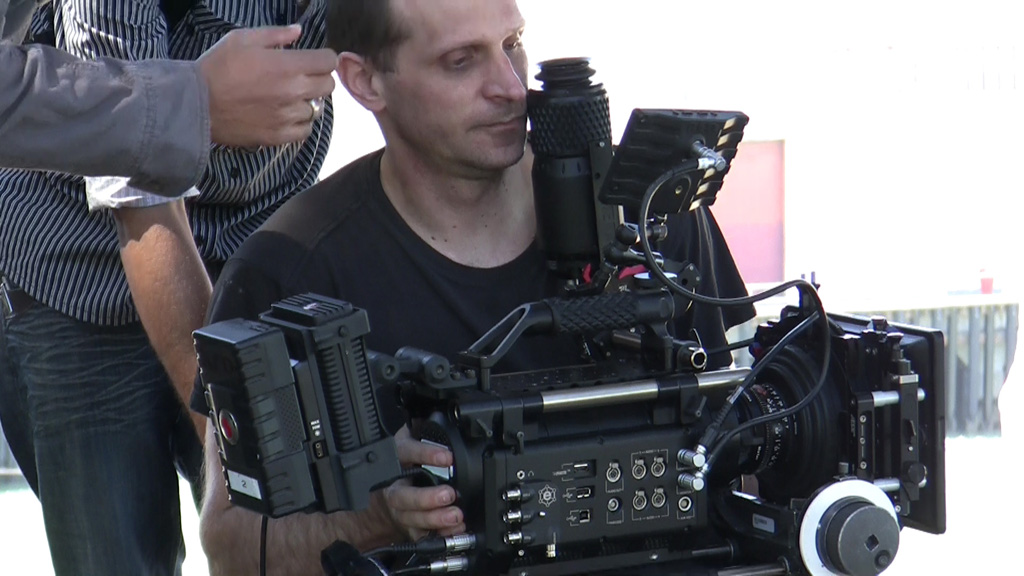
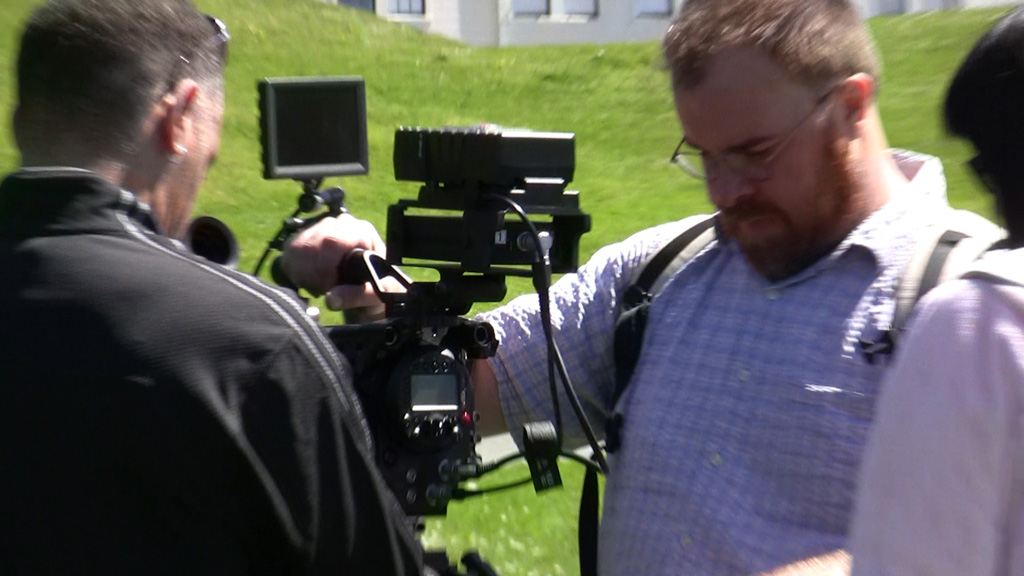
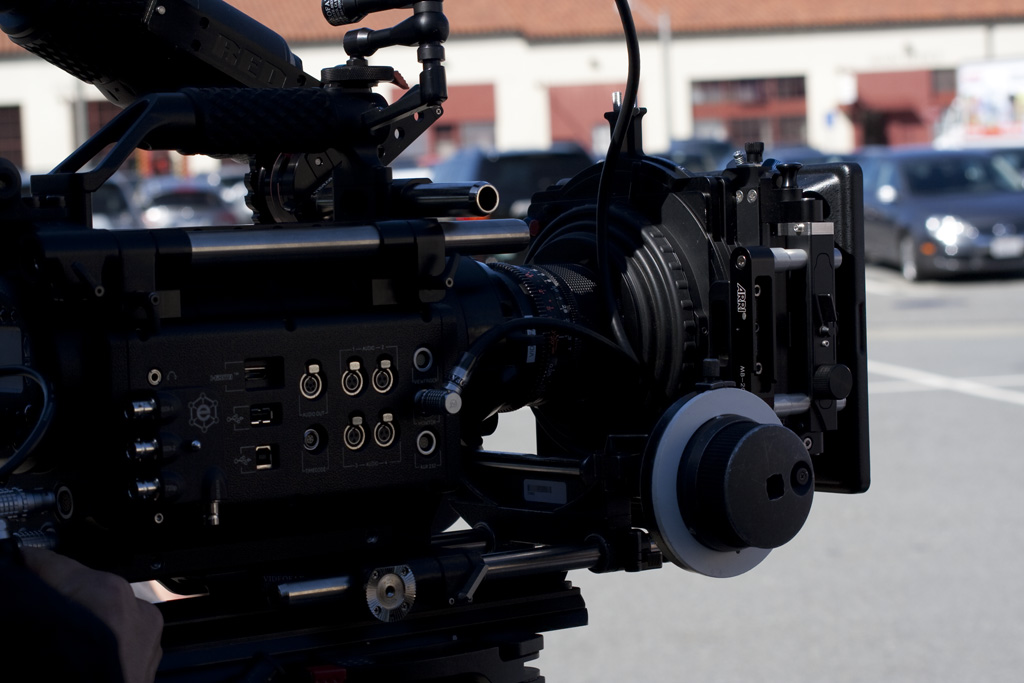
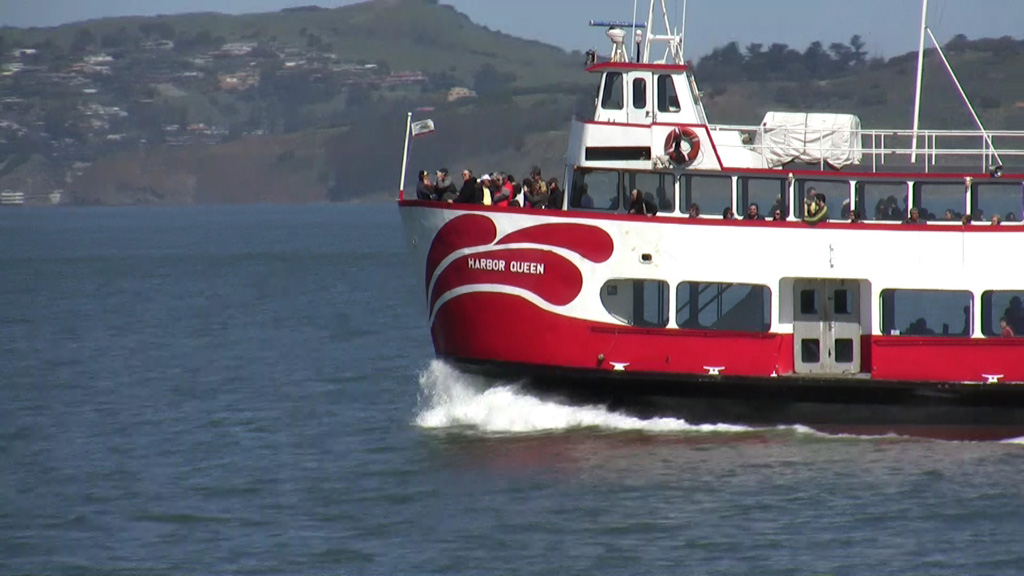
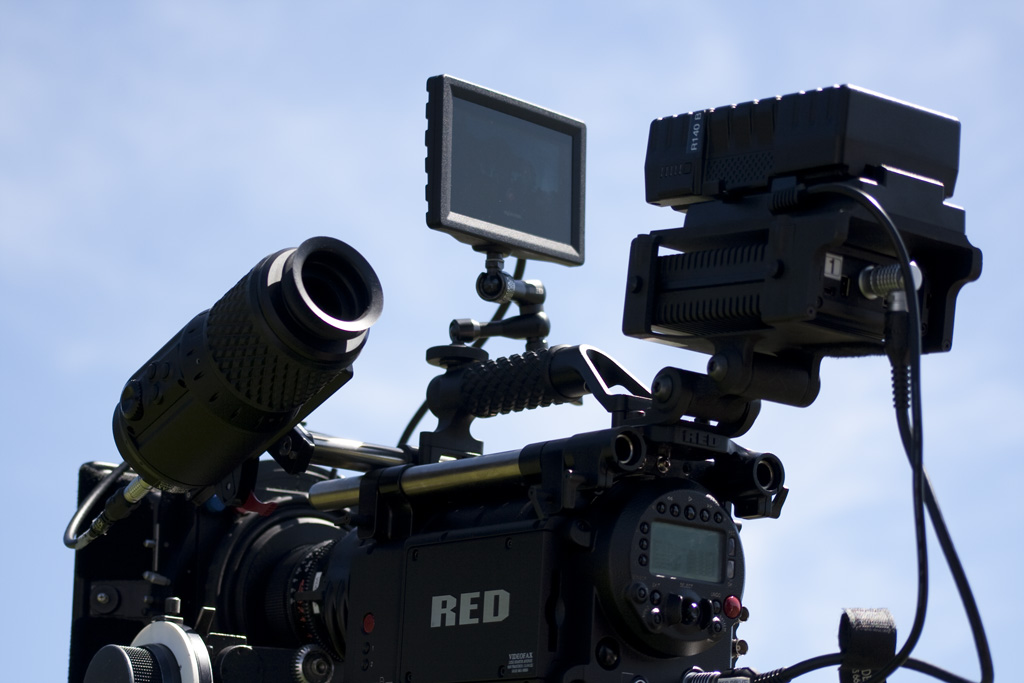
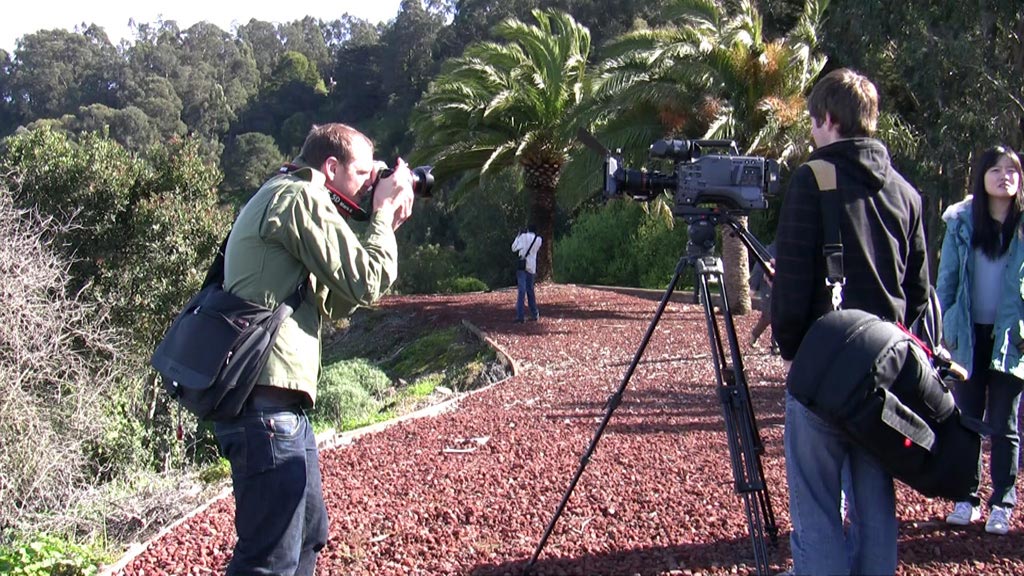
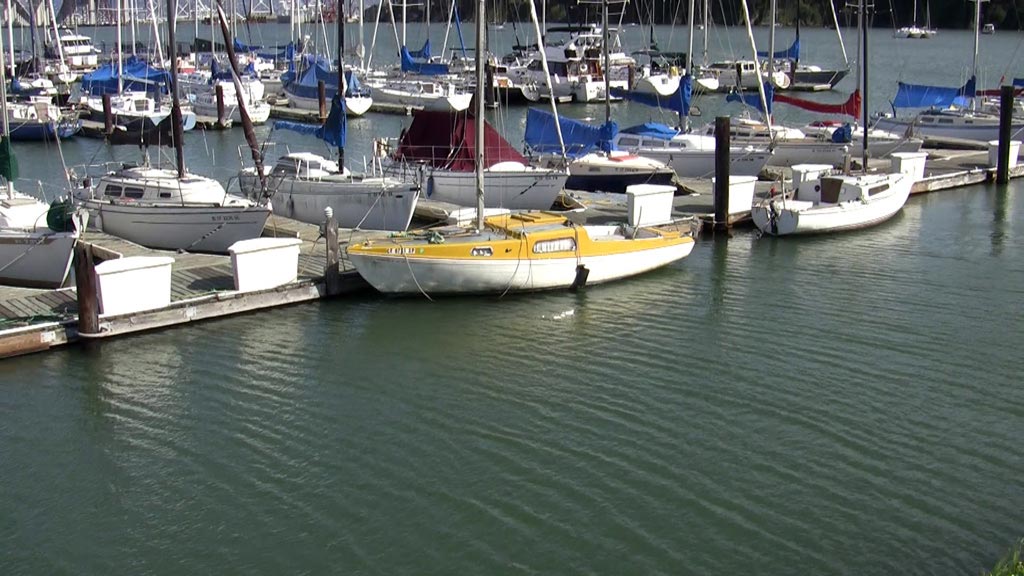
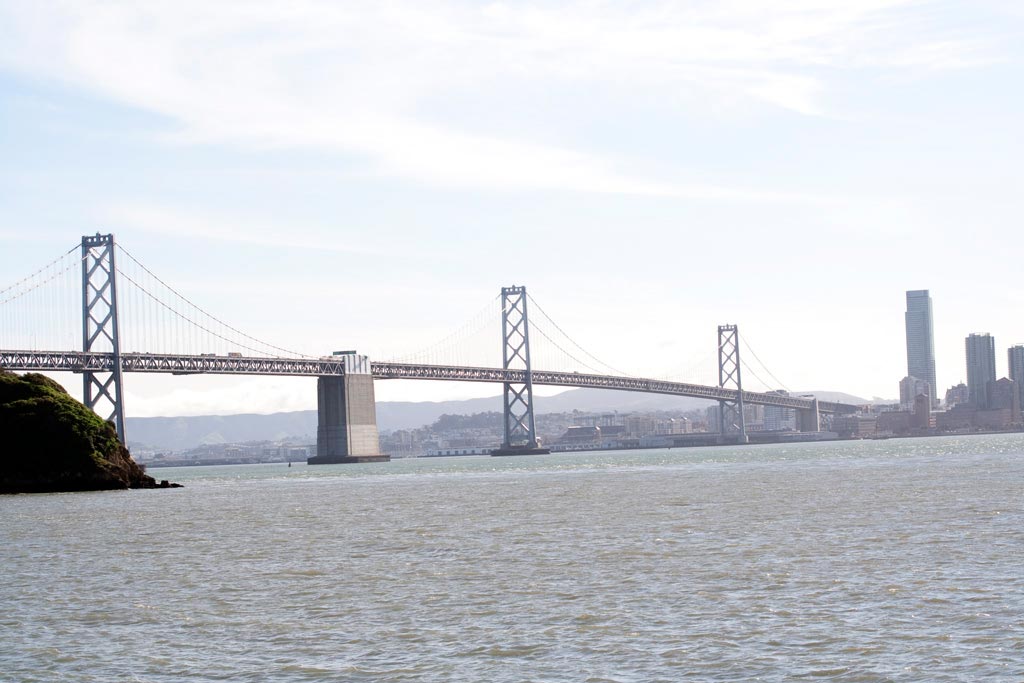
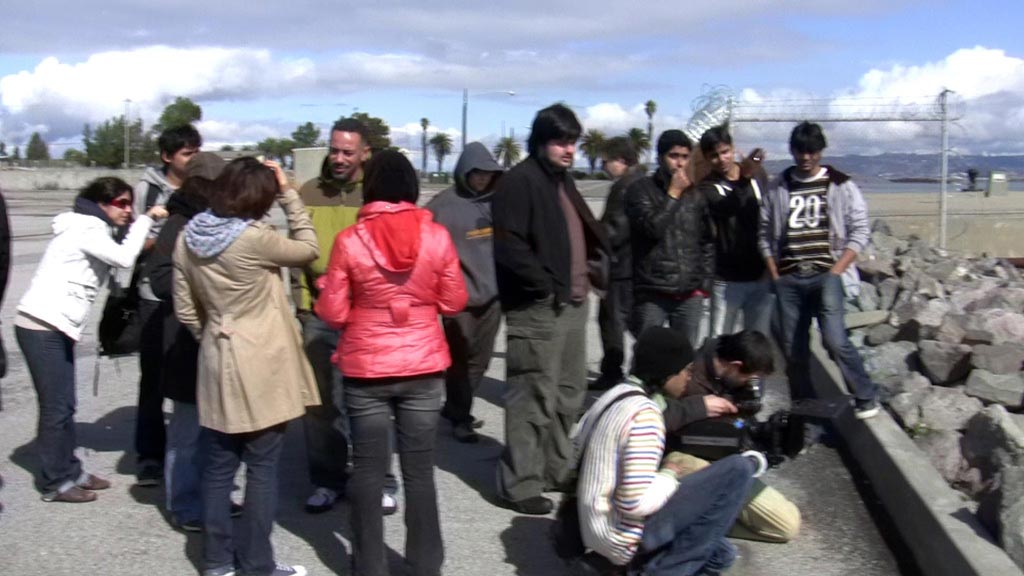
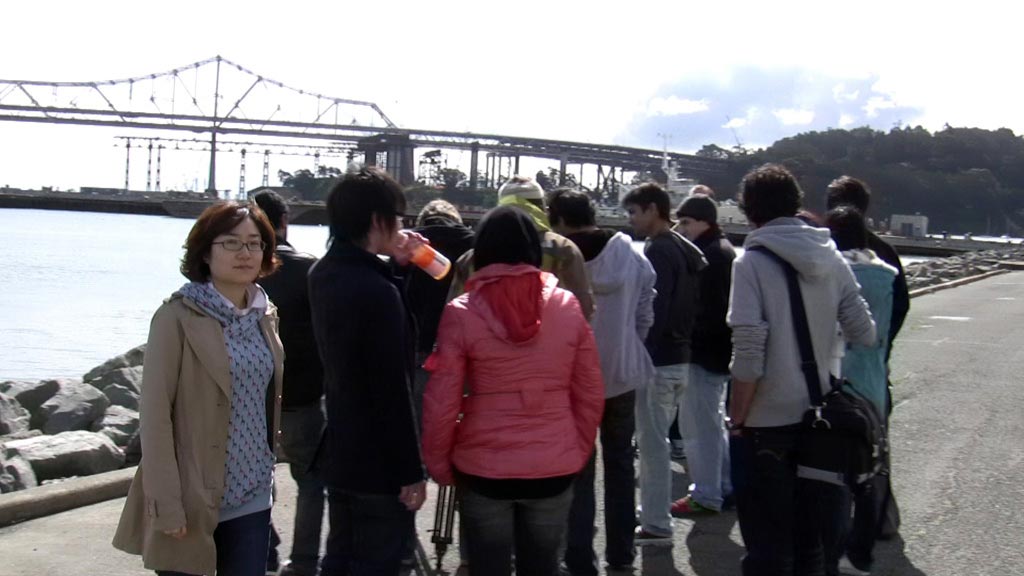
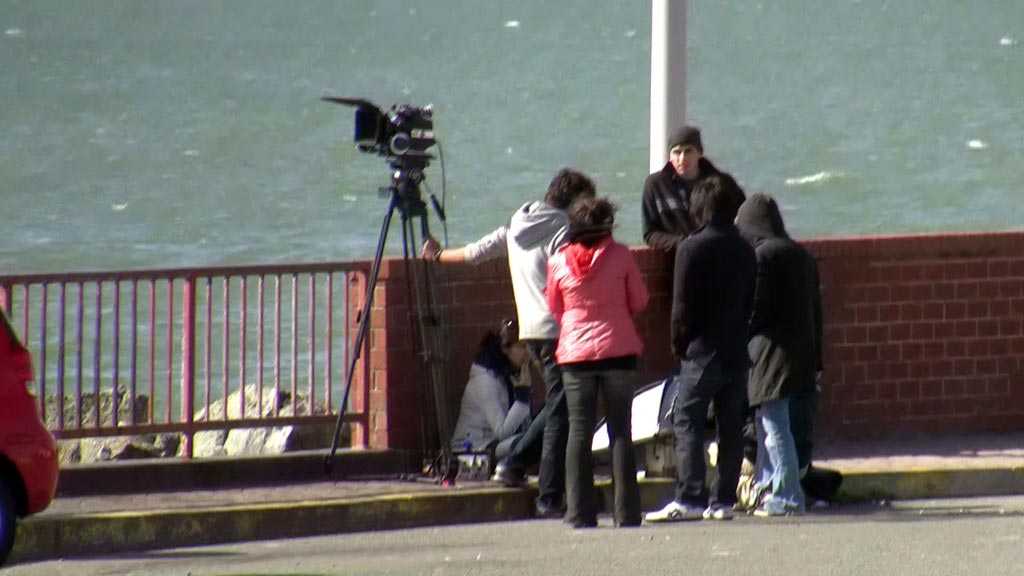
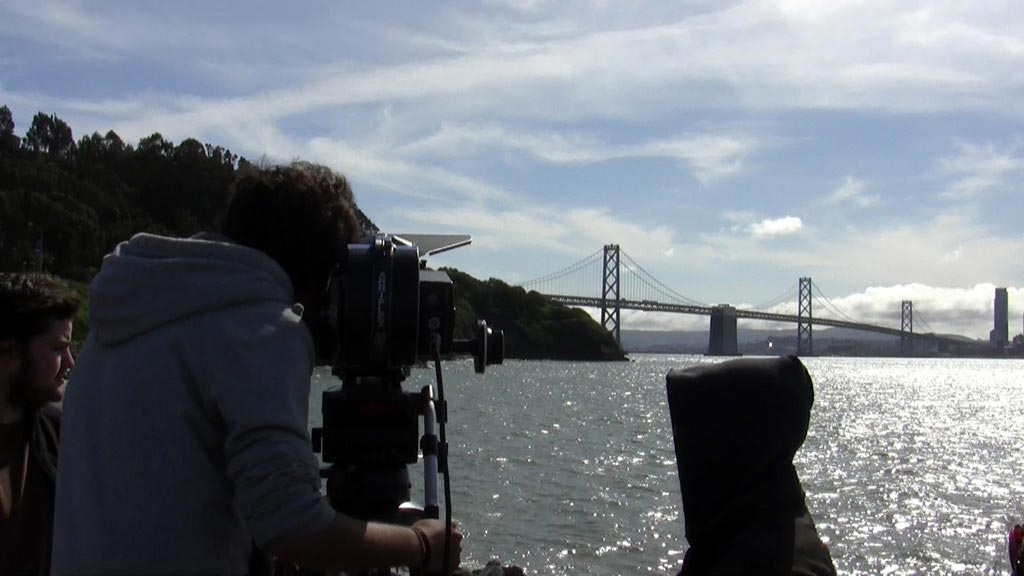
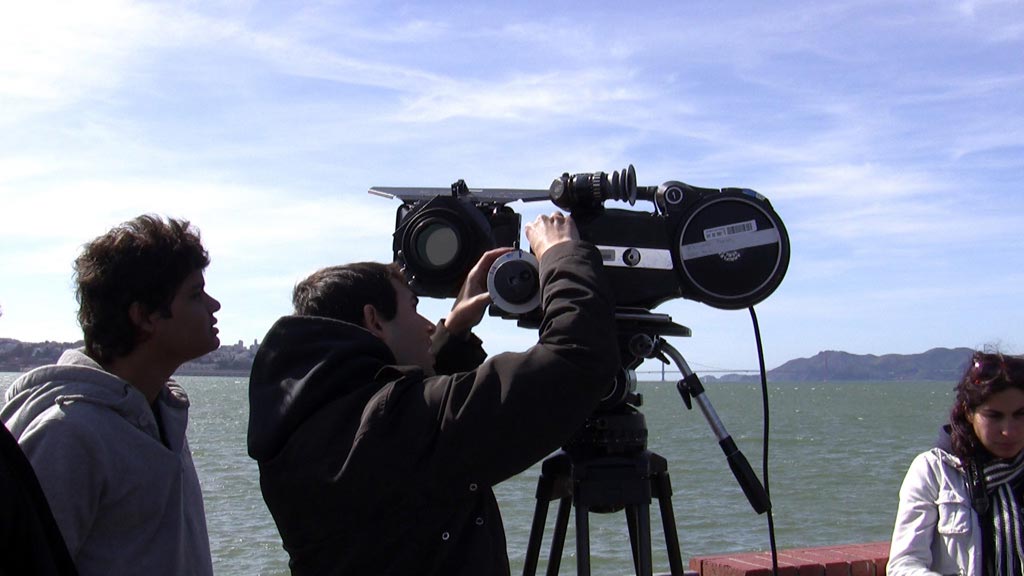
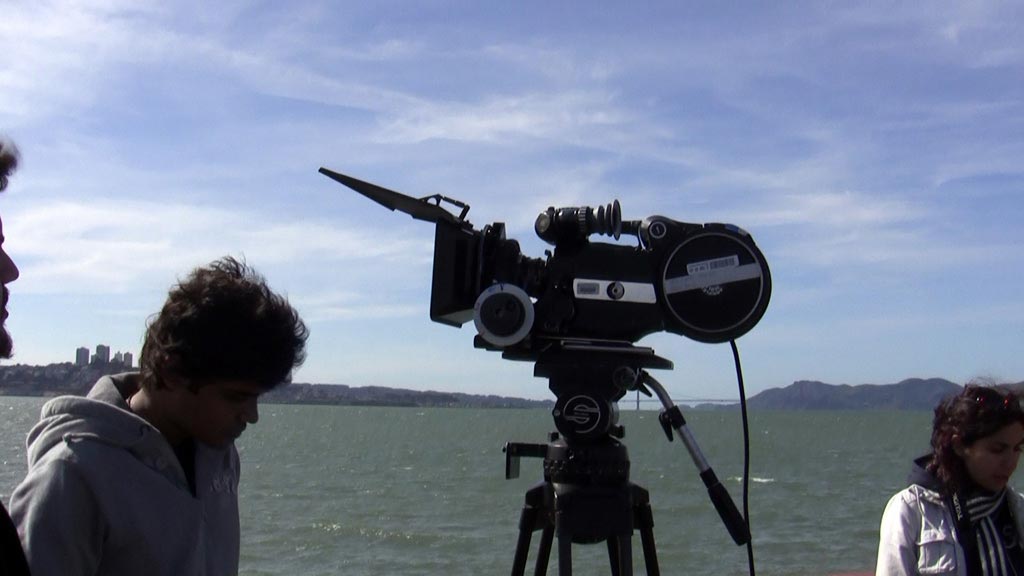
For our second field trip, the school rented a RED One Camera and we shot a few plates in the Marina district of San Franscisco. There has been a lot of hype about the RED so it was really nice to be able to mess around with it. I have to say, it can be quite intimidating at first with all the options that are available on it. The great thing about the red is that you completely bypass any film processing as the files are stored digitally onto either a harddrive or memory card. We shot a few items at high frame rate at 160fps.


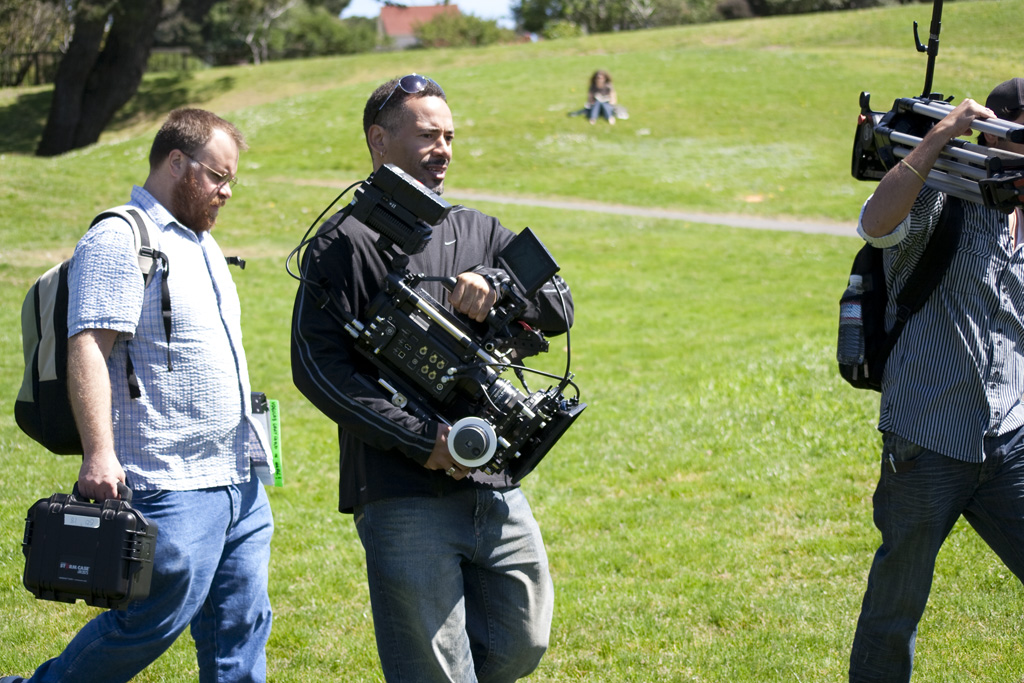
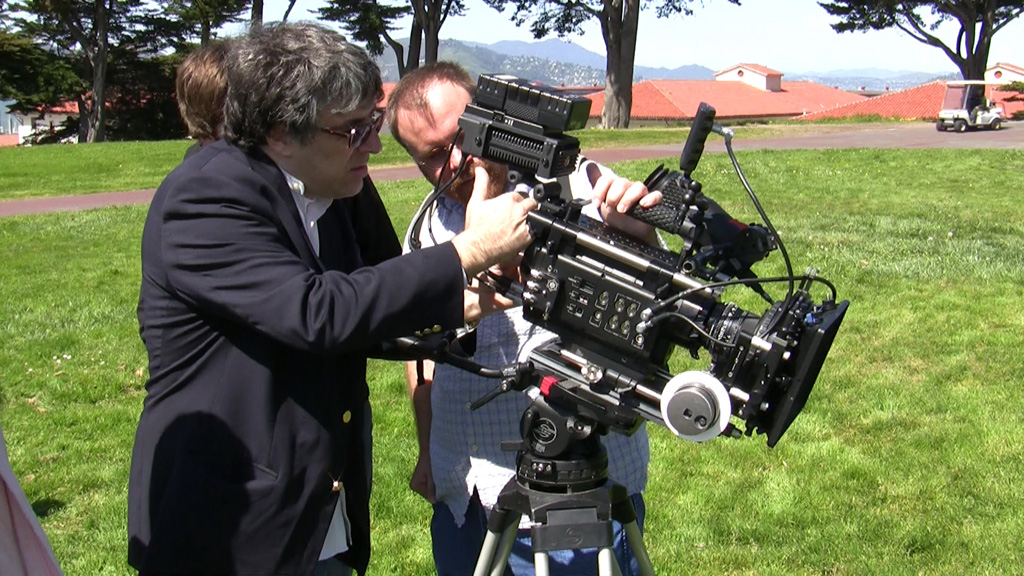
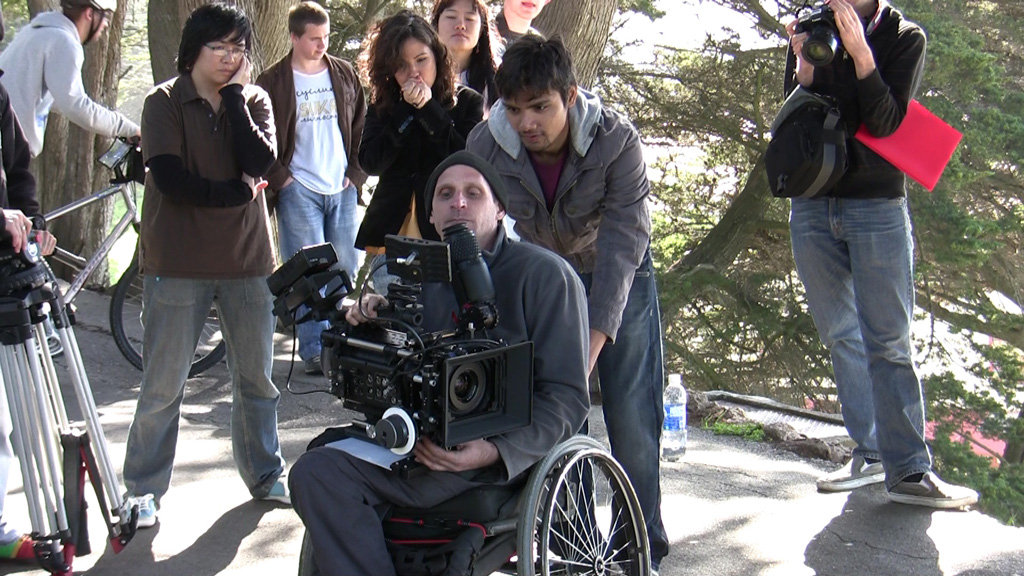
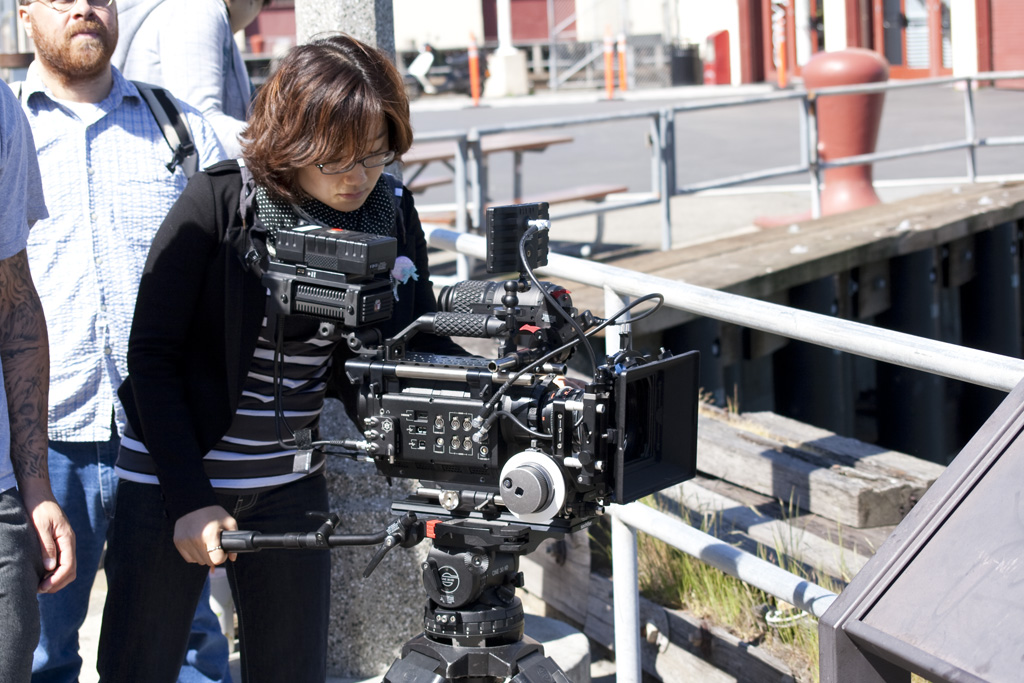
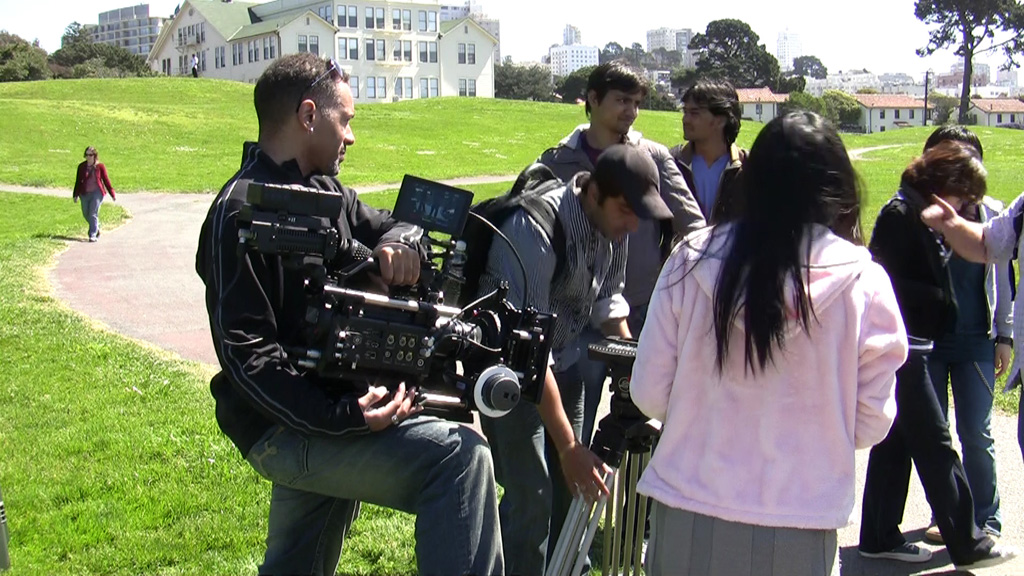
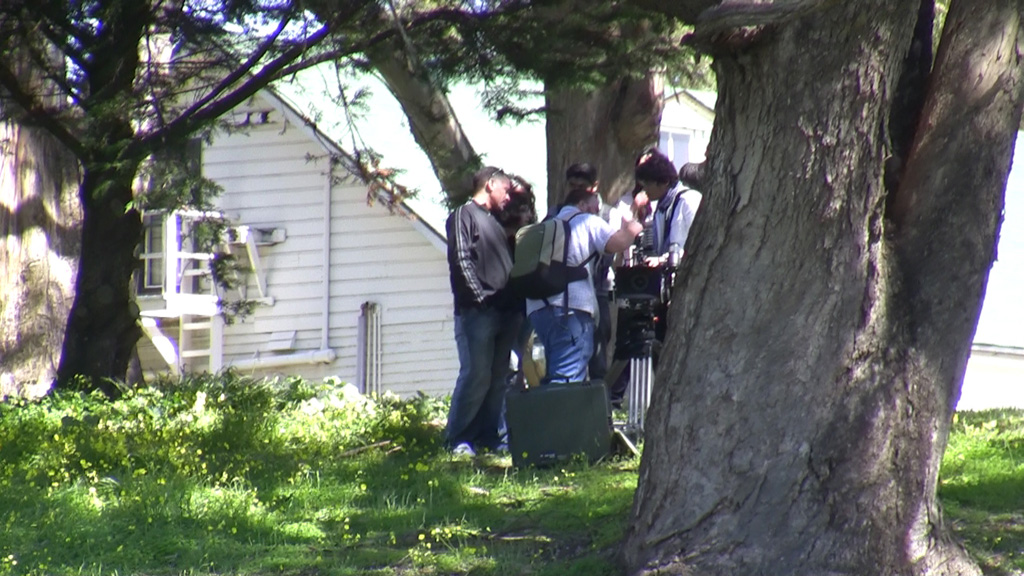
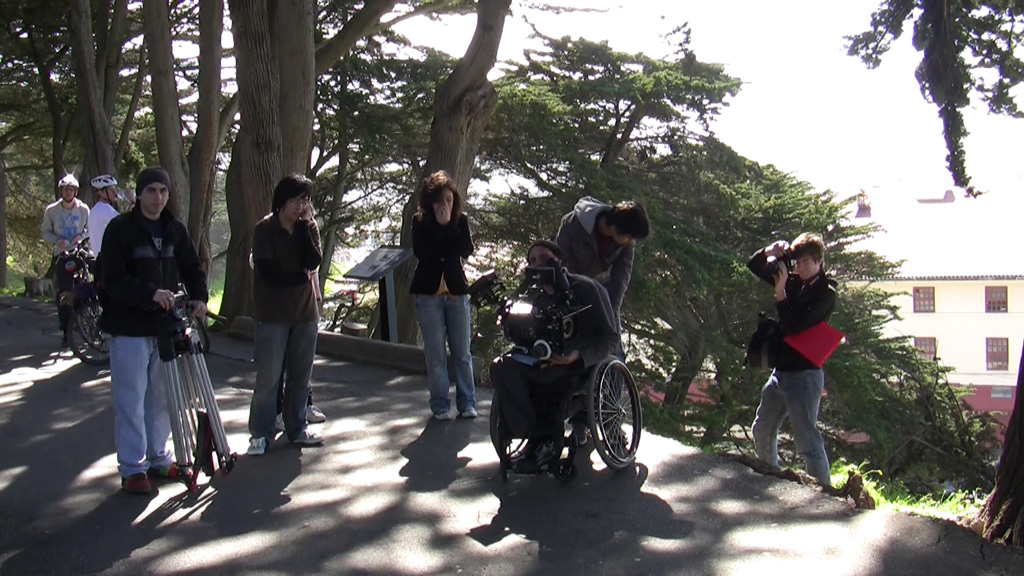
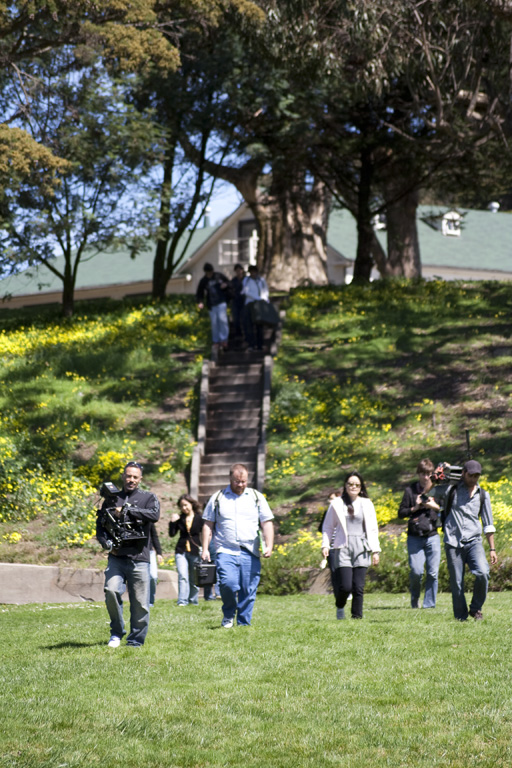


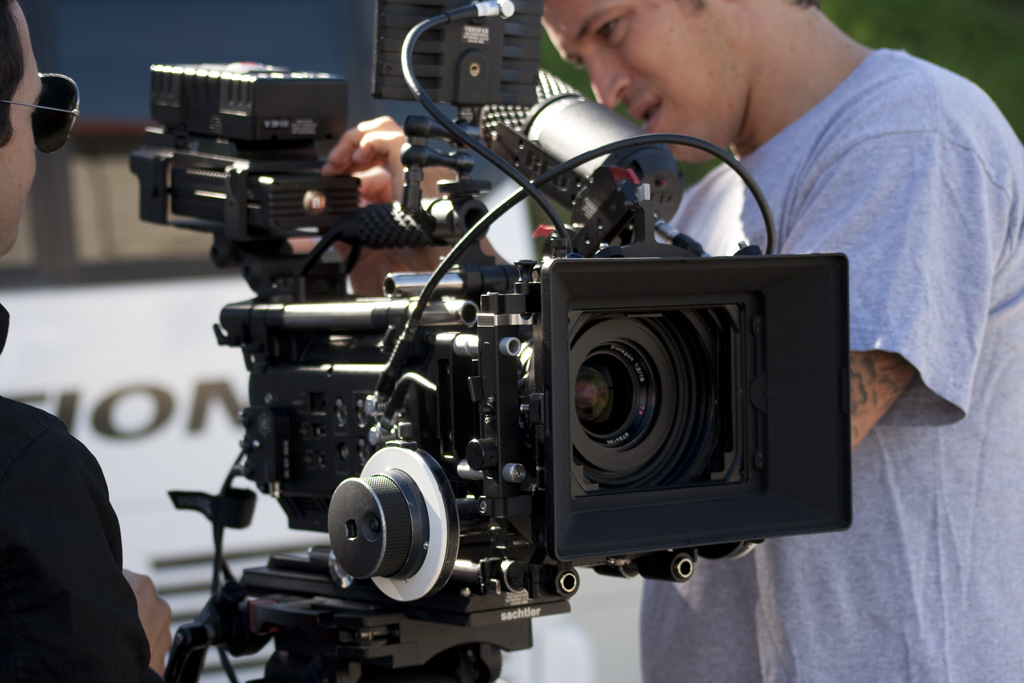

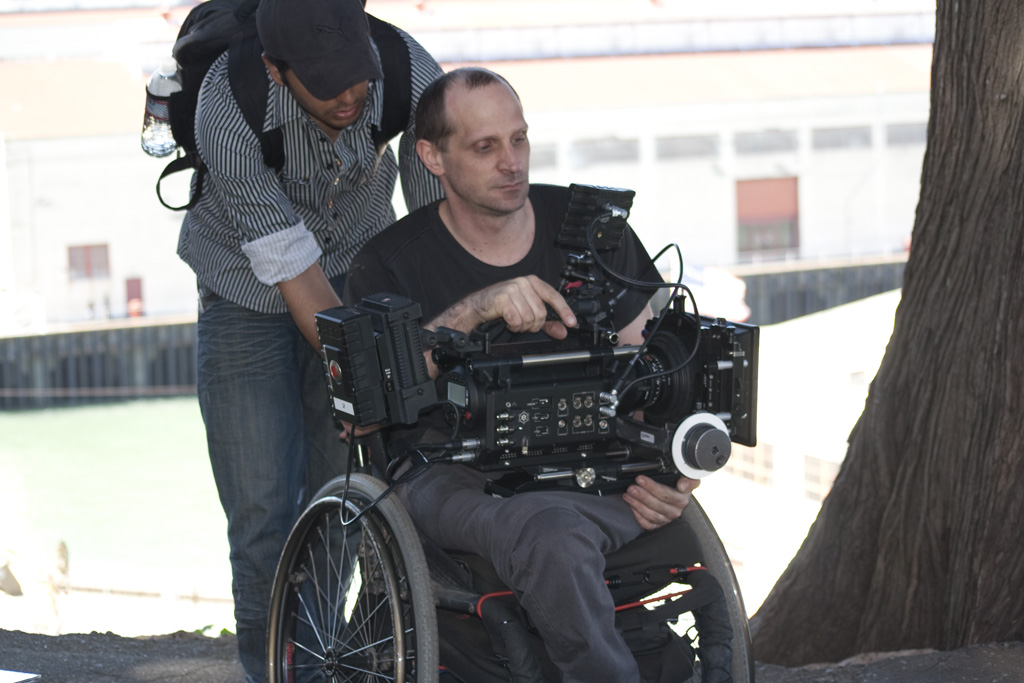

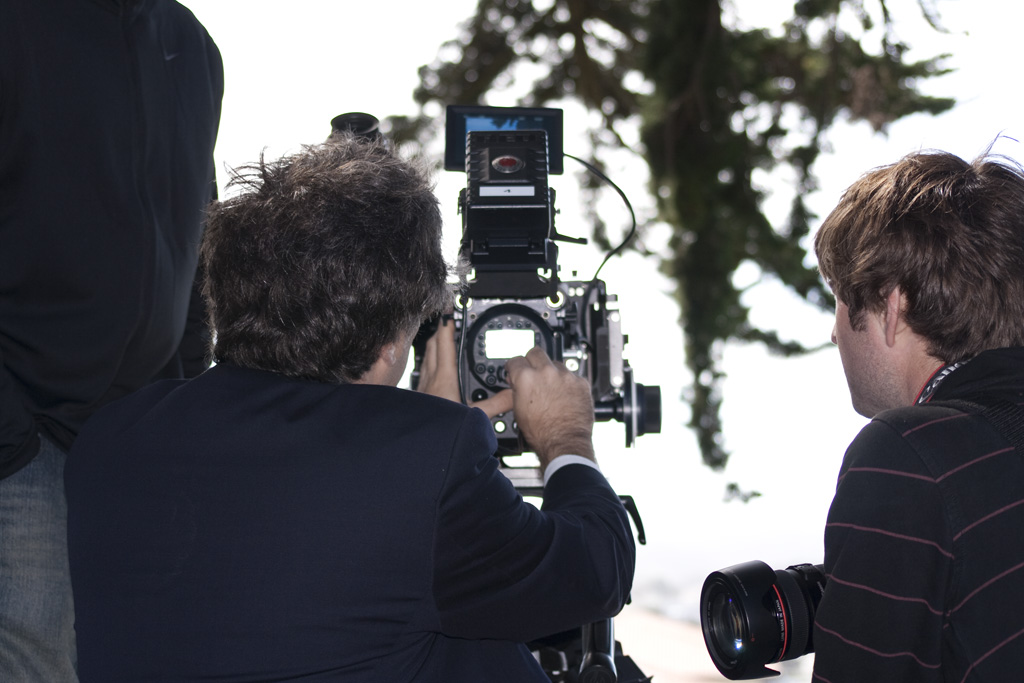
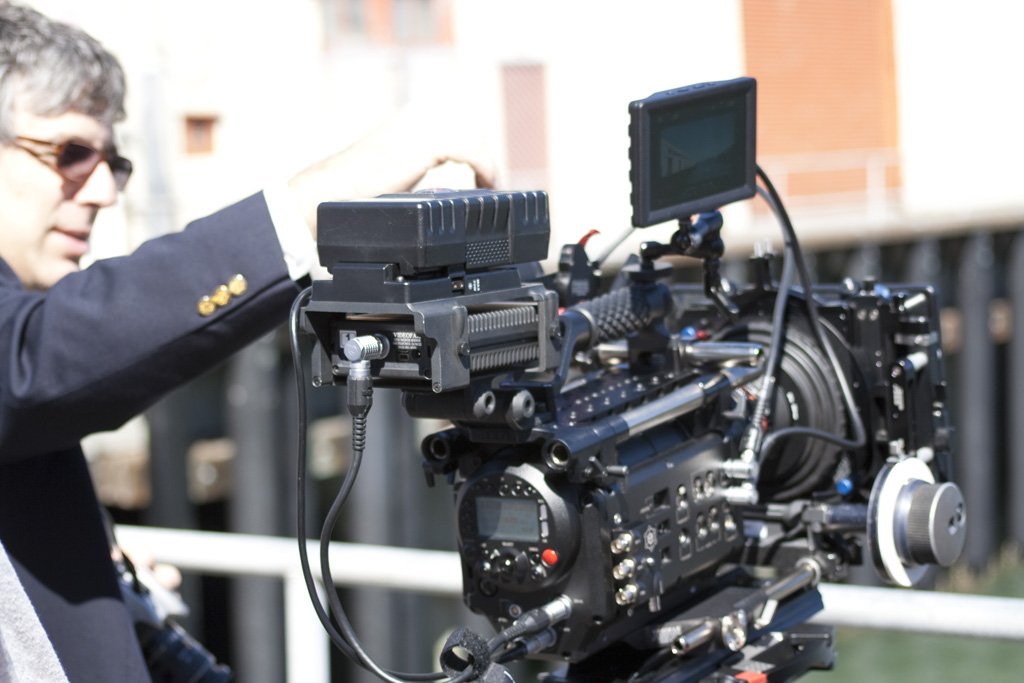

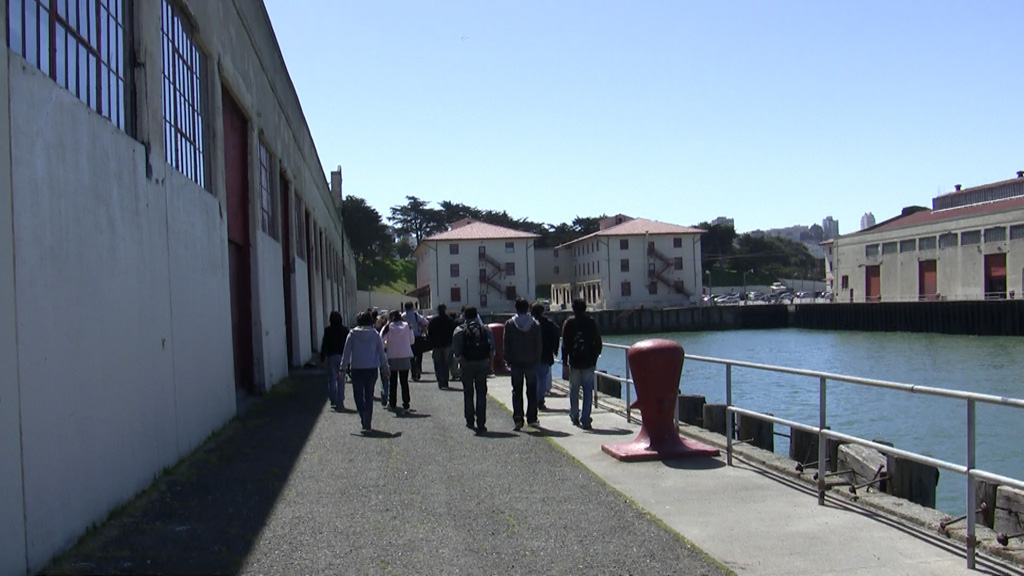
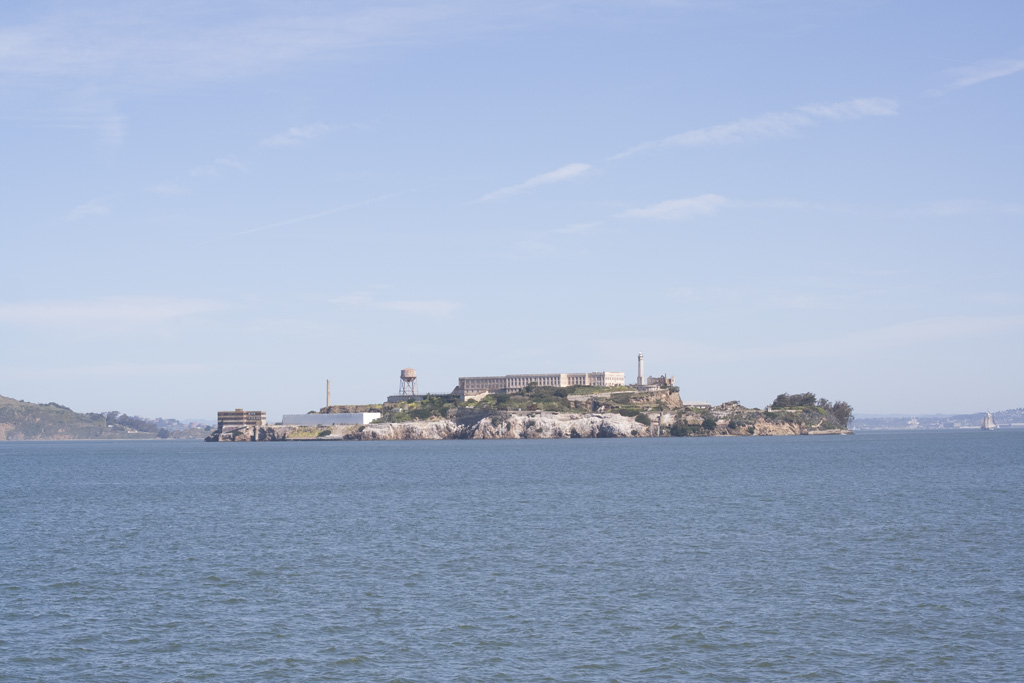
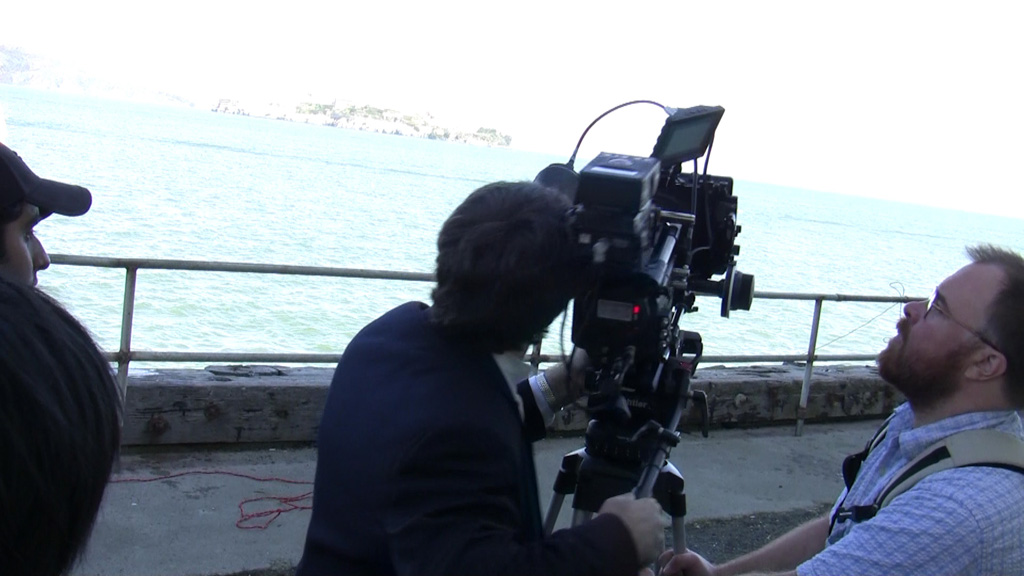

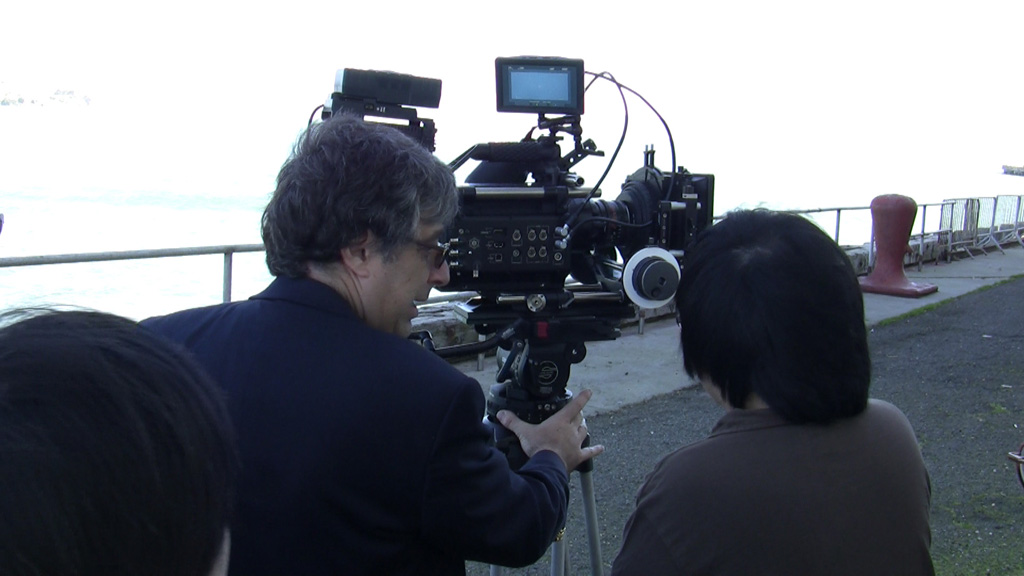


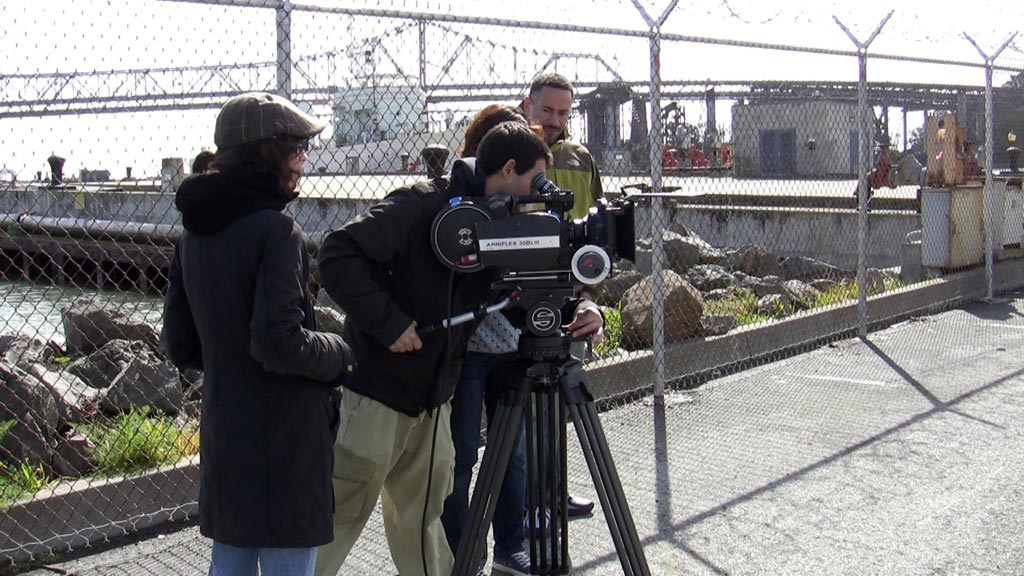
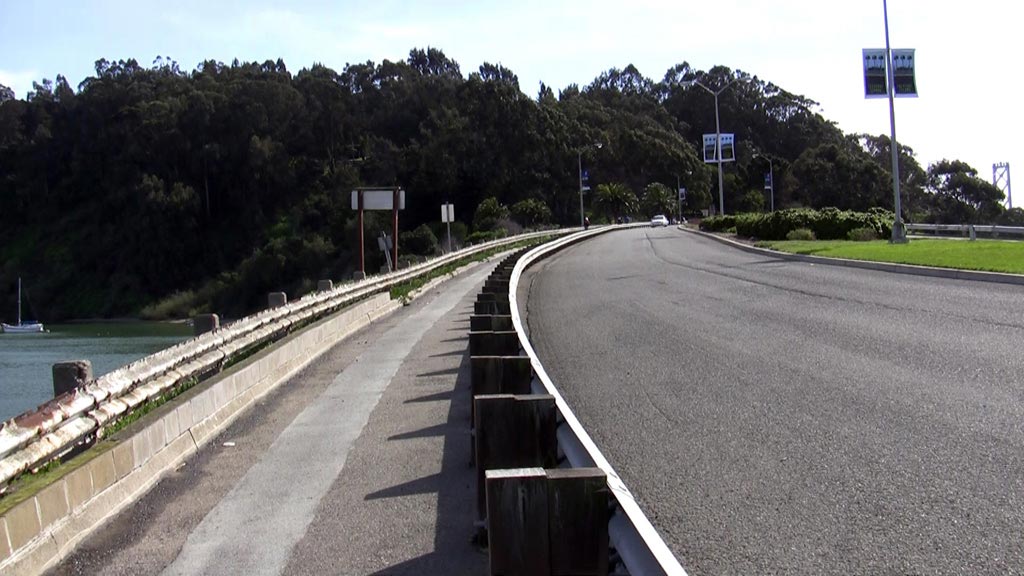
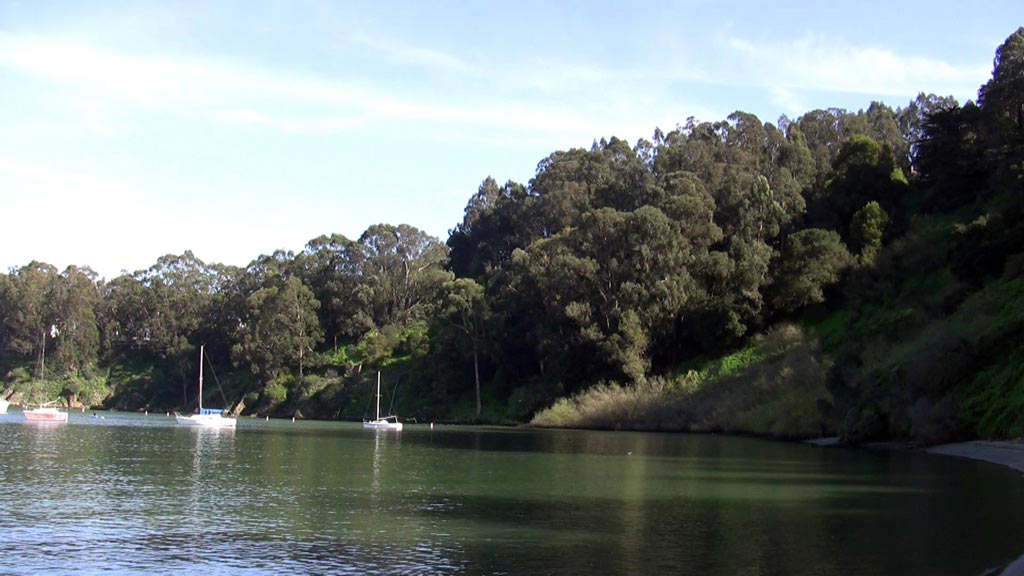
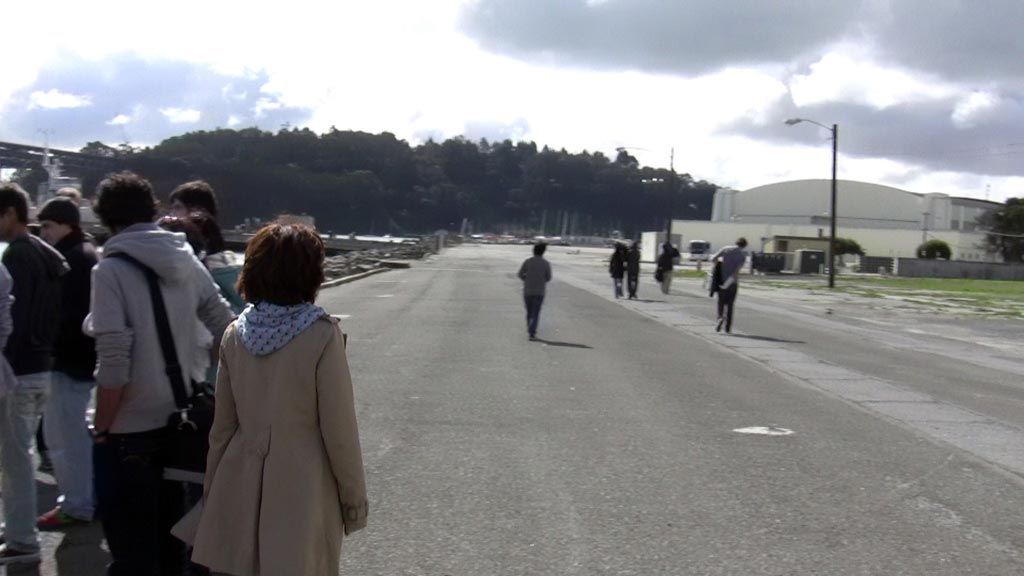
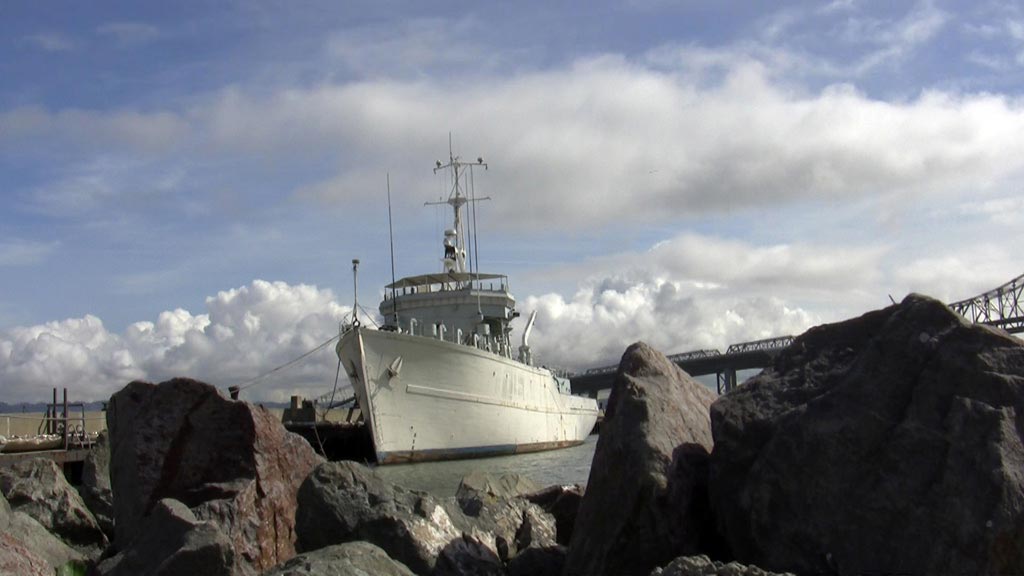
This was the first field trip in my VFX Cinematography class. The location is Treasure Island in between San Francisco and the East Bay. We used a 35mm Film Camera and we also had a Panasonic HPX 500 digital camera. This was the first time most of us ever used a 35mm camera so this was quite a treat.


I just learned today that the VFX house, The Orphanage, in San Francisco is officially closing its doors. It was a real surprise considering the amazing work they’ve done, like in Iron Man. Seems the economic downturn is hitting everyone hard this year. There are several instructors at our school who work at the Orphanage, so it is really sad news.
Read more about it here at co-founder Stu Maschwitz’s blog.
My classes began today. After some last minute changes, here is my schedule for this semester:
I found this maya plugin that seems to work reasonably well for importing a BGEO sequence from Sidefx Houdini into Autodesk Maya.
You can download the plugin from here: http://www.houdinistuff.com/
The instructions provided in the readme file can be a bit confusing. Here are the steps I used to successfully load a Bgeo sequence from houdini:


I haven’t yet tried exporting a Bgeo sequence from Maya, but the import worked successfully. Some problems that you may run into are attributes like velocity that aren’t transferred into the Maya scene. At least I haven’t been able to during my test run. If there is a way, let me know. Without the velocity attribute, I wasn’t able to produce an accurate motion blur in Maya.
It may be a good idea to turn off any attributes in Houdini before using the ROP output node to create the bgeo sequence. This should increase performance in Maya. Lastly, use the geometry cacheing in Maya to speed things up if needed.
…and the breakdown of the UFO shot.
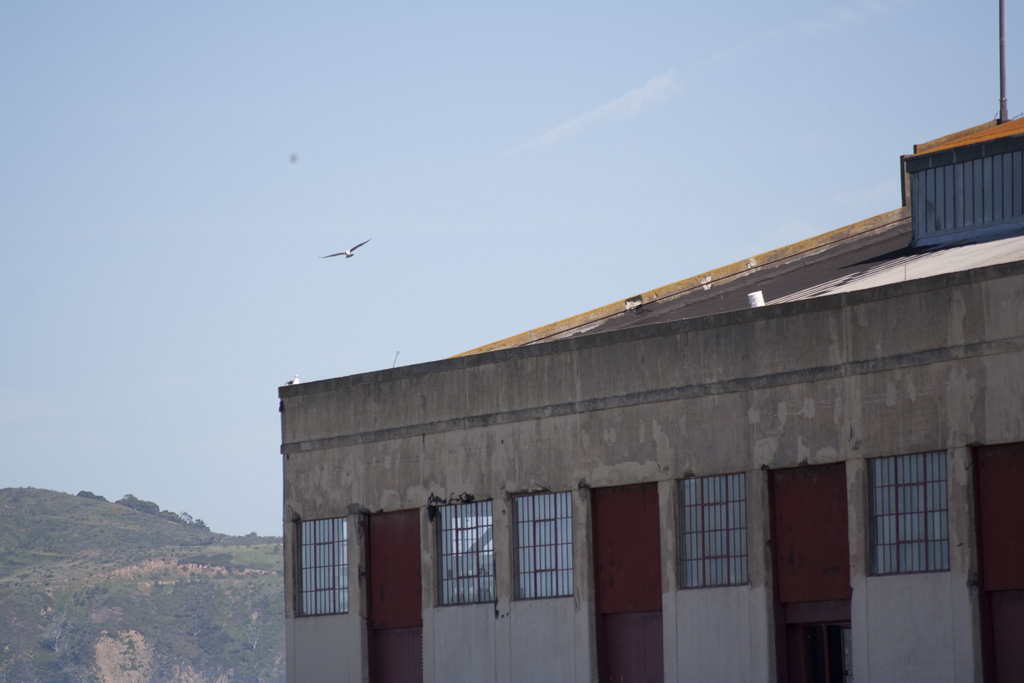
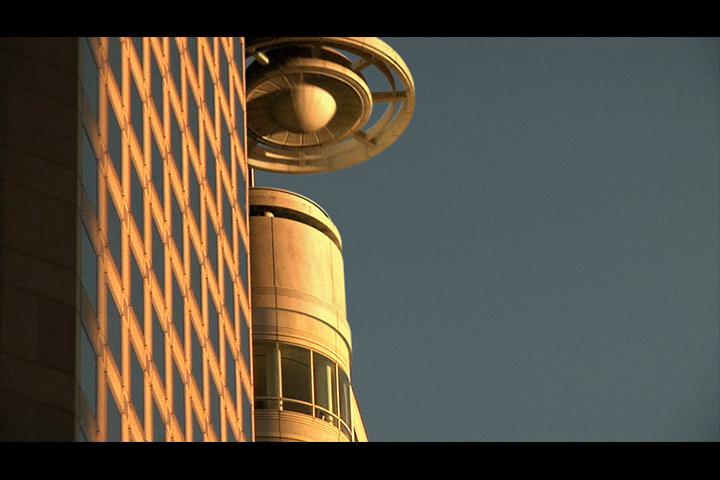
After scouting the streets of San Francisco, I finally found a building that had a top shaped like a UFO or saucer. I immediately filmed the background plate in San Francisco downtown, around kearny and post st. It was right at the twilight hour so I was able to get some nice lighting and highlights at least at the top of the buildings. I tracked the entire scene using PFTrack, which took a bit of time actually. Then I brought everything back into Maya and modeled, textured, lit, and animated the UFO. The final composite was done in Shake. I touched up a few frames with photoshop and after effects.
Tools Used:
PF Track, Maya, Shake, After Effects, Photoshop
I was walking around San Francisco when I spotted something strange on top of a building. A circular disk shaped object spinning slowly atop a building. Wow! A UFO hiding there all this time!! A bunch of people saw this too as evidenced by the commentaries on my video.
Fascinated by UFO stories in the sky, I wanted to take a different stab at it – that is, UFOs hiding among us. After scouting the streets of San Francisco, I finally found a building that had a top shaped like a UFO or saucer. I immediately filmed the background plate in San Francisco downtown, around kearny and post st. It was right at the twilight hour so I was able to get some nice lighting and highlights at least at the top of the buildings. I tracked the entire scene using PFTrack, which took a bit of time actually. Then I brought everything back into Maya and modeled, textured, lit, and animated the UFO. The final composite was done in Shake. I touched up a few frames with photoshop and after effects.
Tools Used:
PF Track, Maya, Shake, After Effects, Photoshop, Logic Pro
It’s been another busy semester as usual. I’ve worked on a few projects this semester which I will be posting to the portfolio section soon. In my Visual Effects class, we worked on a greenscreen character replacement, matchlighting, HP commercial, and a UFO project. Here are some screenshots:
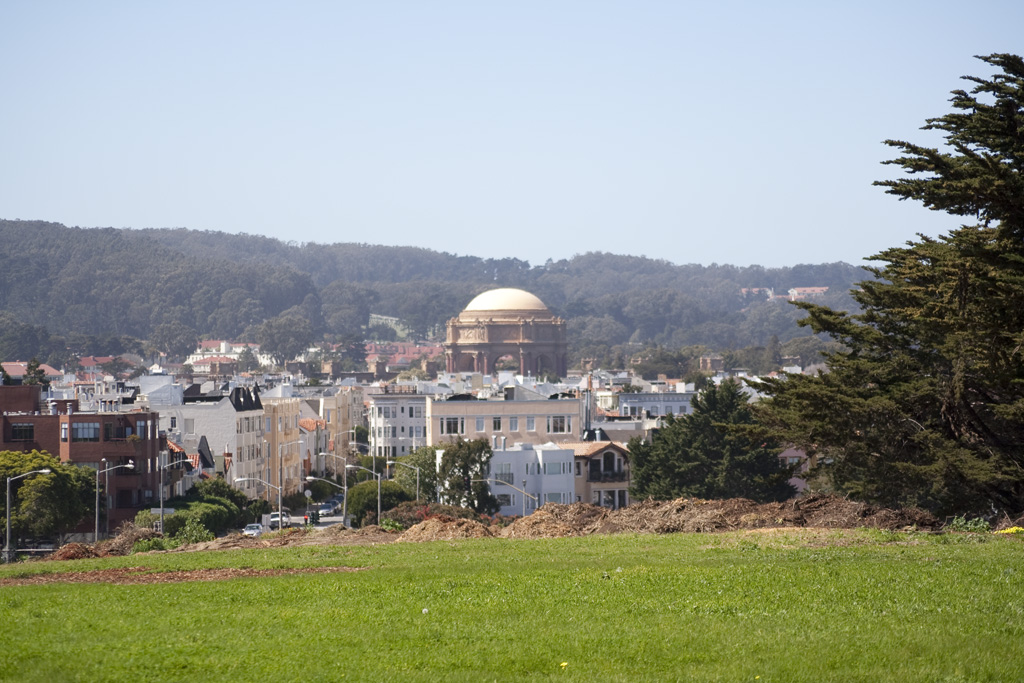
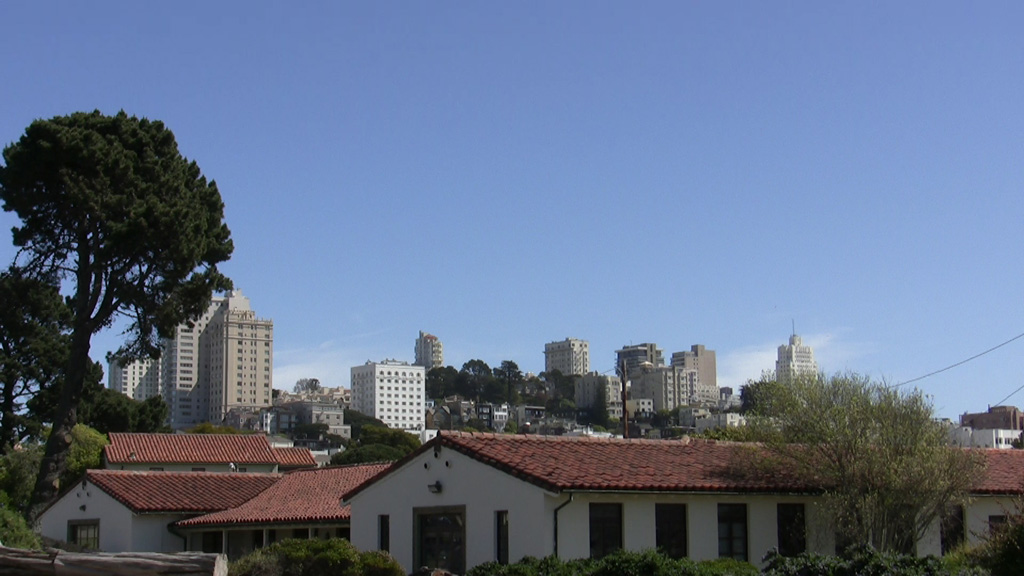
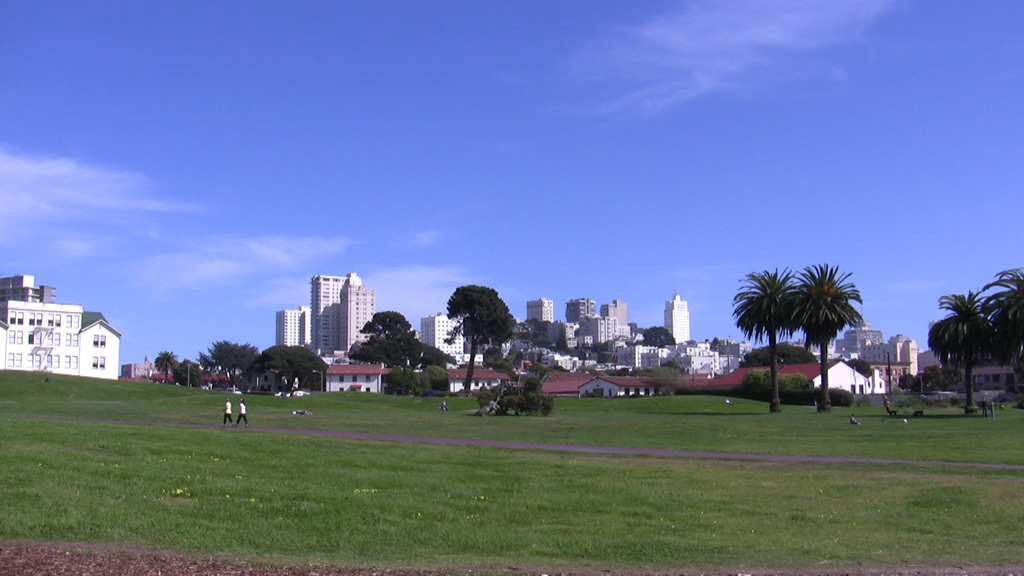
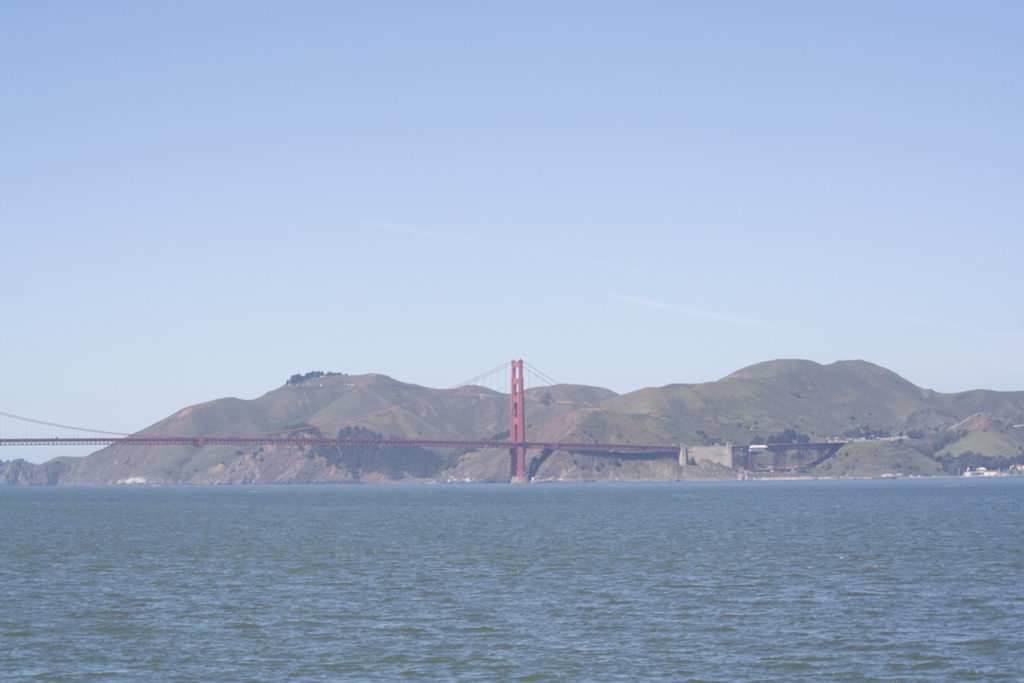
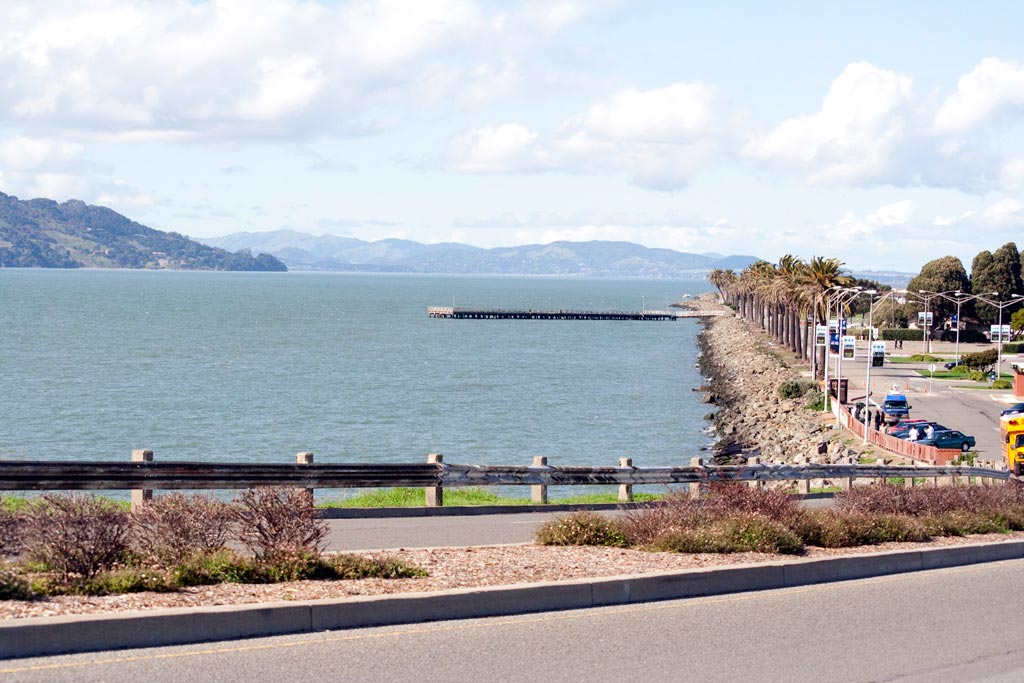
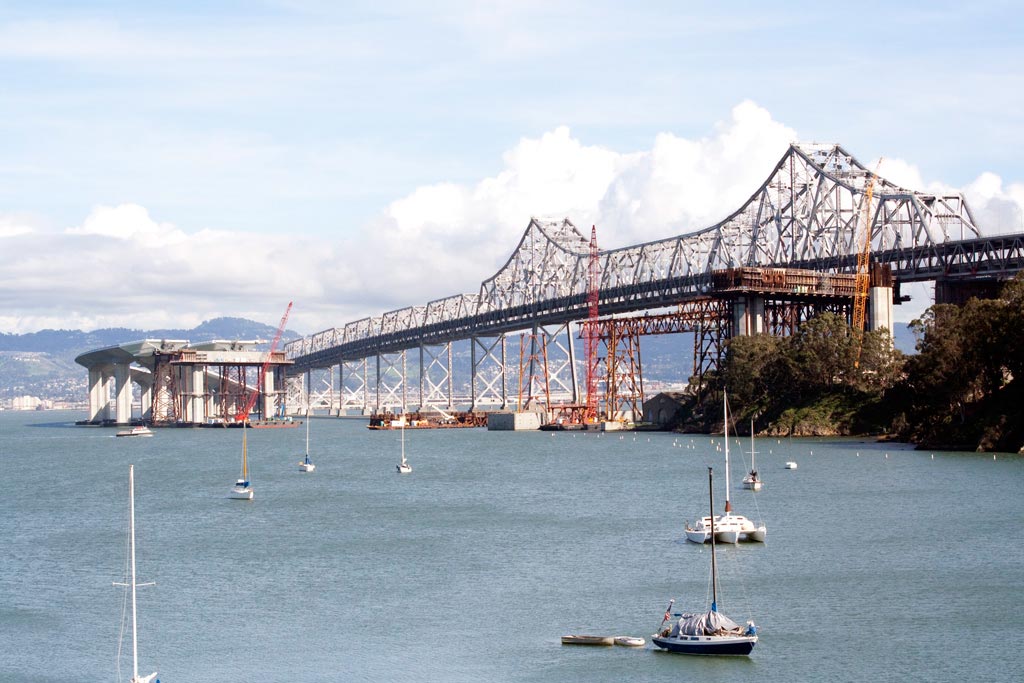
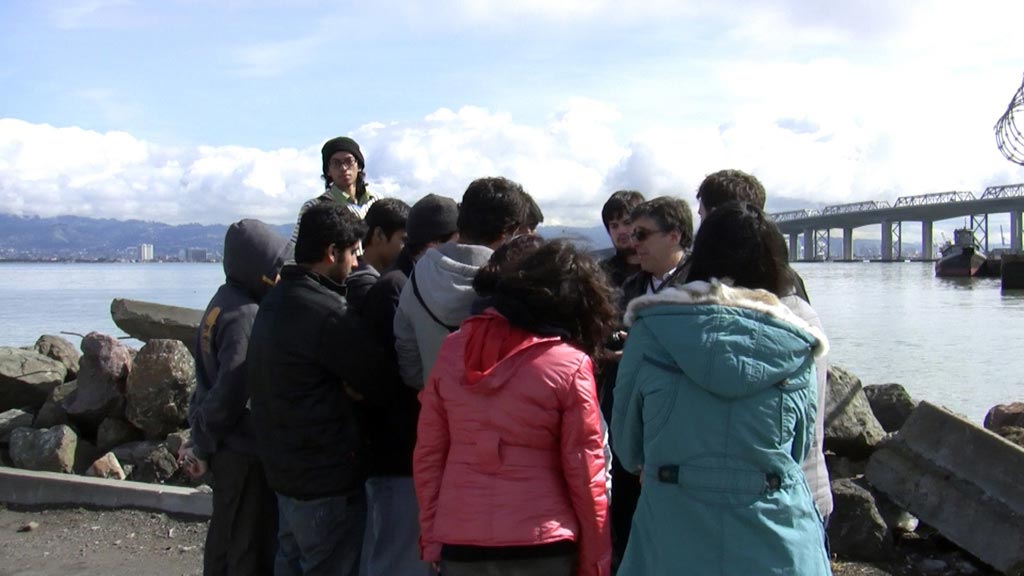
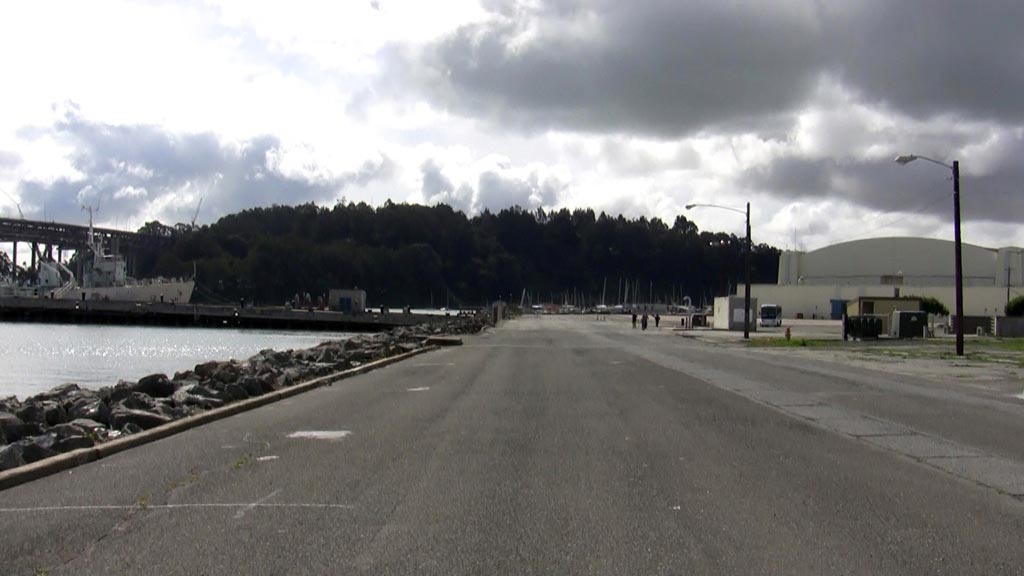
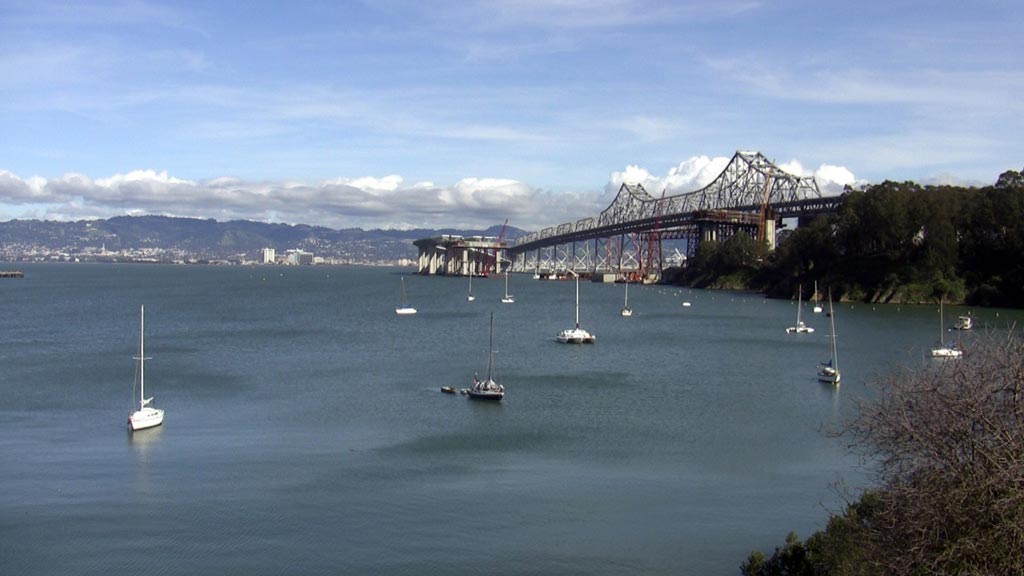
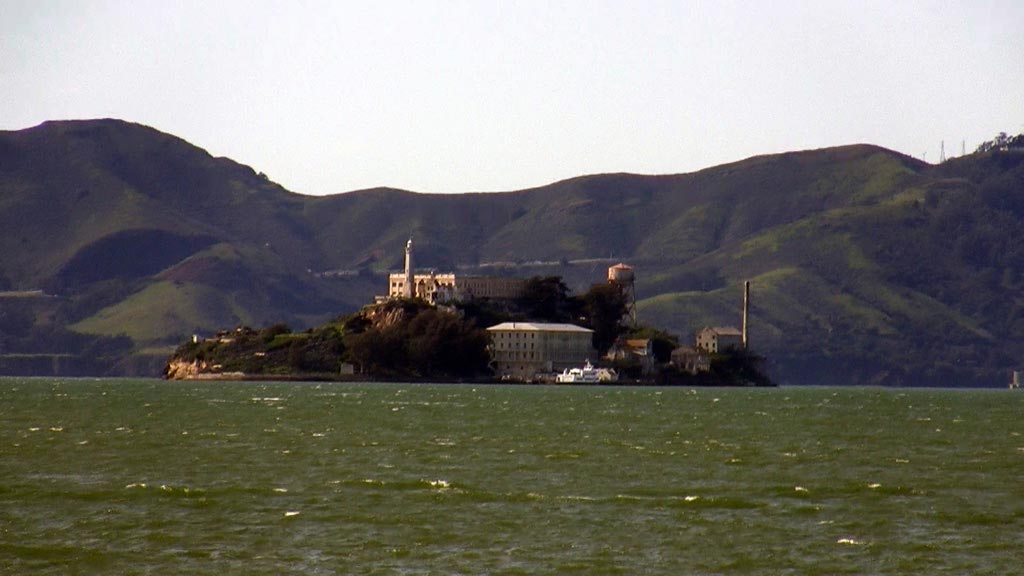
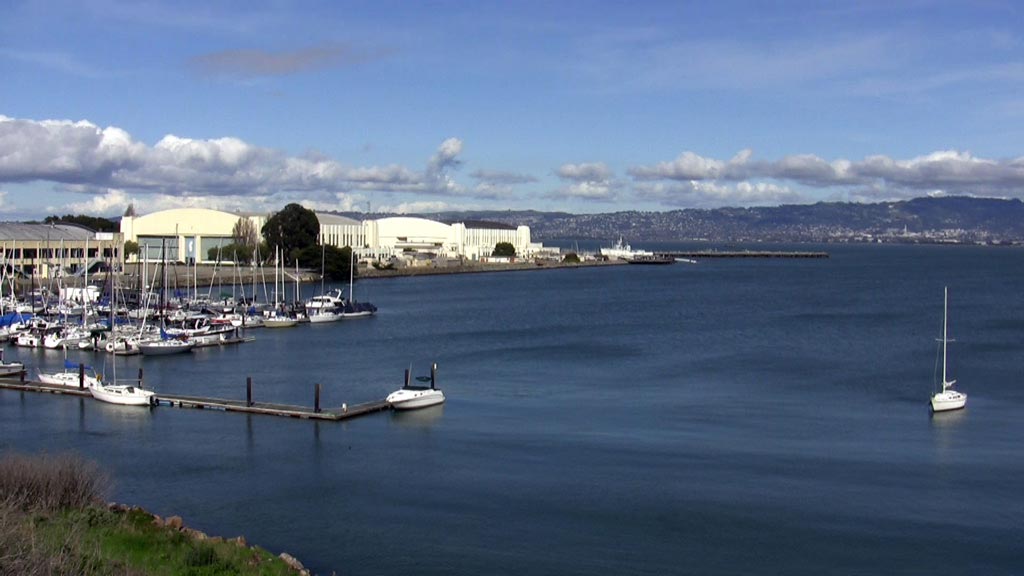
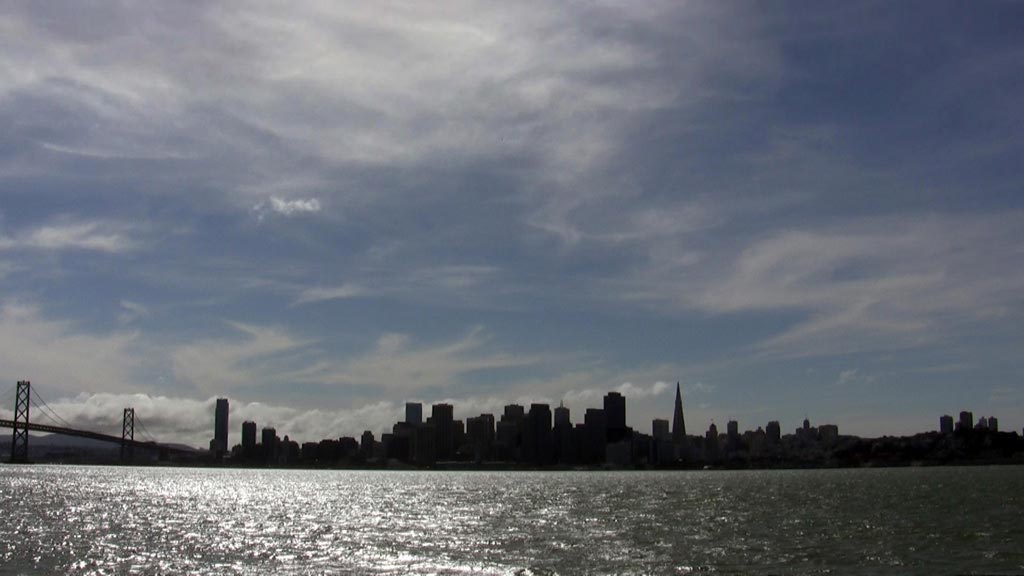
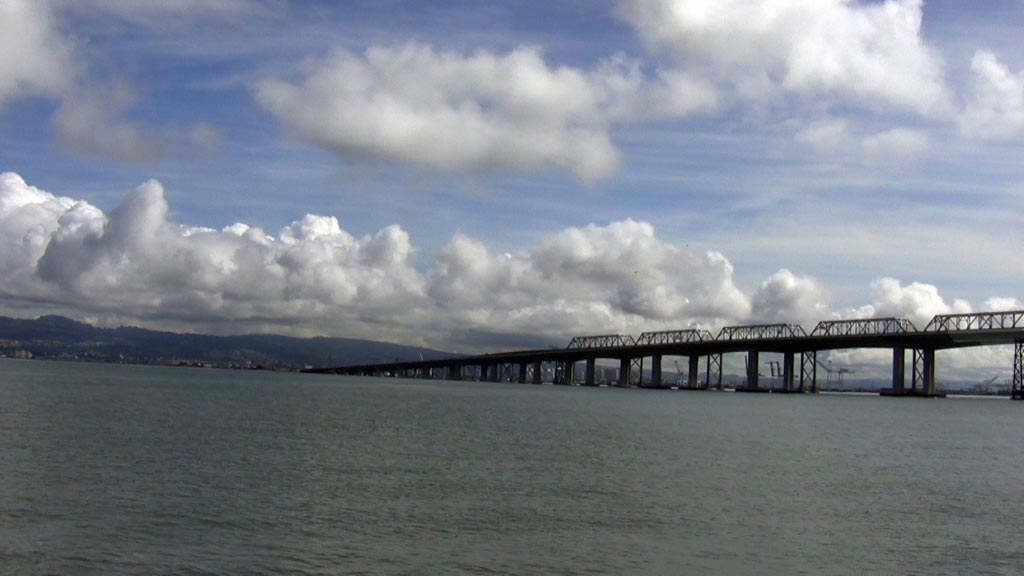
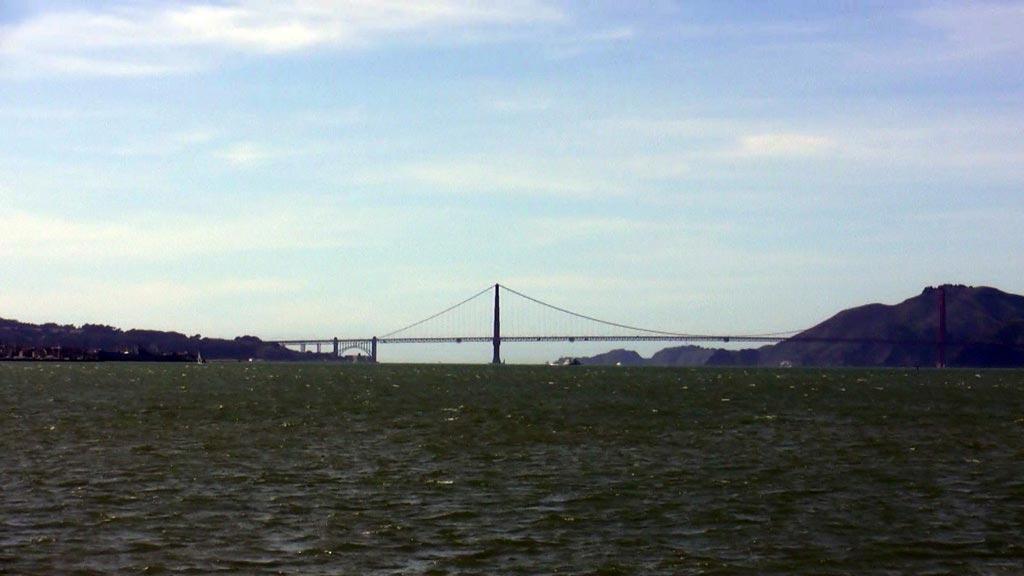
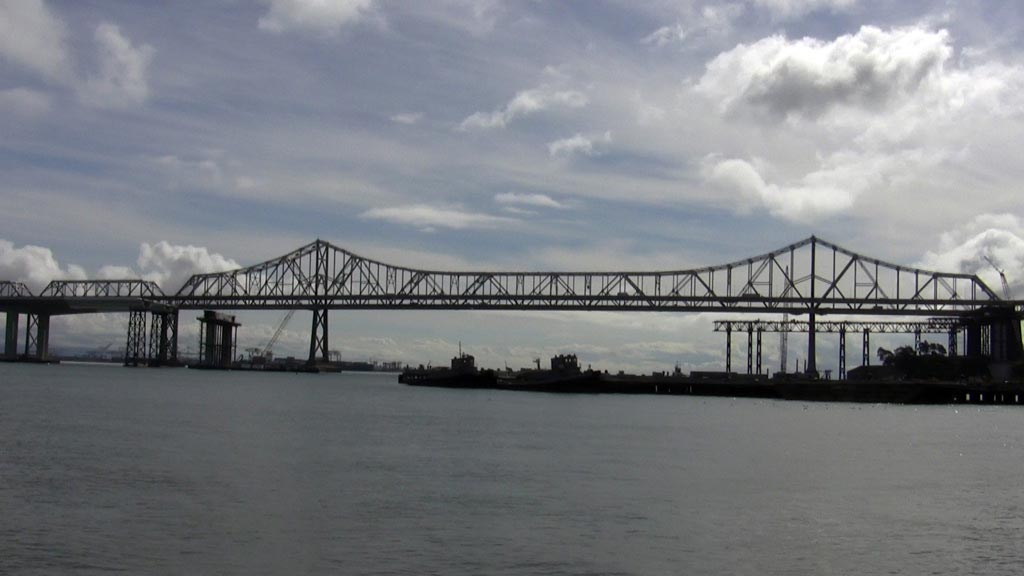
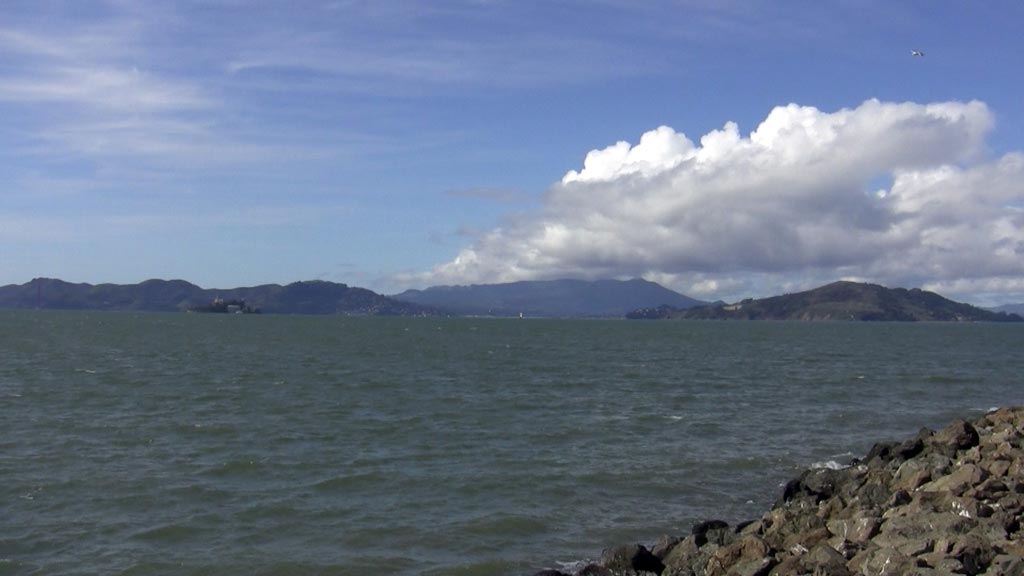
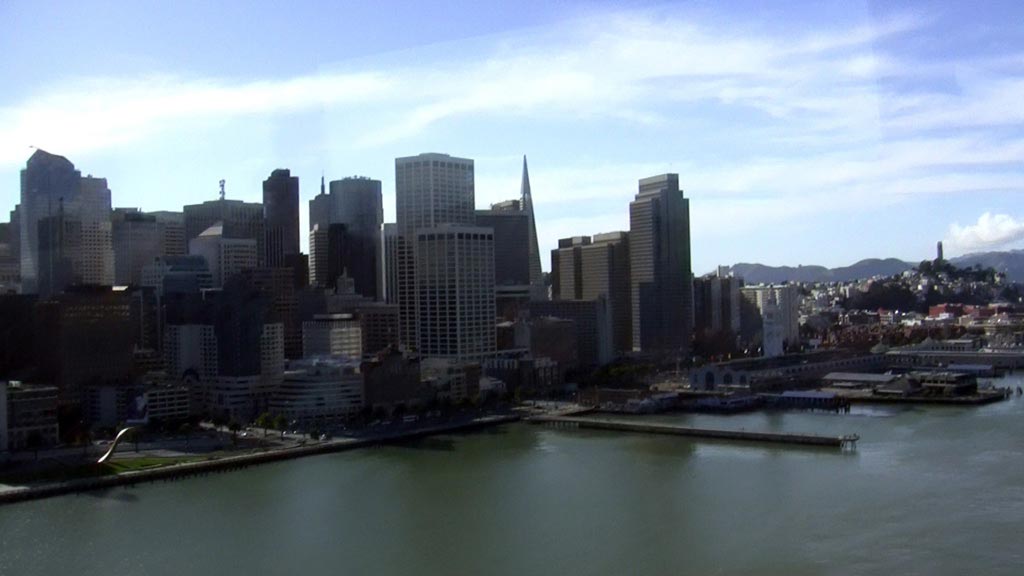
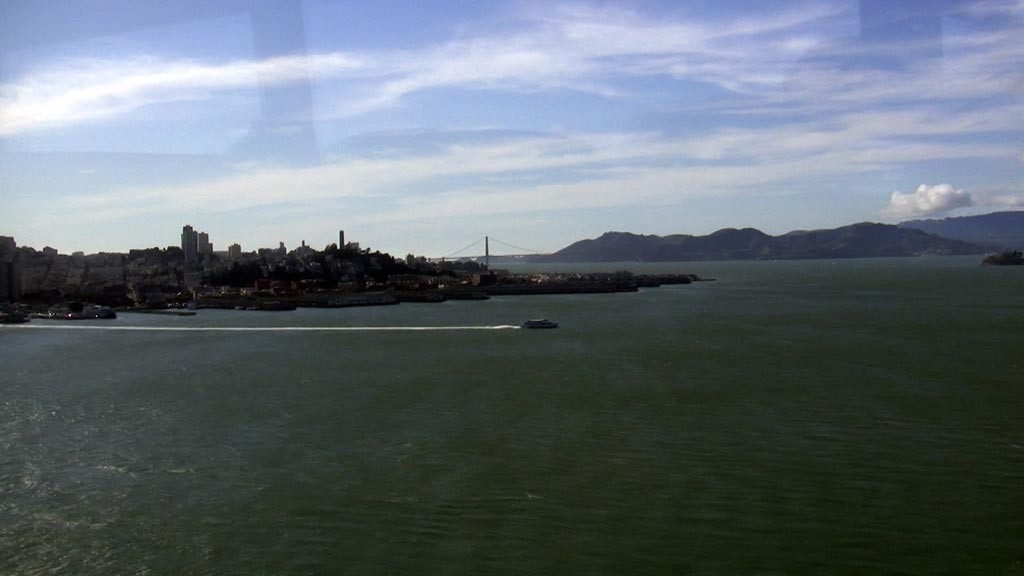
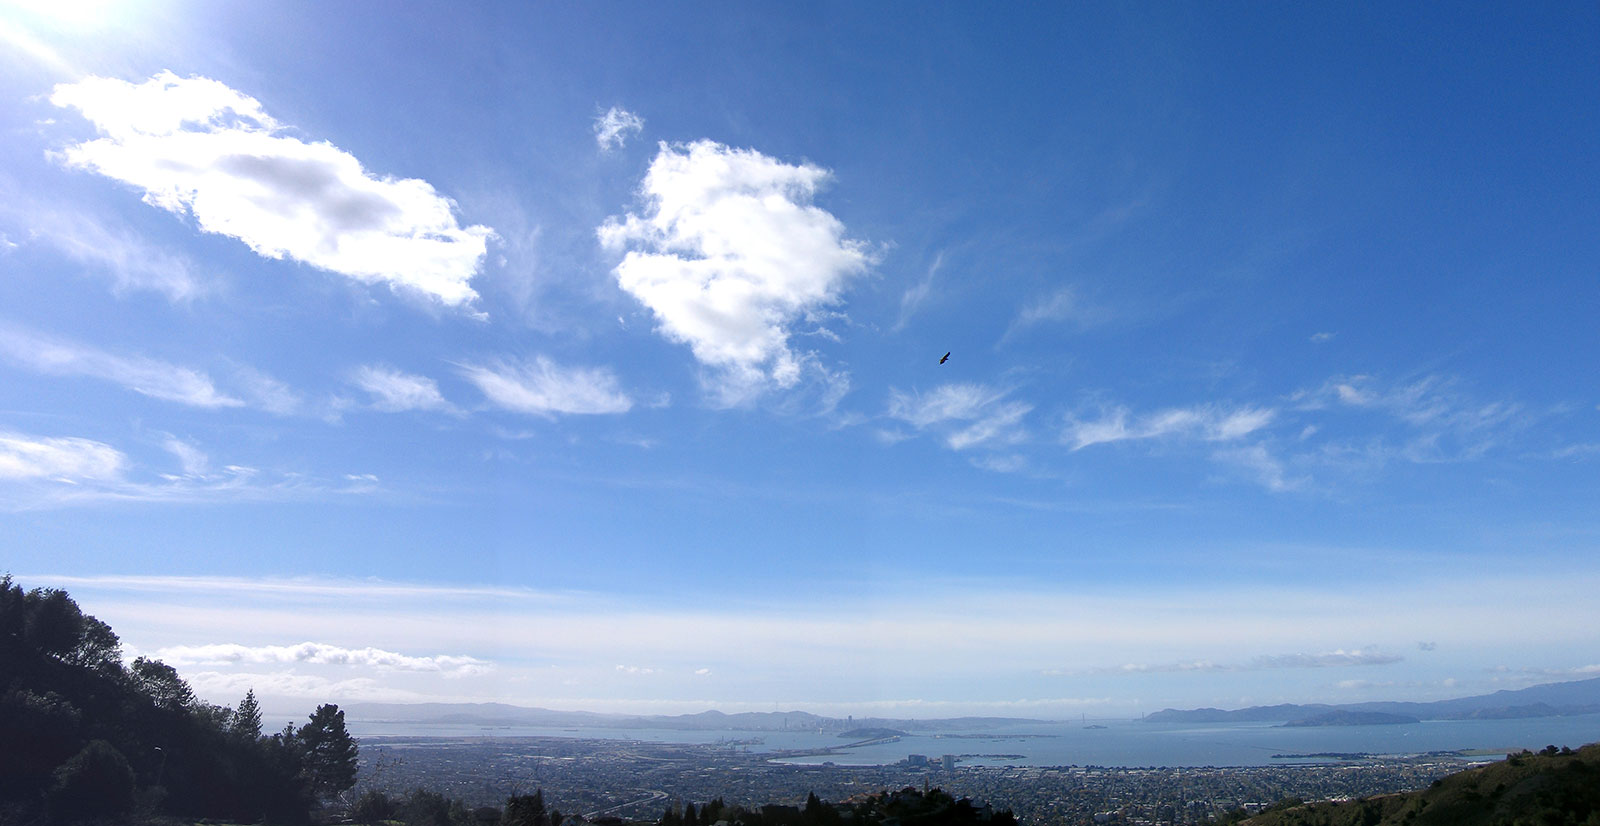
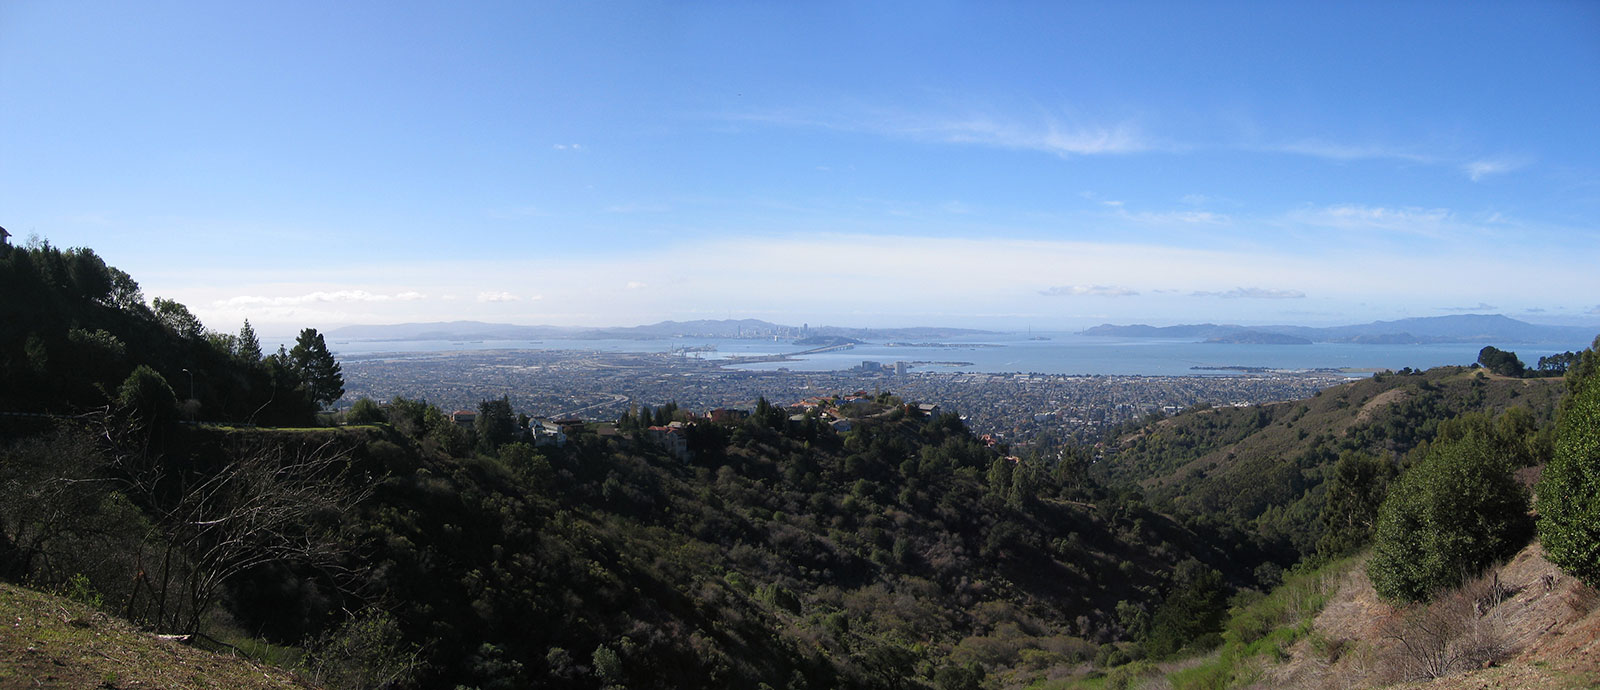
I found a potential location for the intro of my final MFA thesis project. These panorama photos were taken from the Oakland Hills (Claremont ave @ Grizzly Peak Blvd). In the distance is the city of San Francisco along with the Oakland and Golden Gate bridges. It’s quite a nice view from up here.


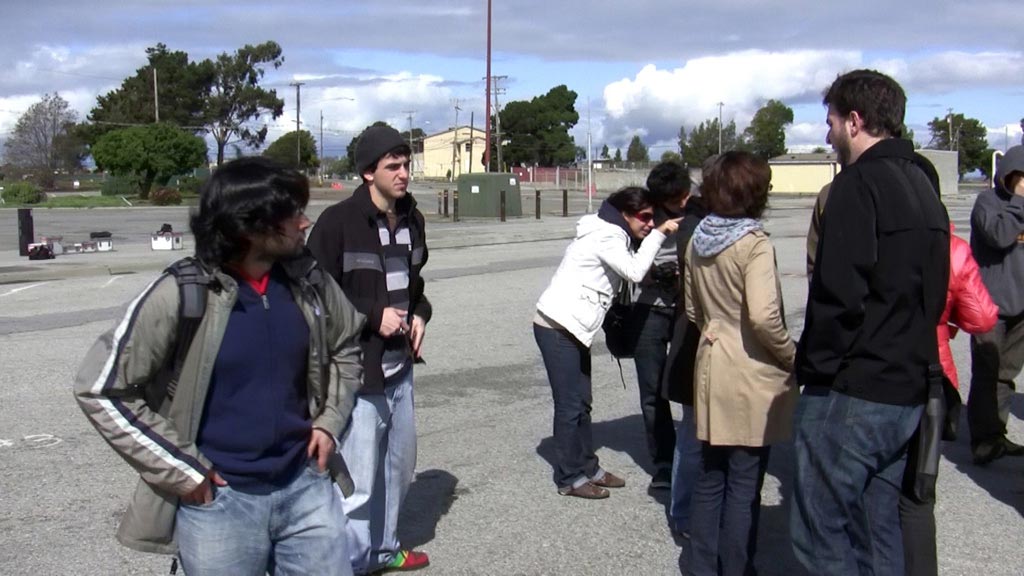
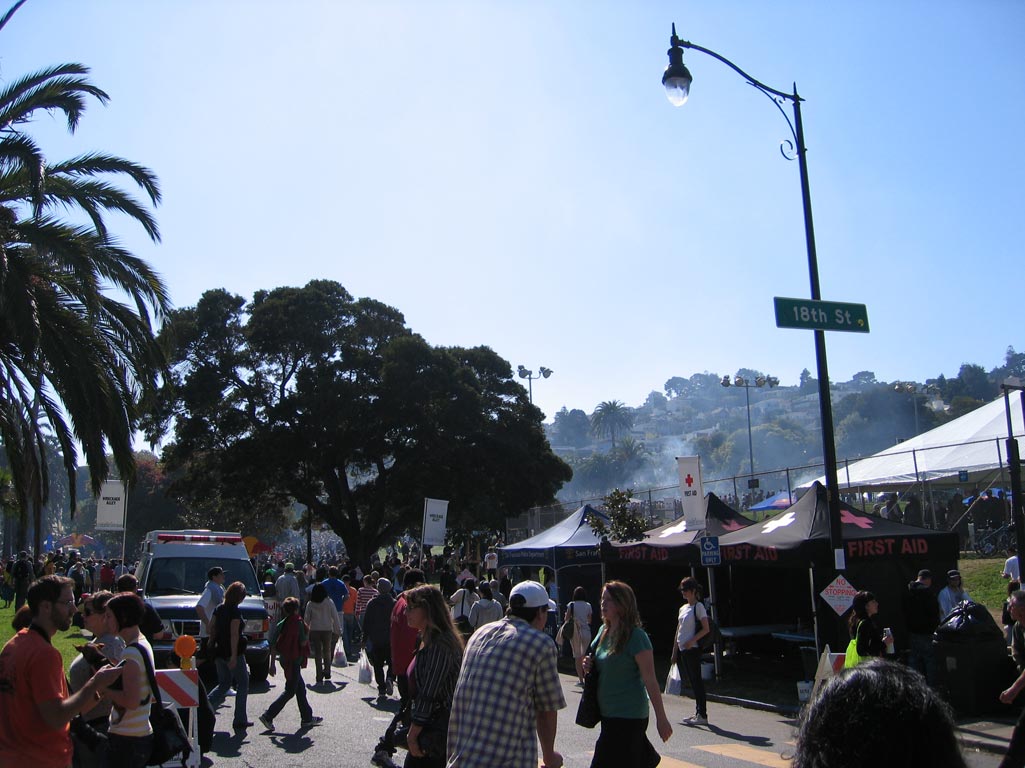
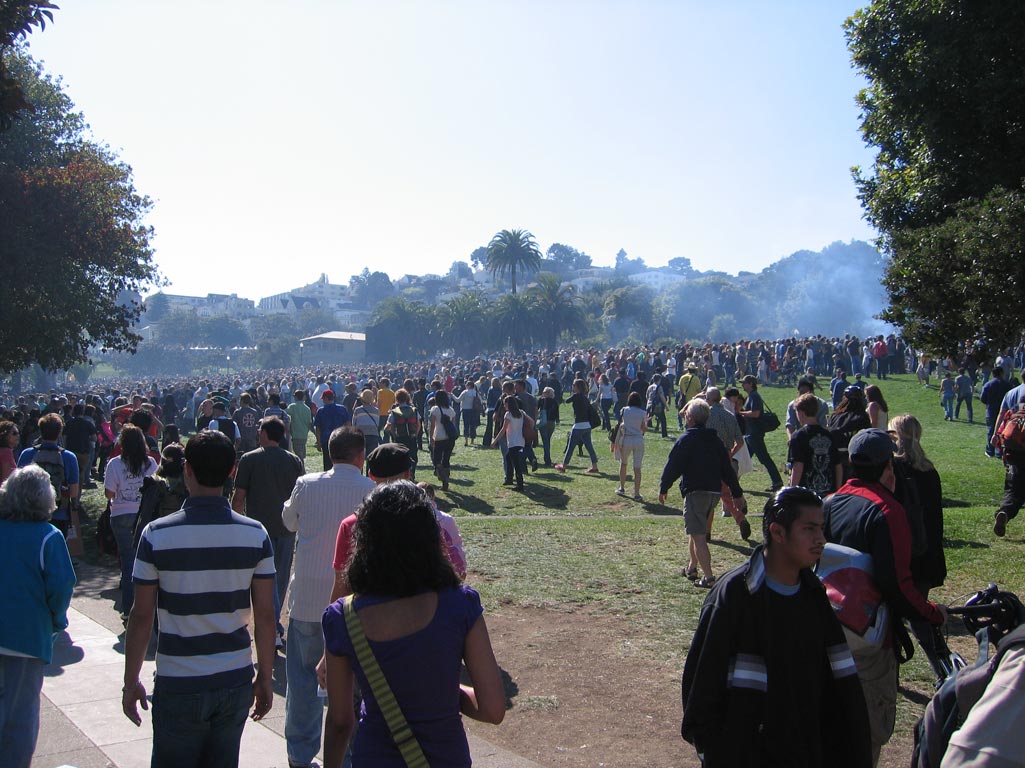
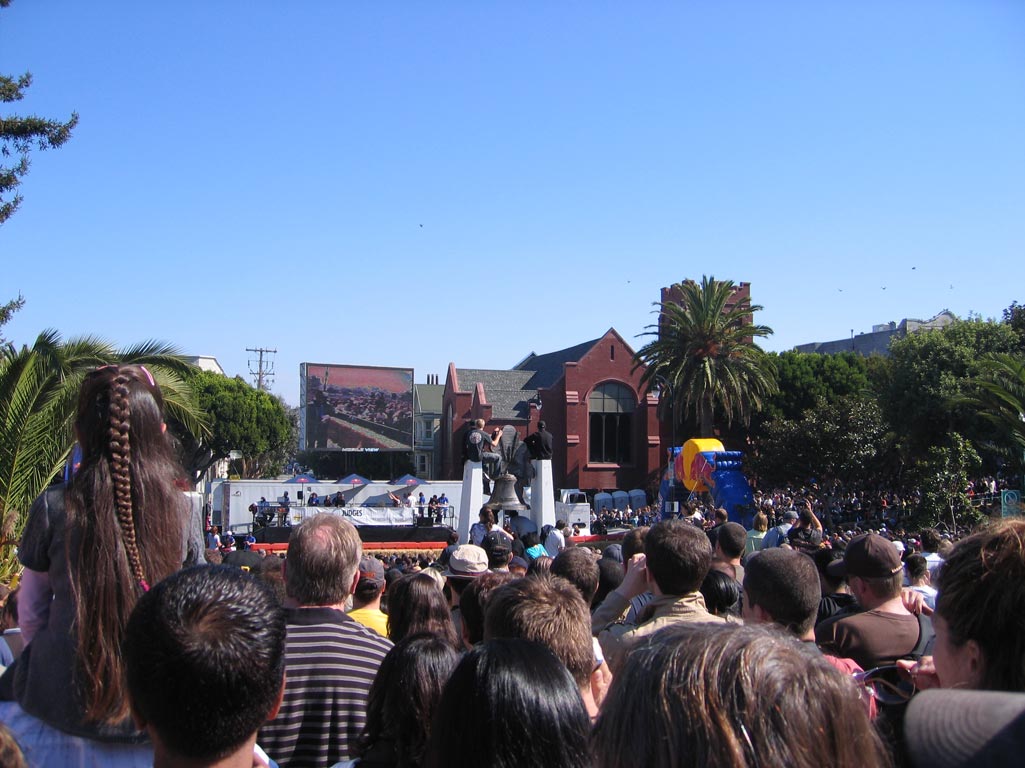
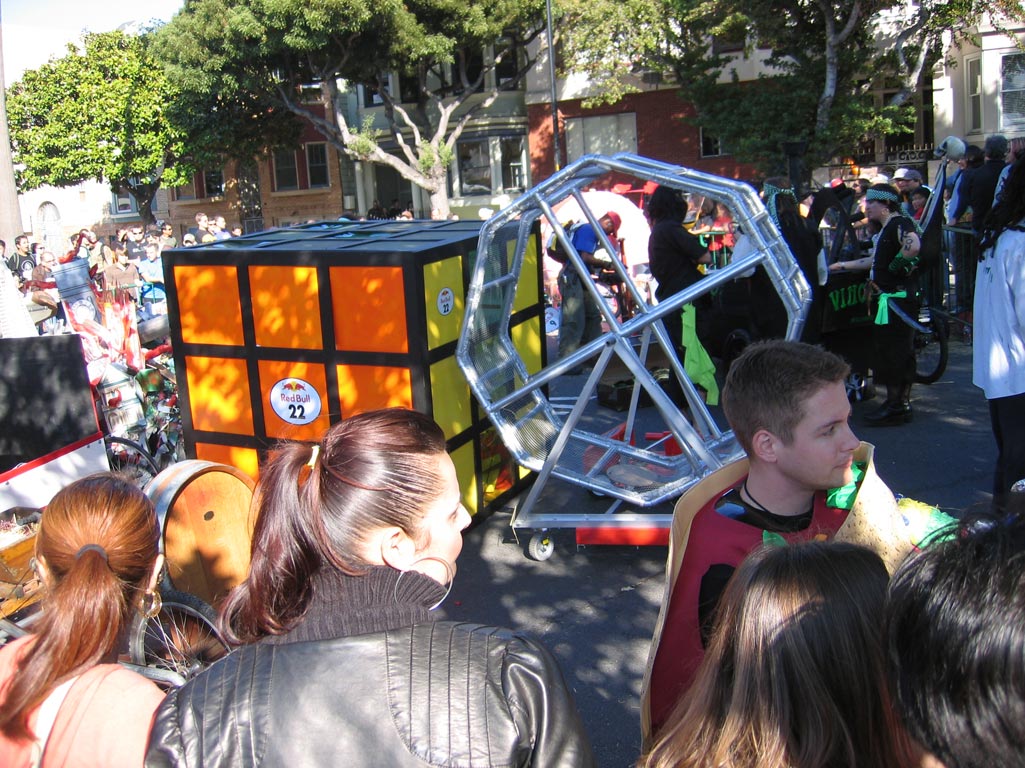
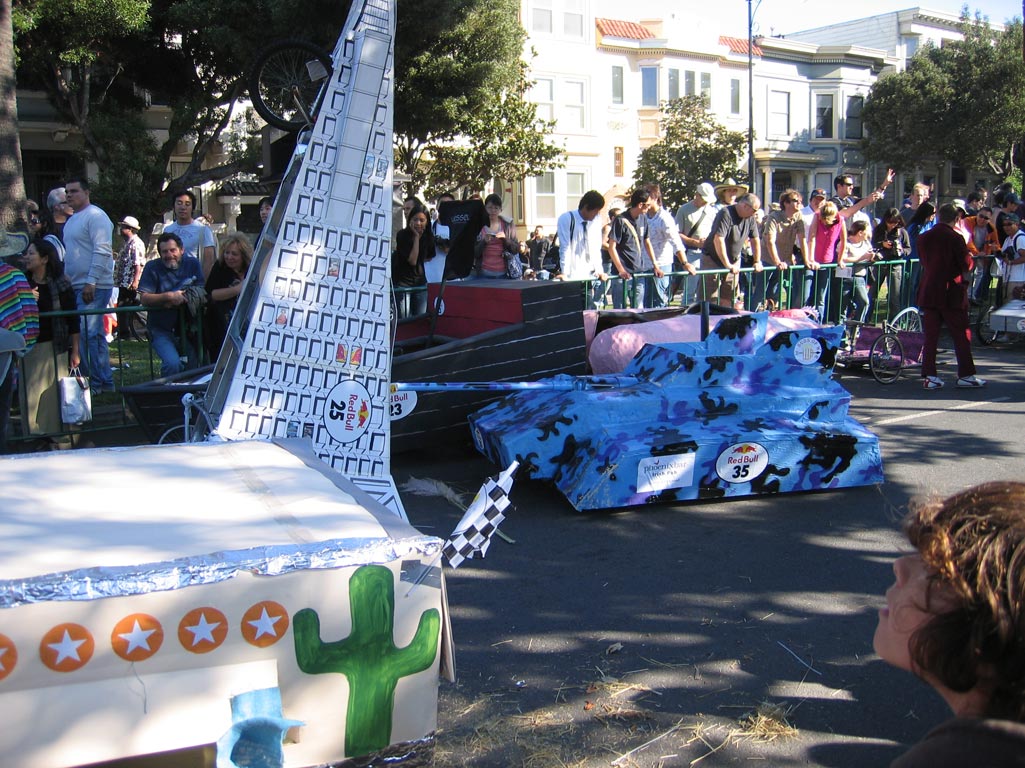
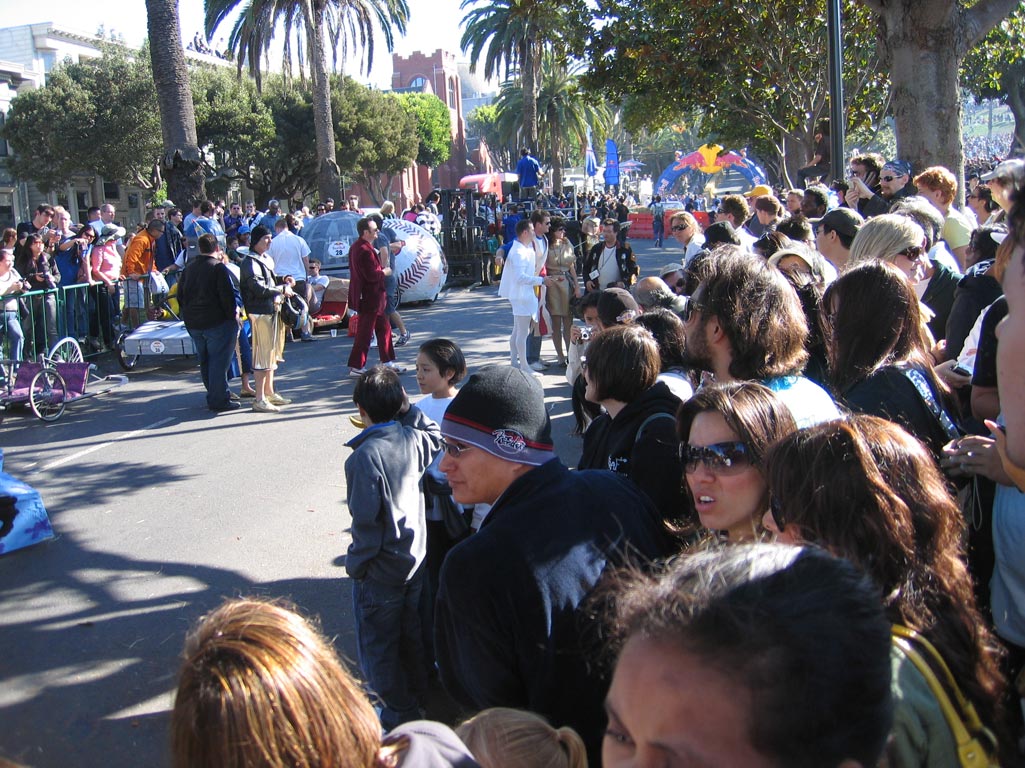
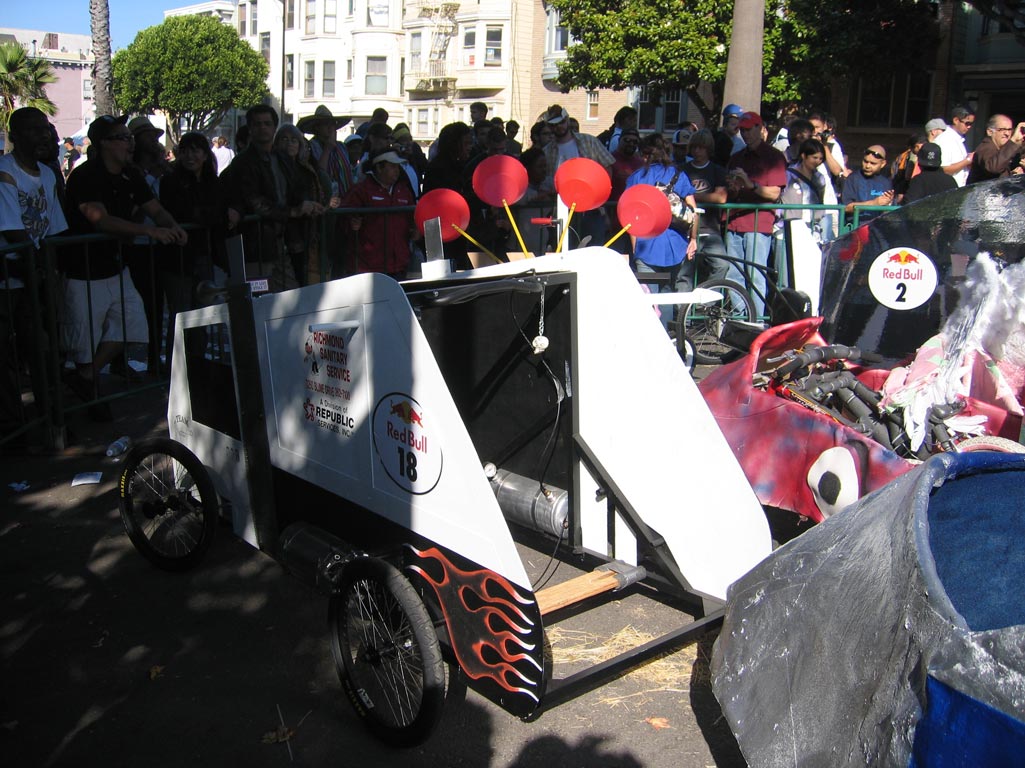
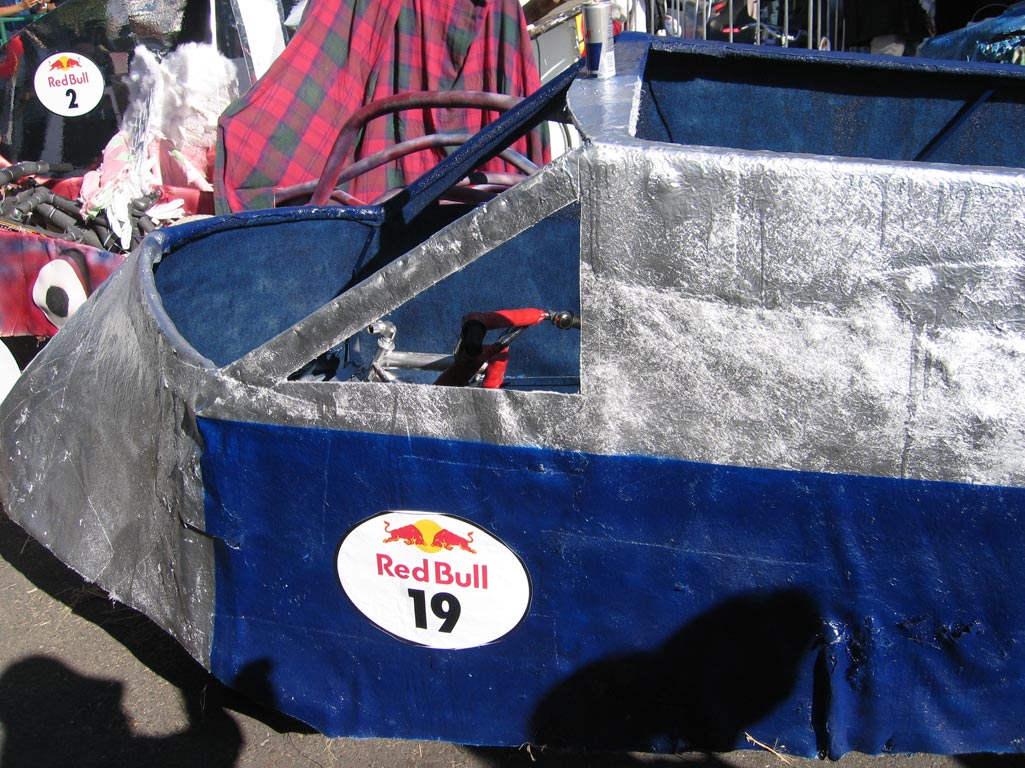
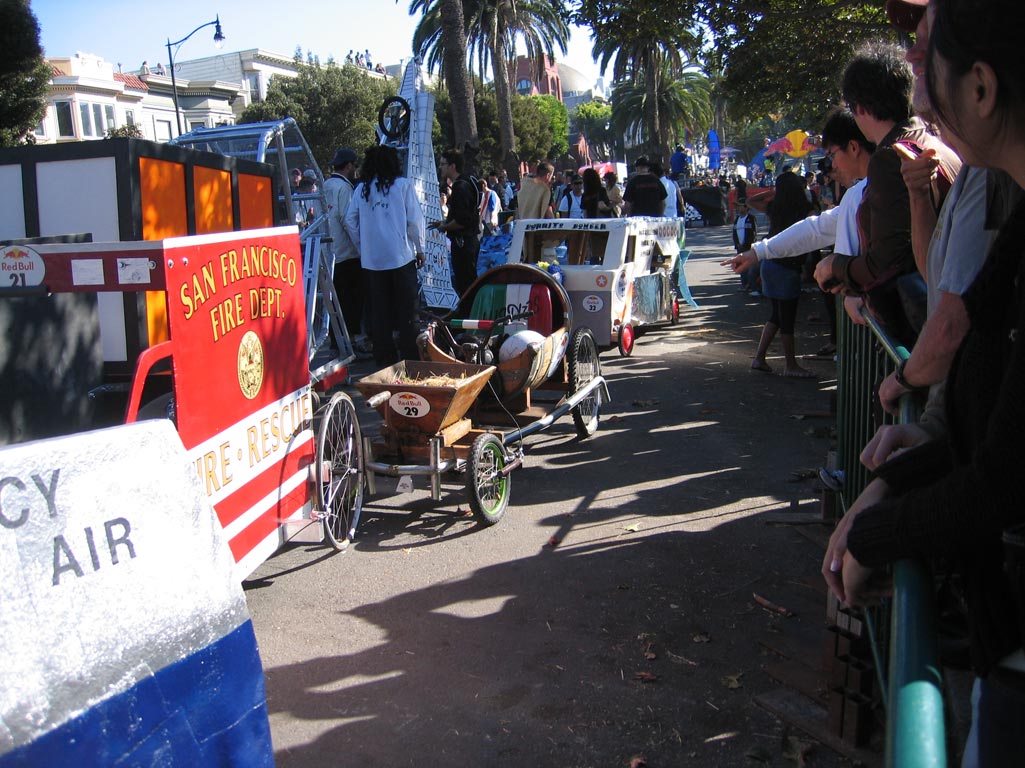
There was event today in the mission district of San Francisco – The Red Bull soap box race. I imagined it was going to be a small event, but it actually turned to be huge – estimated about 75,000 people.


There are a few ways to render objects as wireframes in Maya. The first is to use the toon/Vector shader, but this method doesn’t work very well with non-polygon surfaces like nurbs. After some research, I found that contour rendering with mentalray works better and is much faster. This process also requires that you convert nurbs surfaces to polygons, but its a small nuance. You can use render layers in Maya and just add the duplicate objects there, instead of affecting the entire scene.
These instructions are for Maya 8.0 and above.
1. Make sure you have the Mental Ray plugin loaded.
If not, go to Window -> Settings/Preferences->Plug-in Manager
Then enable Mayatomr.dll
2. Create/Select your objects. I’m just using a polygon sphere.
3. Optional: Create a new render layer and add the objects here.
2. Apply a background shader to the object.
Use these settings:
Specular Color: black
Reflectivity: 0.000
Reflection Limit: 0
Shadow Mask: 0
Matte Opacity Mode: solid matte
Matte Opacity: 1
3. In the attribute editor view of the background shader above, select the right arrow at the top to go into the SHADING GROUP.
4. Now, in the attribute editor view of your Shading Group, expand the mental ray section. Then expand the Contours section.
Check ‘Enable Contour Rendering‘
5. Set the values for Color, Alpha, and Width. Color is the color of the wireframe lines. Alpha controls transparency of the lines. Width is the thickness of the lines.
I used these values:
Color: white
Alpha: 1
Absolute Width
Width: 0.5
6. Open the render globals window and go to the mental ray tab.
Expand the Contours section.
Expand the Contours->General section.
Check ‘Enable Contour Rendering’.
Expand the Contours->Quality section.
Set Over-sample to 3 (Higher values create smoother lines)
Expand the Contours->Draw Contours section.
Check ‘Around All Poly Faces’
Here is a wireframe screenshot using the Mental Ray contour line method above:

Here is an alternate method (toon/Vector shader) for generating wireframes in Maya:
[youtube]http://www.youtube.com/watch?v=UONmeh24xh4[/youtube]

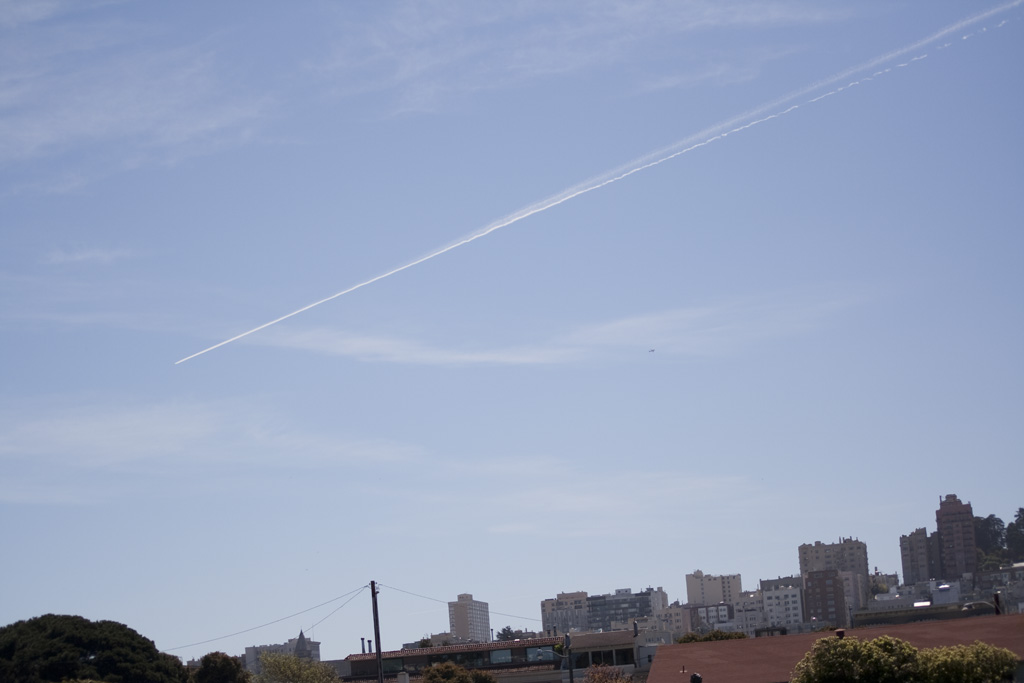
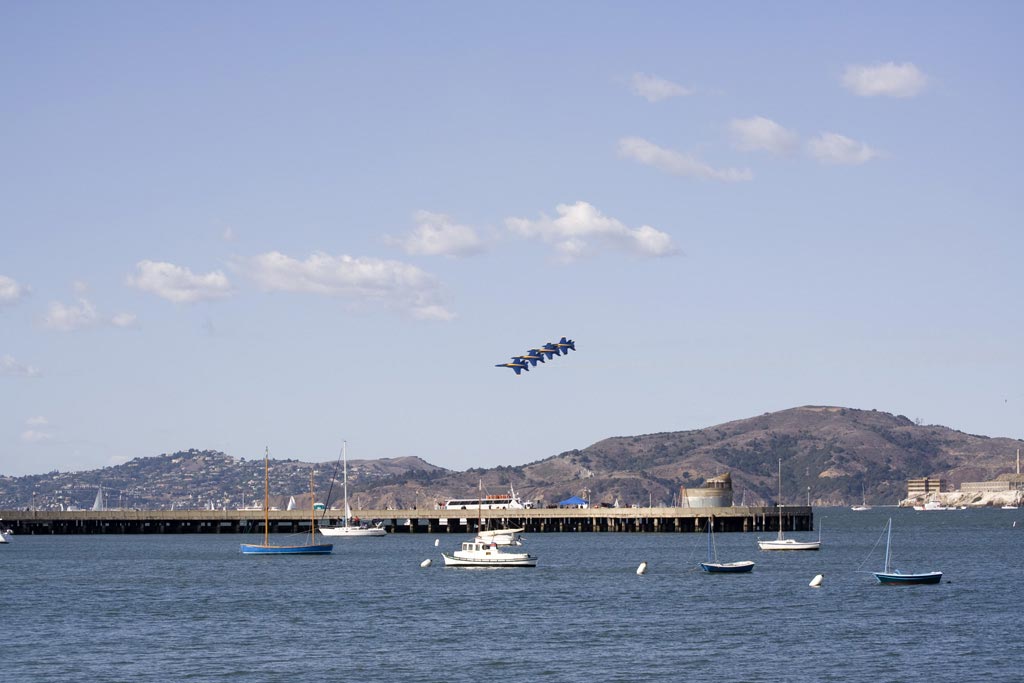
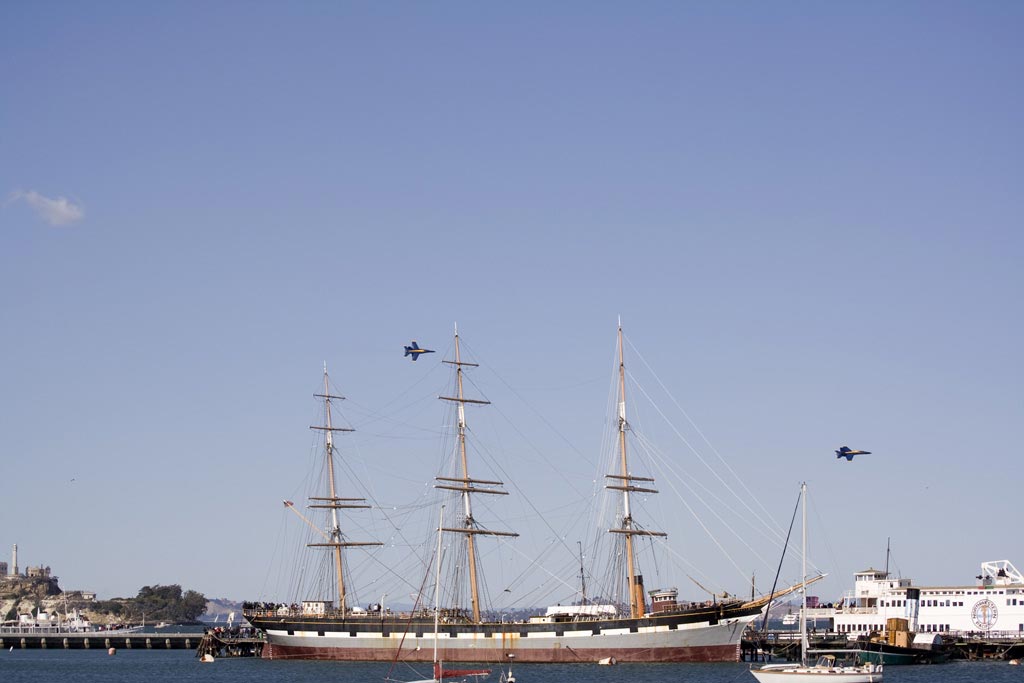
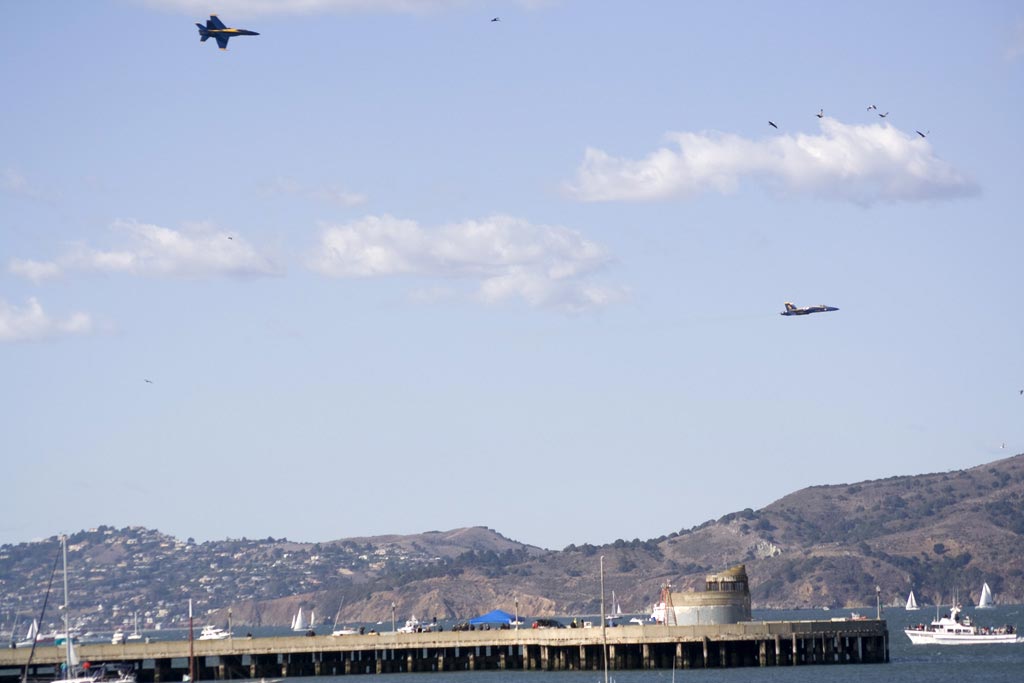
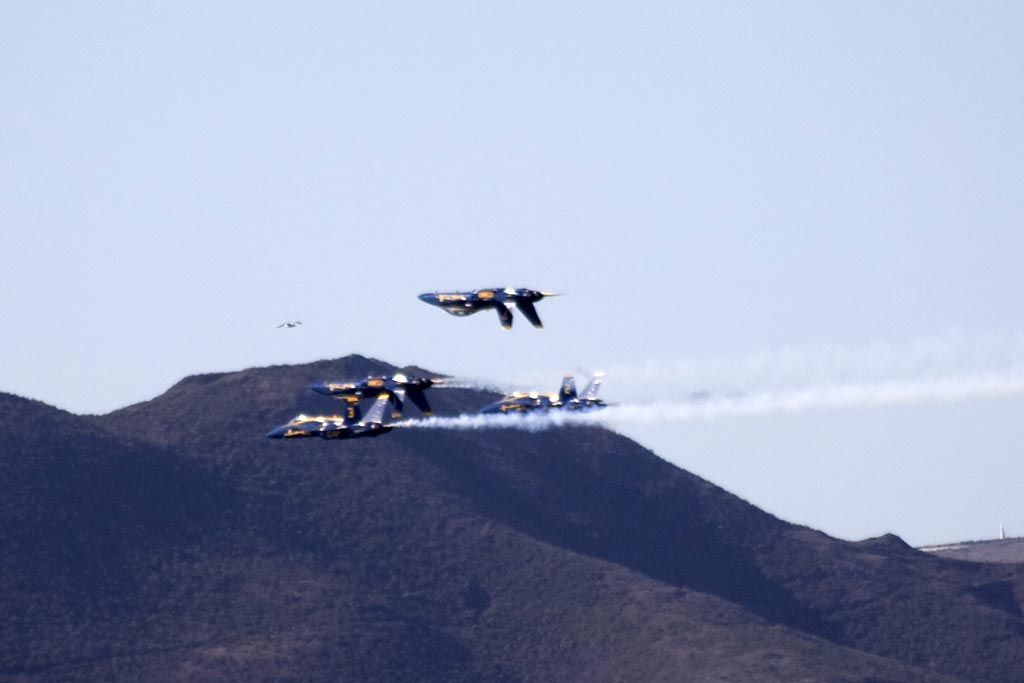
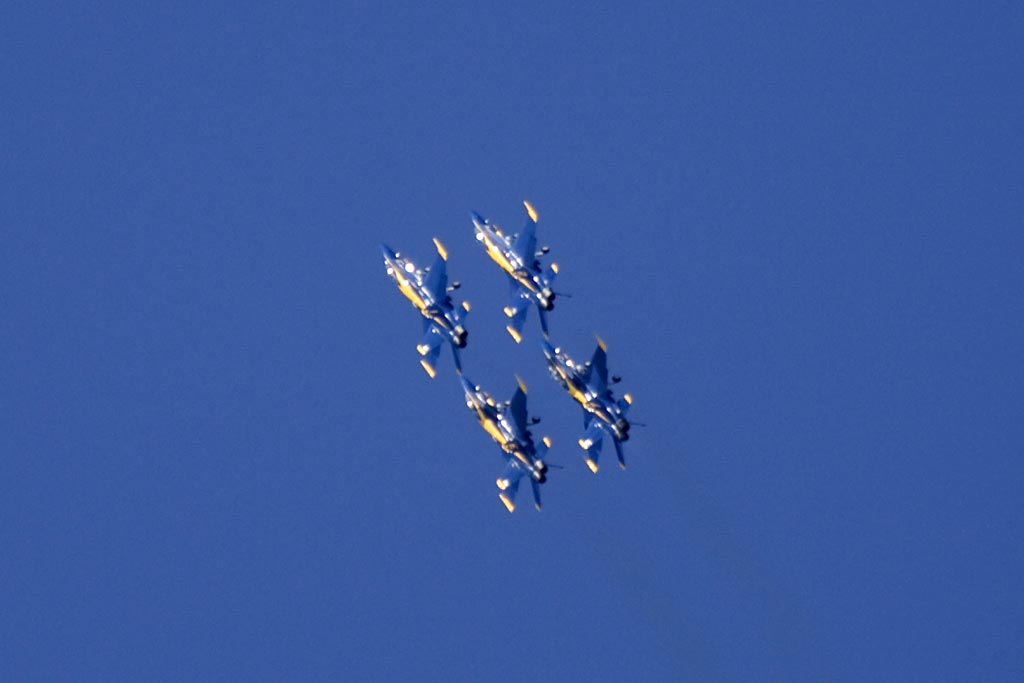
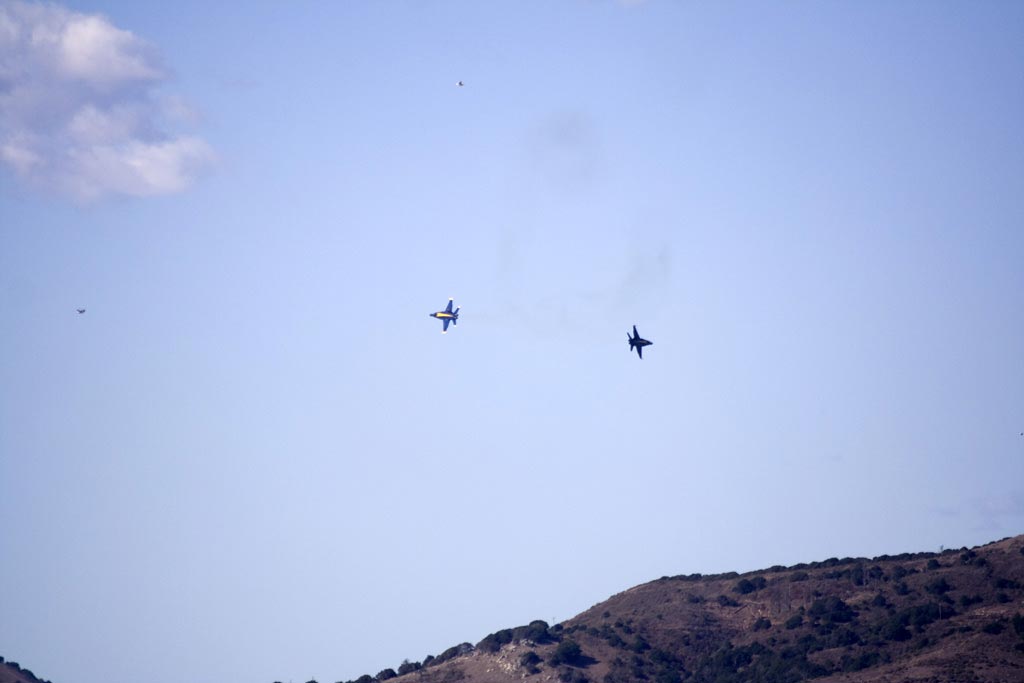
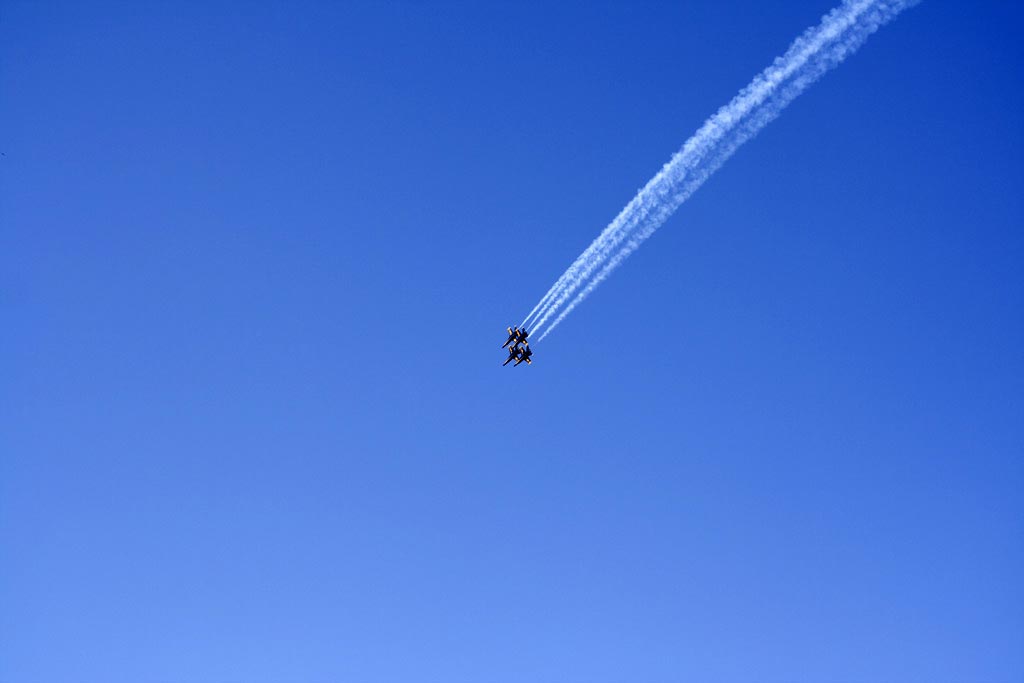
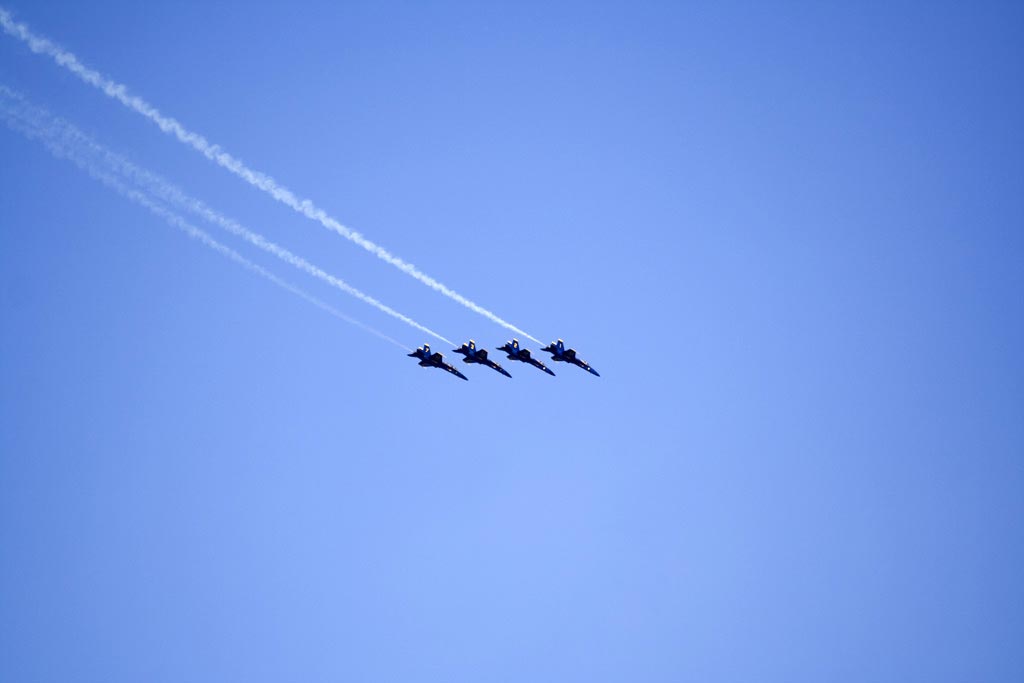
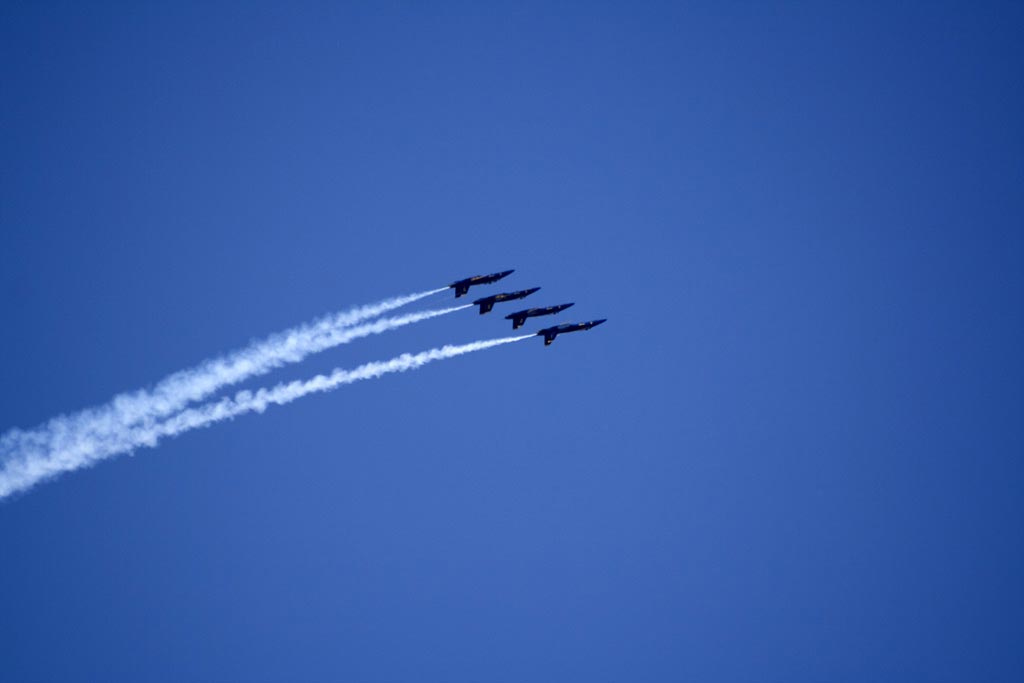
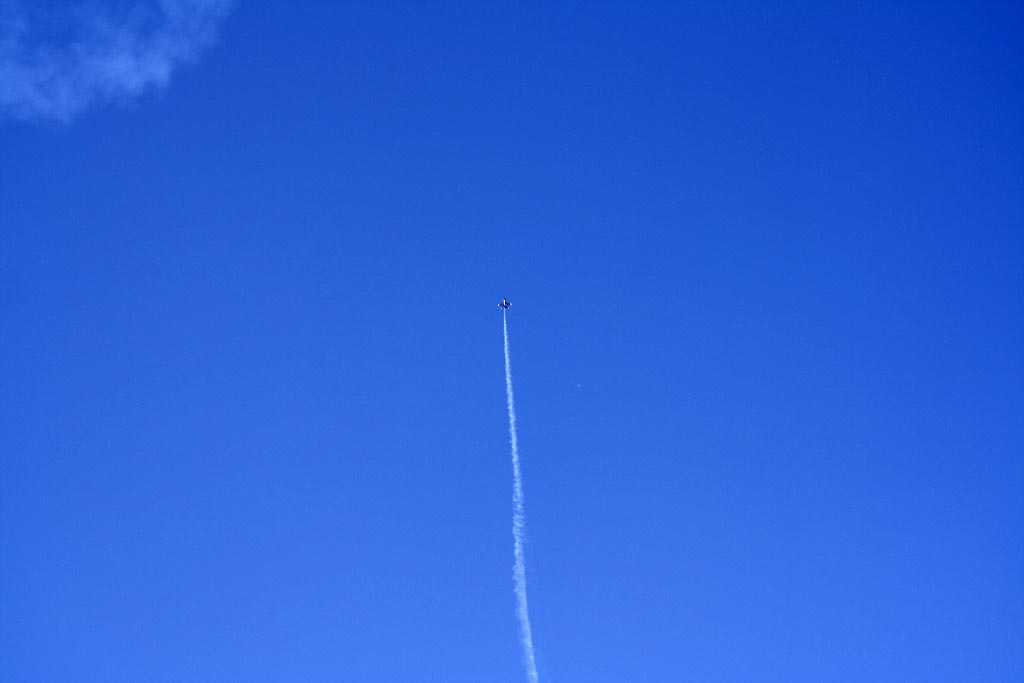
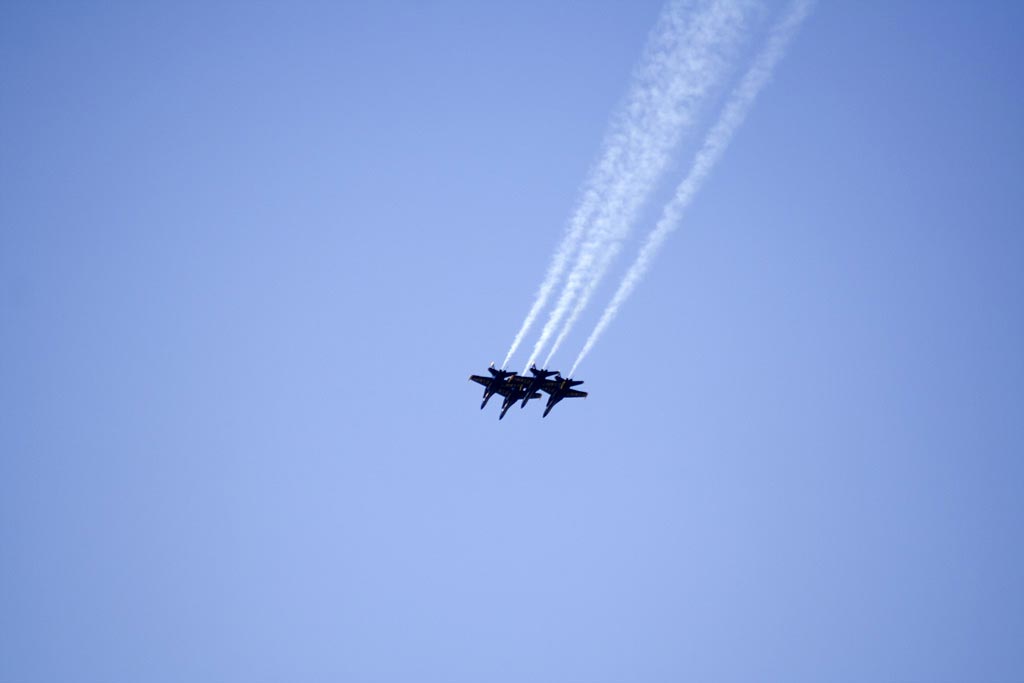
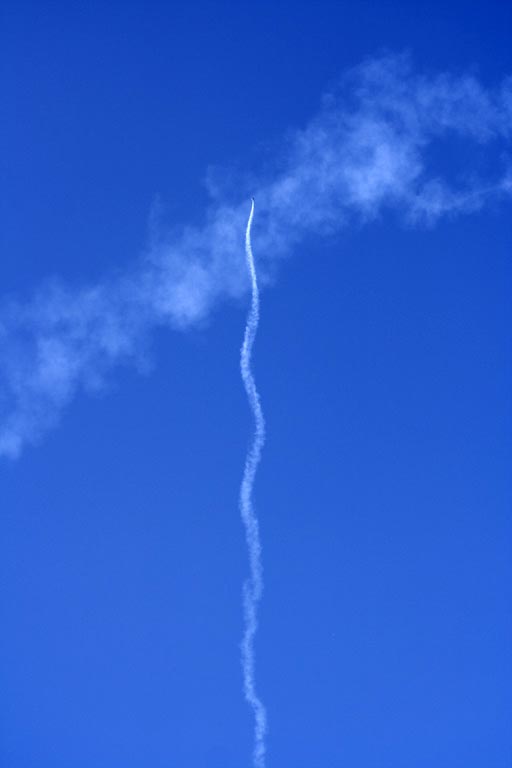
The air show is happening right now this weekend in San Francisco. I had a chance to see the test runs by the Blue Angels fighter jets yesterday. Here are some photos:


I added the breakdowns for the following:
Check them out in the porfolio section. I’ll be updating the rest of them soon.
This was a collaborative texture project. I worked on the textures on the TV and some of the grunge textures on the body.
Tools Used:
Maya, Modo, UV Layout
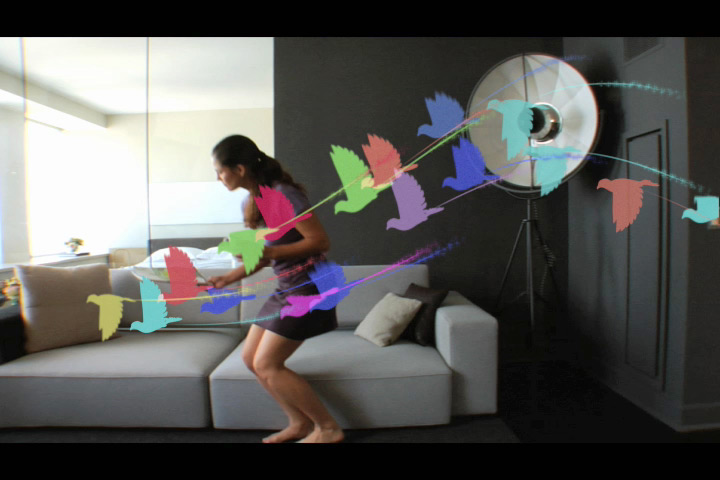
This was a collaborative project with students from motion picture television in our school, along with my vfx class. It was actually a commercial for a contest that HP had a few years ago called HP Wirelessly, promoting their wireless printers at the time. I don’t have the audio on this version, but it probably was added later on. I worked on the bird animations and the matchlighting of the 3d printer.
Tools Used:
After Effects, Particular, Maya
There is an amazing helper software for texturing called Crazy Bump. I’m planning to put it to good use. All you have to do is supply a texture, and it automatically generates the bump, displacement, normal, etc maps for you. The are a many options to customize how much of each you want – really fantastic. I highly recommend it. The website has a good introductory tutorial on how it works.
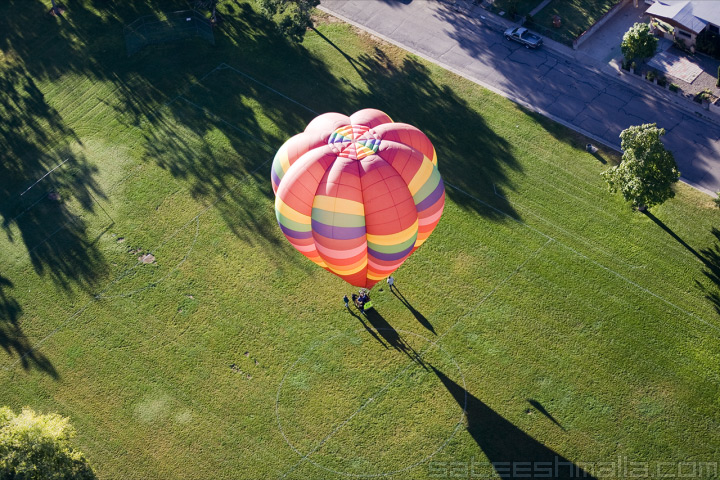
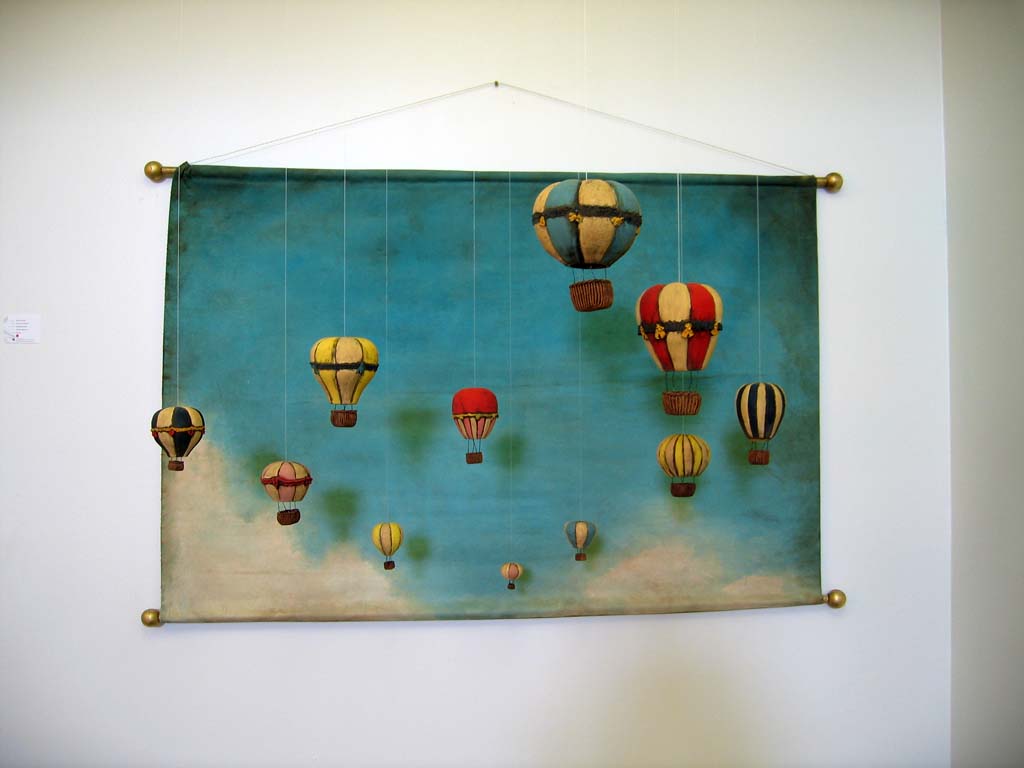
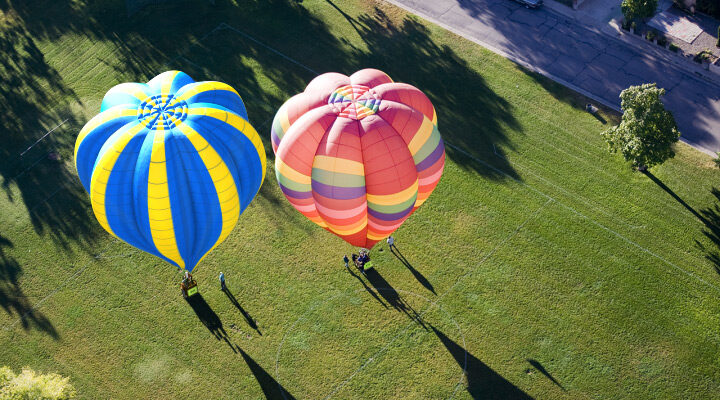
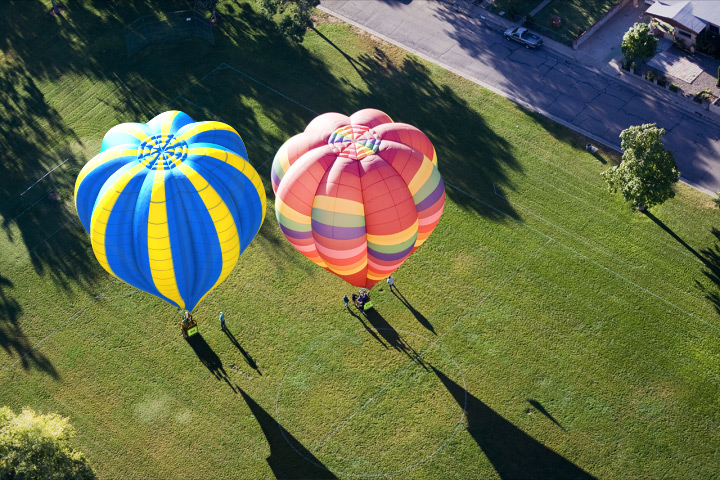
This was a matchlighting project. I modeled the balloon and characters in Maya.
Tools Used:
Maya, After Effects